
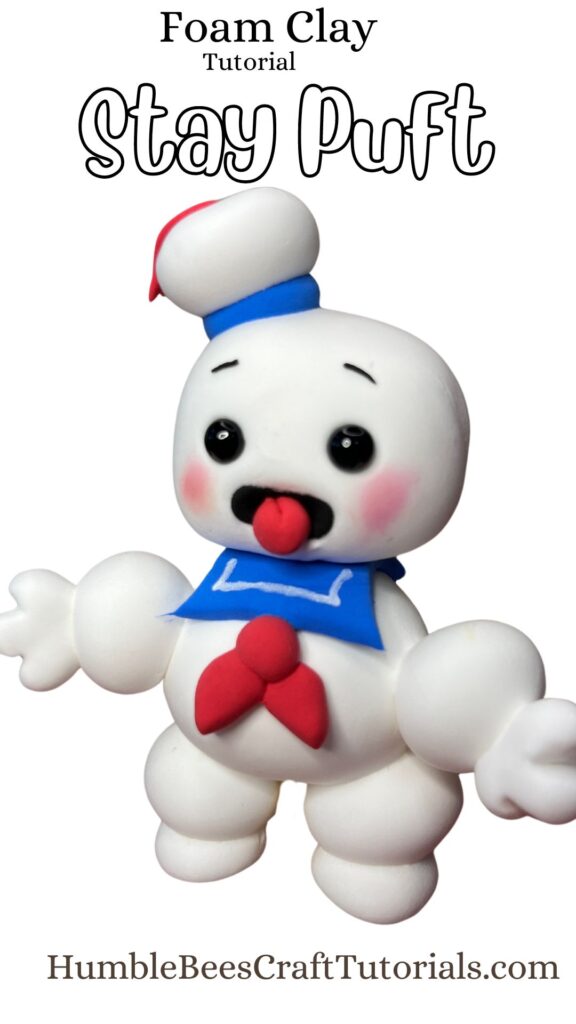
Something about the puffy white of marshmallows that I just seem to be obsessed with. If you or your kids are Ghostbusters fans this tutorial is a “must do!”. It is simple and beginner friendly and will make a great halloween prop. You could even scale it up and make a big version. Pin and save it to your bookmarks so you have it for halloween!
Get Printable Measurements Lists for all tutorials when you subscribe to my Newsletter
This post contains affiliate links, which means I make a small commission at no extra cost to you. See my full disclosure here
Crafting with foam clay is not just about creating cute figures; it’s like a therapy session that’s all about relaxation and pure enjoyment. Imagine the joy of squishing, molding, and creating without any mess – that’s the beauty of foam clay! It’s not just for the kids; adults can totally get in on the fun too.
So, if you’re looking for a creative outlet that’s soothing and brings out your inner artist, foam clay is the way to go! It’s a fantastic indoor activity for the whole fam! No Day goes by without my son asking for some squishy foam clay time. And the best part is when it dries it does not crumble like playdough would. Not even if it’s left under the couch or forgotten in some corner. What are you waiting for? let’s get those creative vibes flowing together! 🌈✨
Tips for working with Foam Clay
- If you have a particular soft and sticky clay I suggest to let it dry just a little bit and then mix it well or you can add a different type of clay called SOFT Clay. This will take the tackiness out and give the foam the needed support to hold its shape.
- The Secret to a super smooth and wrinkle-free appearance is your palm and the right pressure. When you roll the clay between your palms don’t be afraid to really squish and roll it around. This will ensure all the wrinkles disappear. Then you lessen the pressure and shape it into its final form.
- if you are trying to save money and color your own clay use Gel Food Colors. I find that acrylic colors will mess with the clay’s consistency and will dry it out which makes it impossible to work with.
If you are brand new to foam clay watch my beginner playlist on youtube that will go more into detail and teach you everything you need to know about foam clay.
Let’s get started
MATERIALS YOU WILL NEED
Foam Clay: White, Blue, Red, Black
glass eyes 6mm
WATCH ME WAKE THE STAY PUFT MARSHMALLOW MAN
Step 1: Belly and Legs
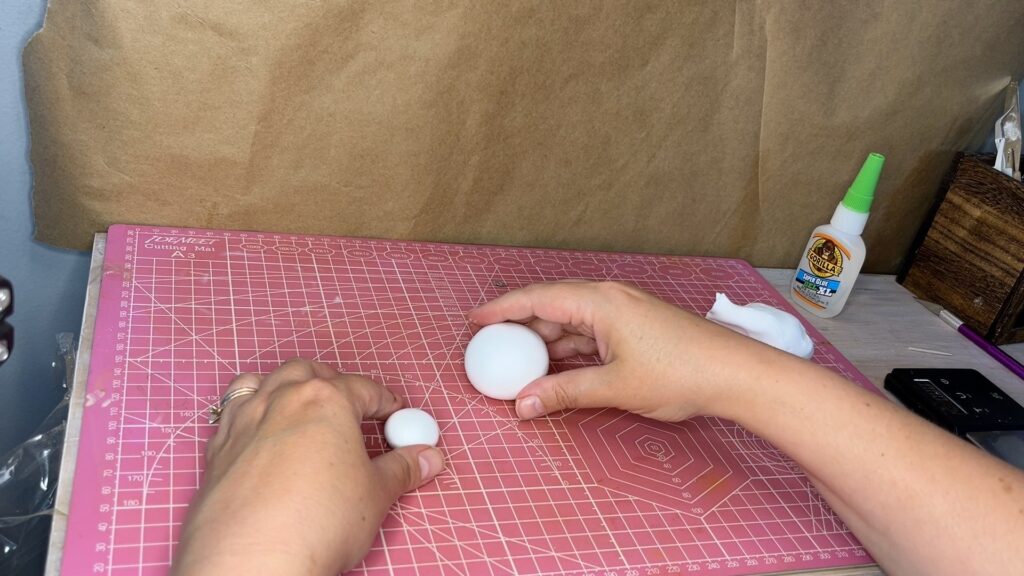
Take 11.3g white clay and shape the belly. If you have the size chart use the 40mm mold two times and add it together. To get a really smooth and wrinkle-free surface you need to use a good amount of pressure while you roll it between your palms.
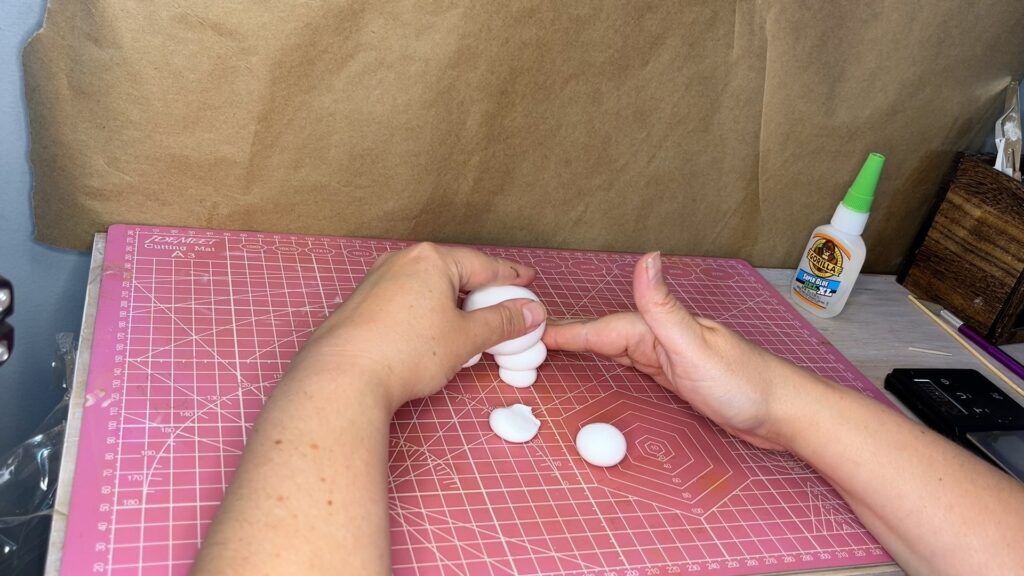
Shape two more balls for the legs (1.8g) and two smaller ones (0.8g) for the feet.
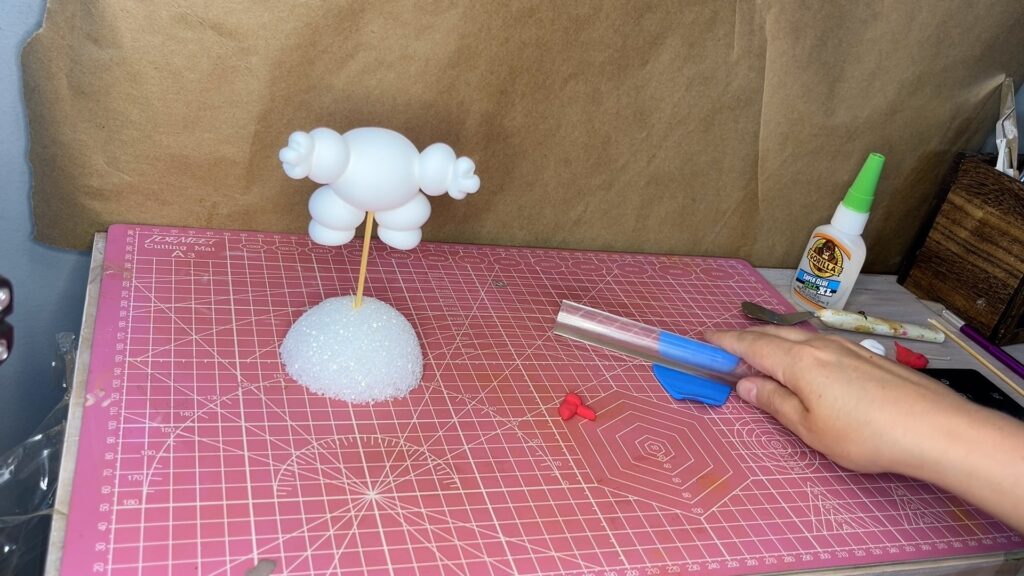
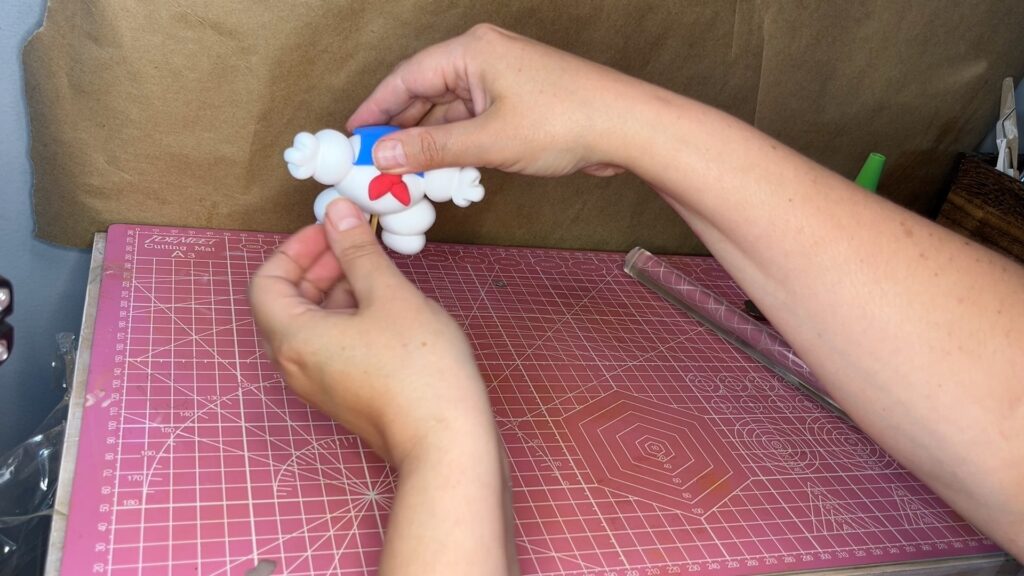
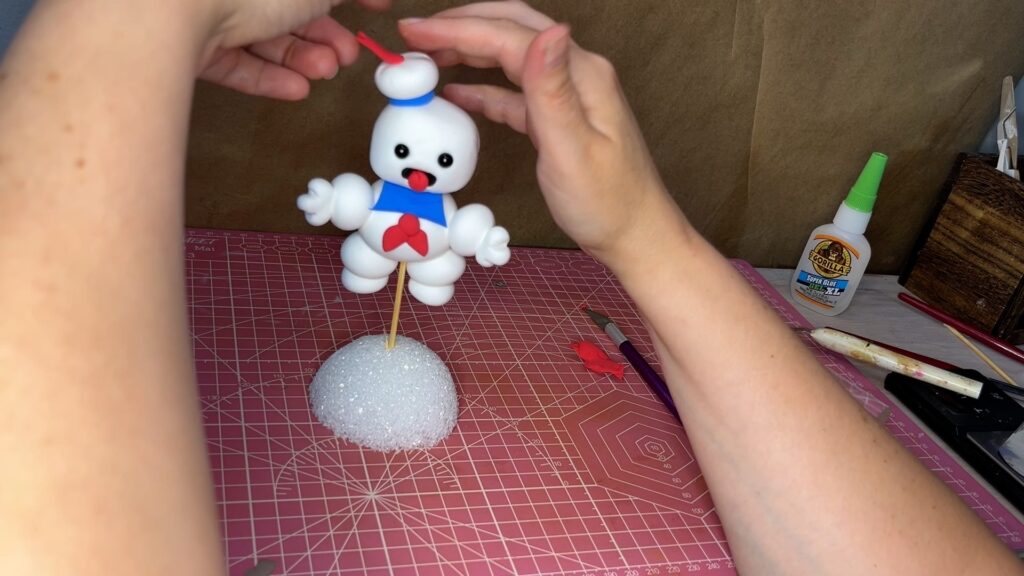
Step 2: Propper Support
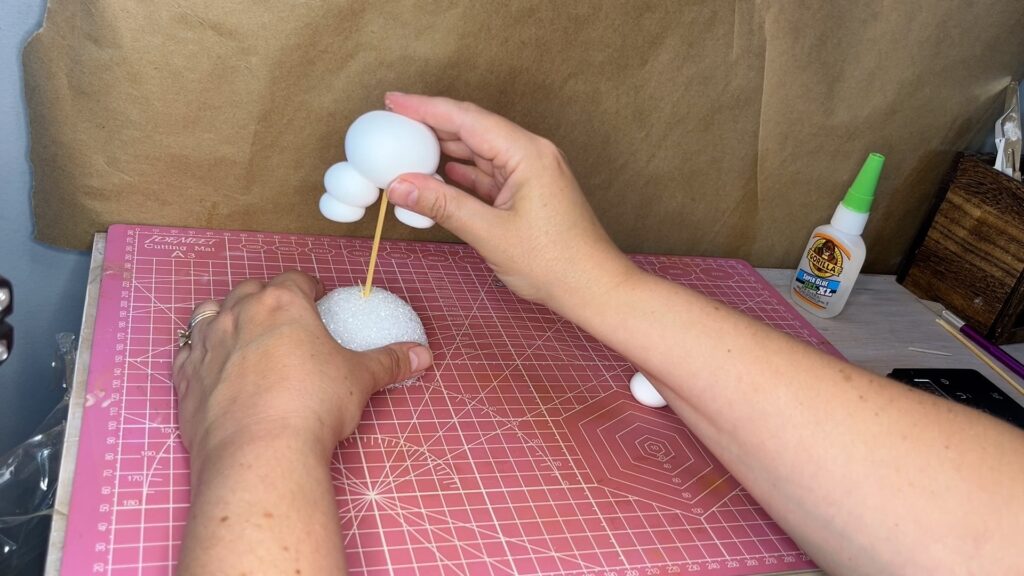
Take a wooden skewer and stick the stay puft’s lower body on it. This will ensure that his legs won’t get squished under his own weight.
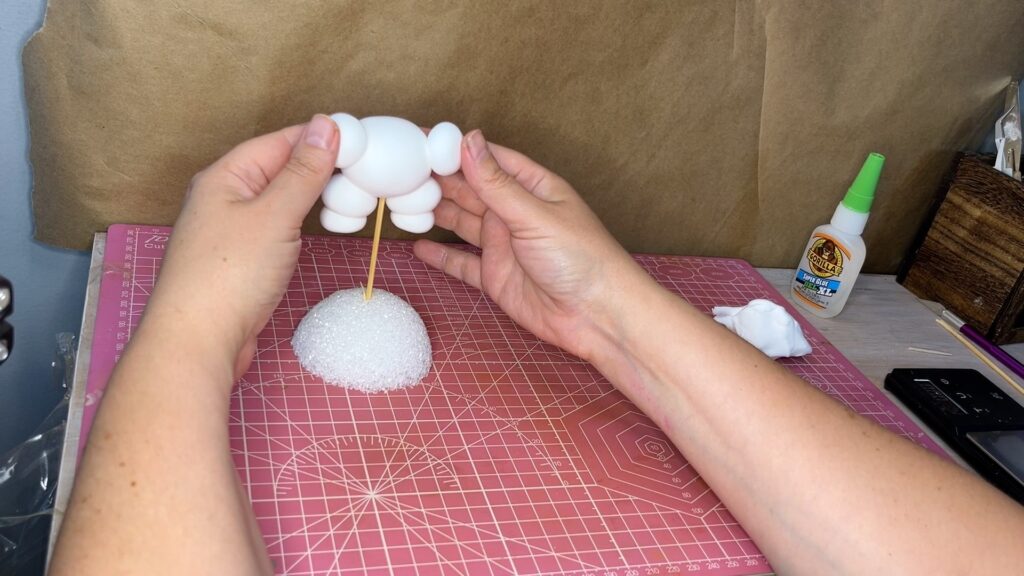
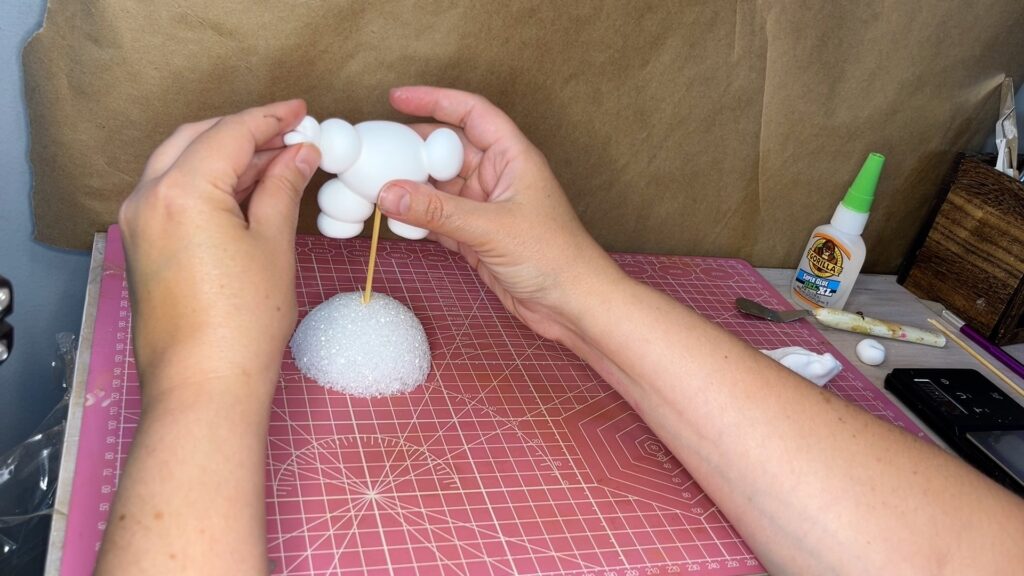
Form two balls for the arms with about 1.8g white clay.
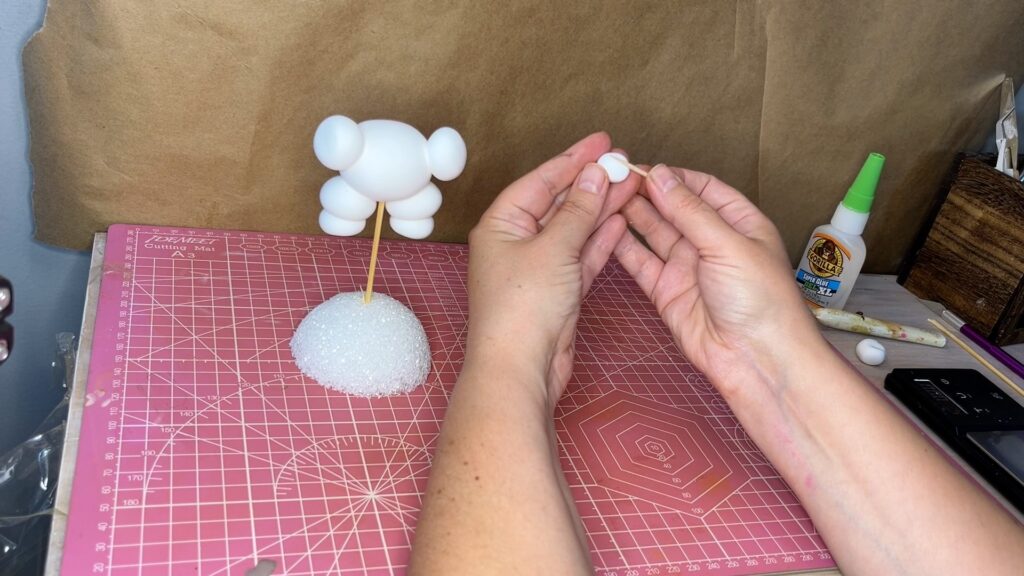
To make the hands shape a small ball of 0.5g and use a toothpick to separate the fingers.
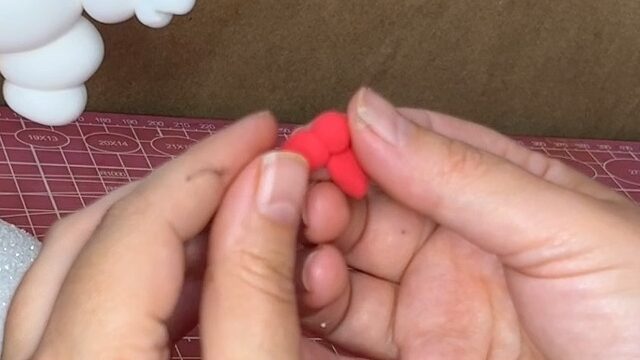
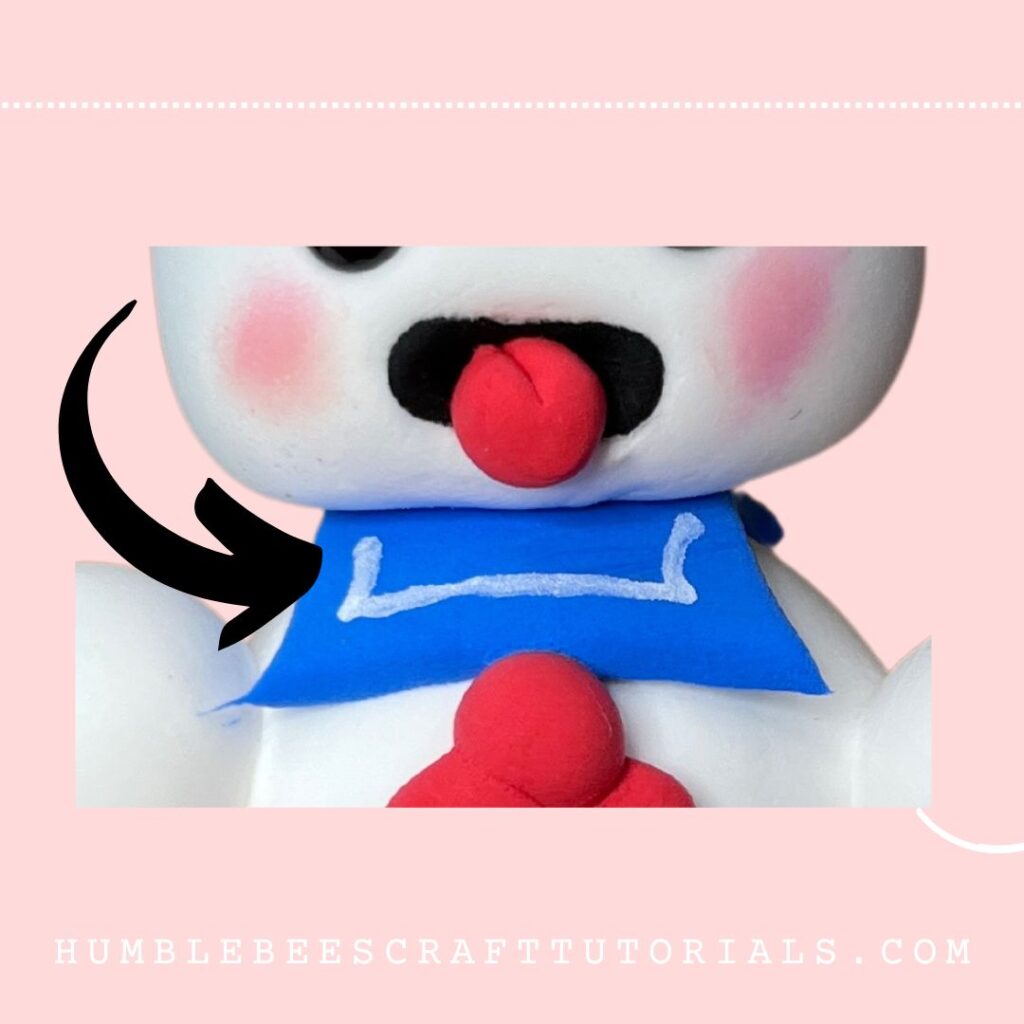
Step 3: Sailor’s Neckerchief
The bow for the scarf is made of three parts each about 0.1g. Two tear drop shaped pieces and one ball. Put them together to form the bow.
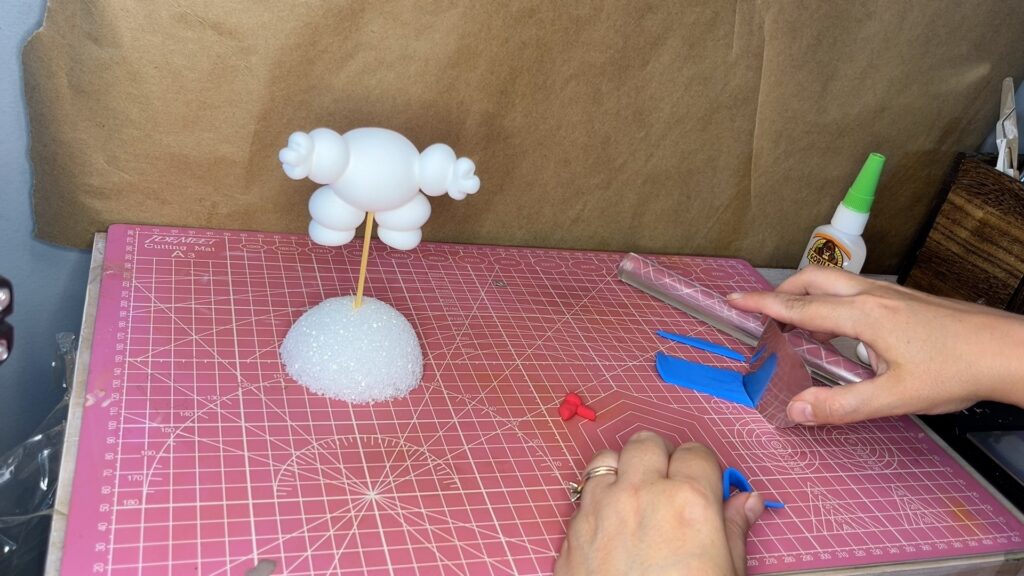
Roll out some blue clay and use a flexible blade to cut the sides. Bend the blade and cut the clay like that to get the rounded edge. You could also use a circle cookie cutter to get the same rounded shape. You want to have a “square” of about 1×1 inch.
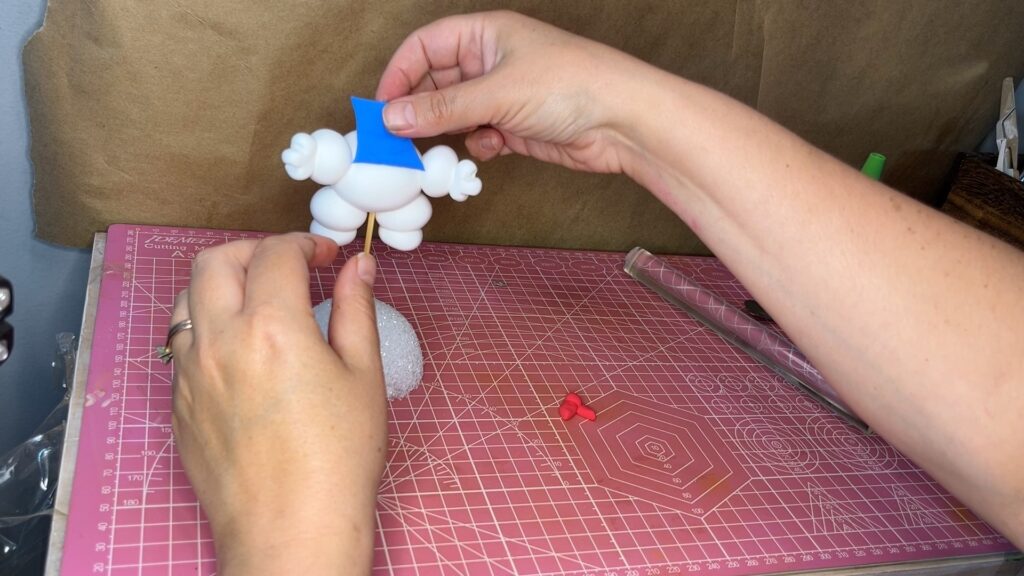
Attach the scarf and bow to the neck.
TIP: now is the best time to add the white line using your posca pen or acrylic paint. I missed it while I was filming
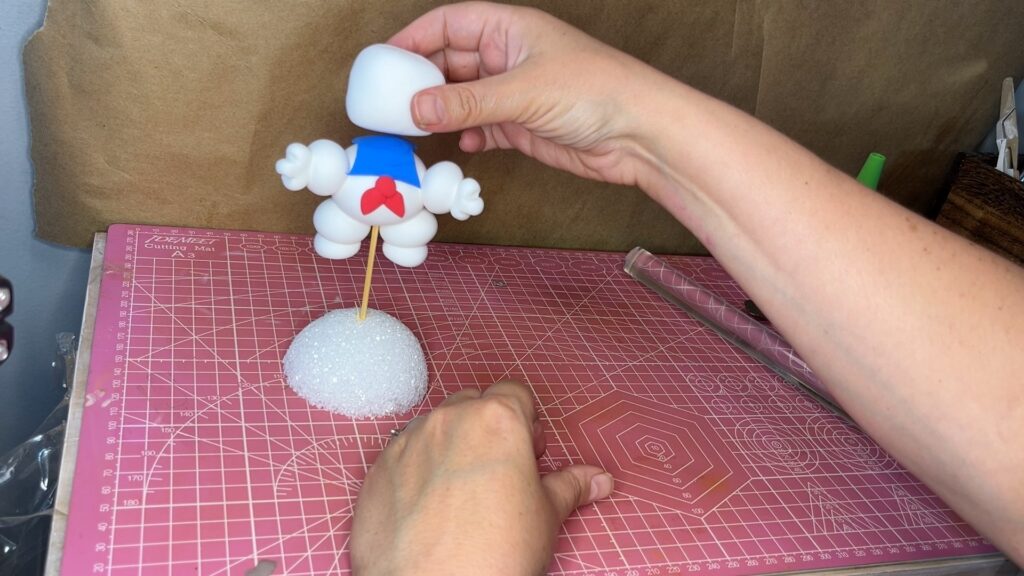
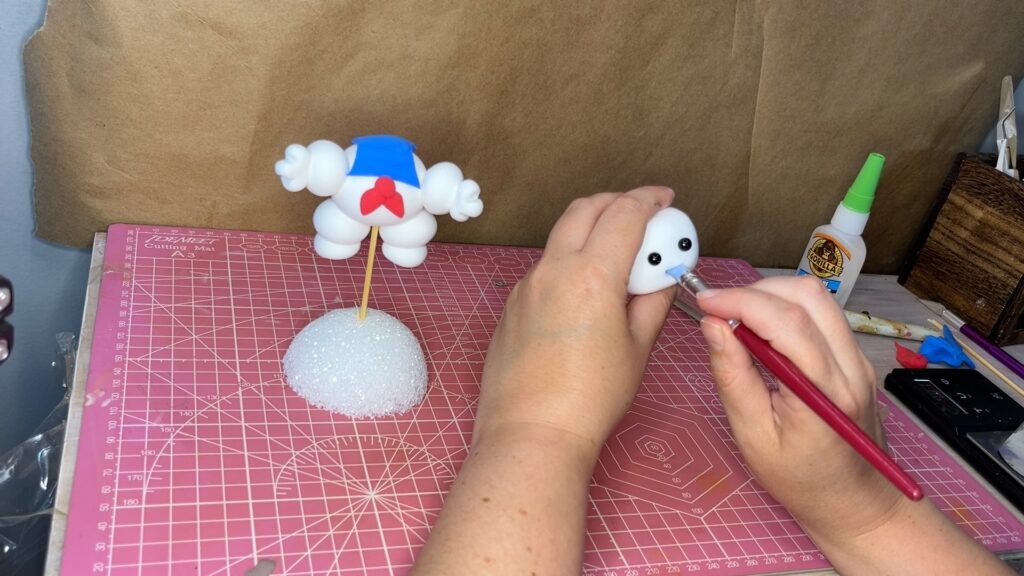
Step 3: Head
Take 11.5g white clay and shape a squarish ball. Its 1.5 inch wide and only about 1inch high.
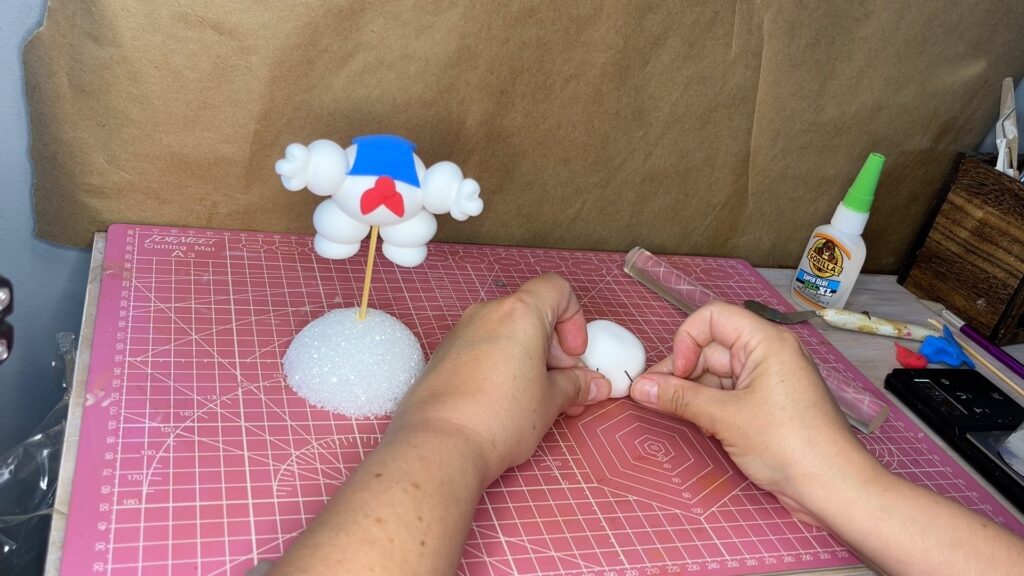
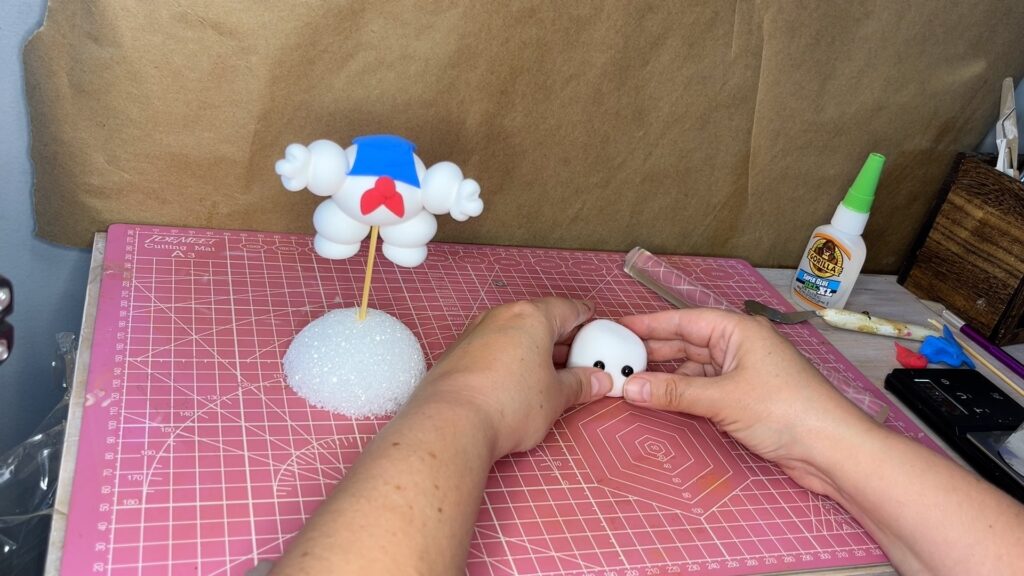
Add 2 black 6mm glass eyeballs.
Use a dotting tool or some kind of round tip to make a mouth. Then take a small amount of black clay and stuff it into the mouth.
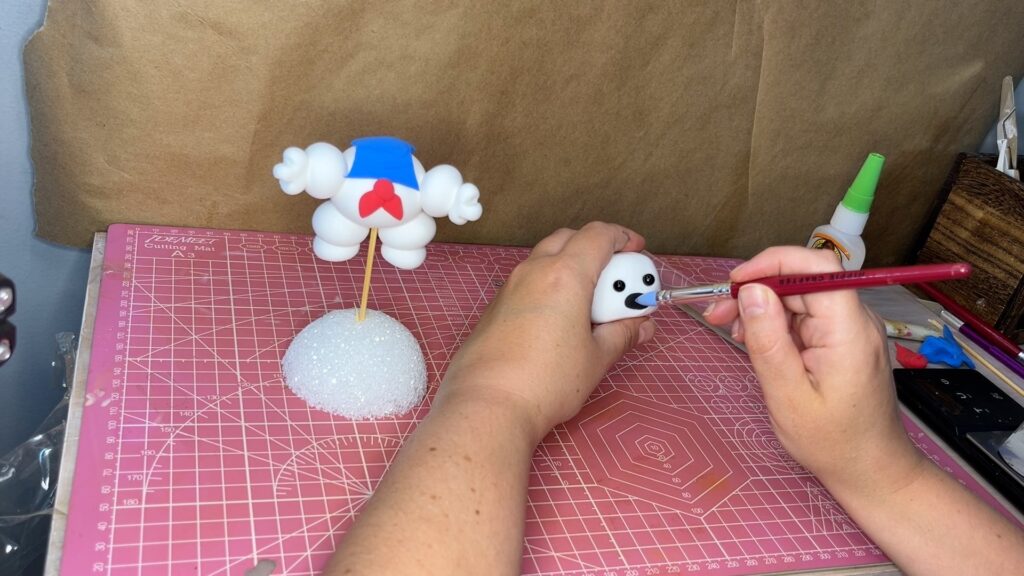
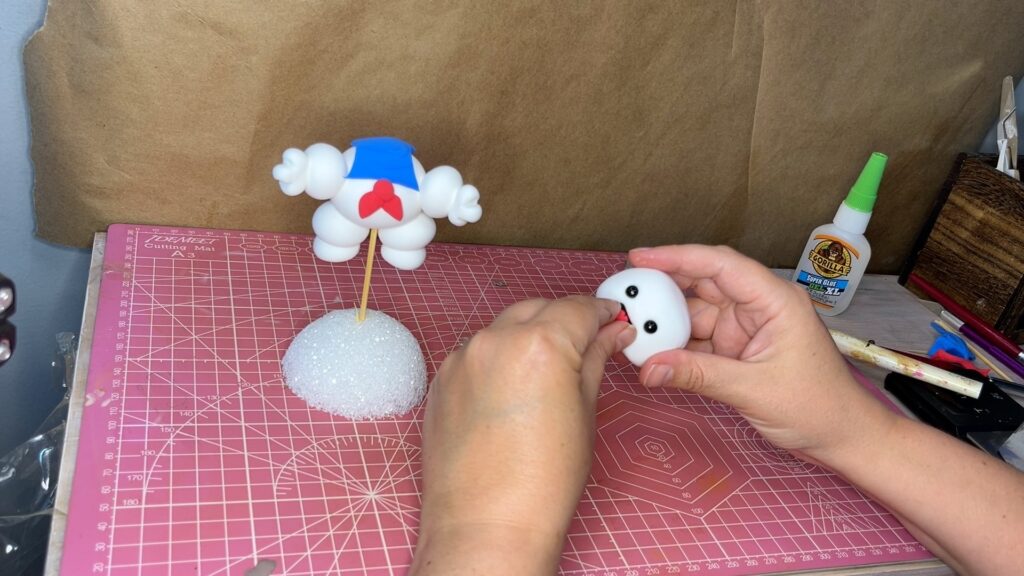
Shape the tongue from red clay and add to the mouth.
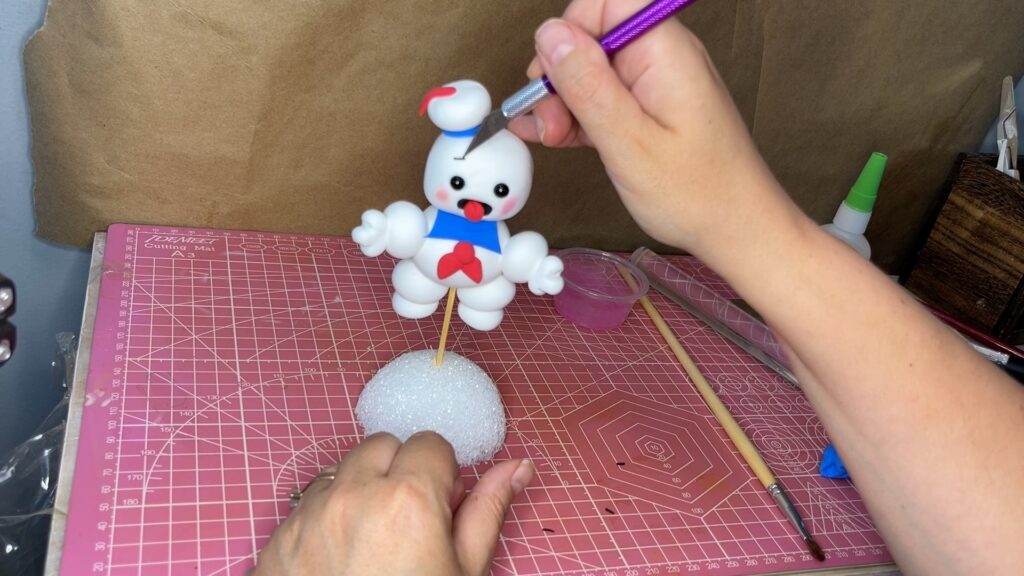
To form the hat take 0.4g blue clay and make a flat ball. Then shape slightly larger ball from (1.8g) white clay.

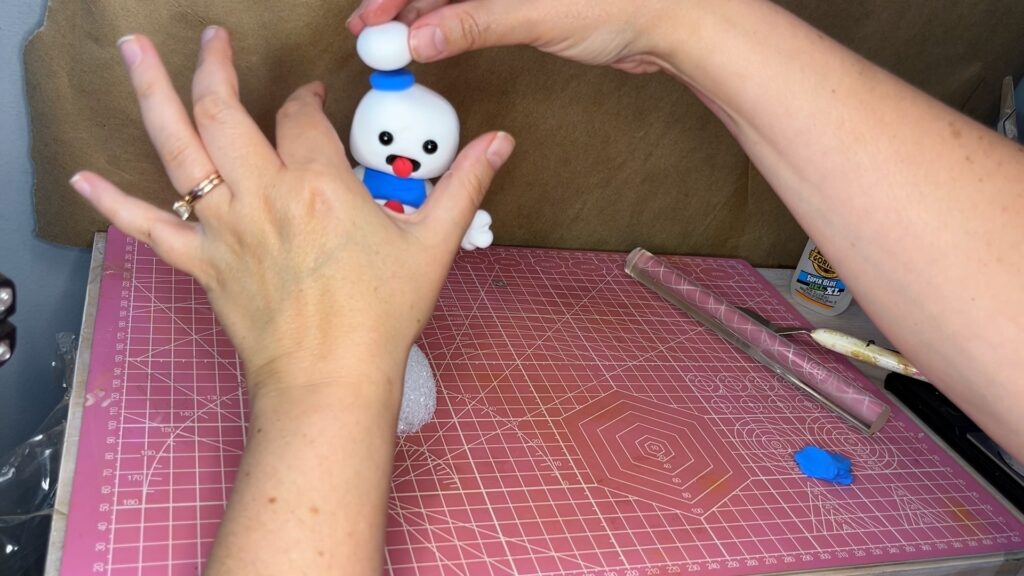
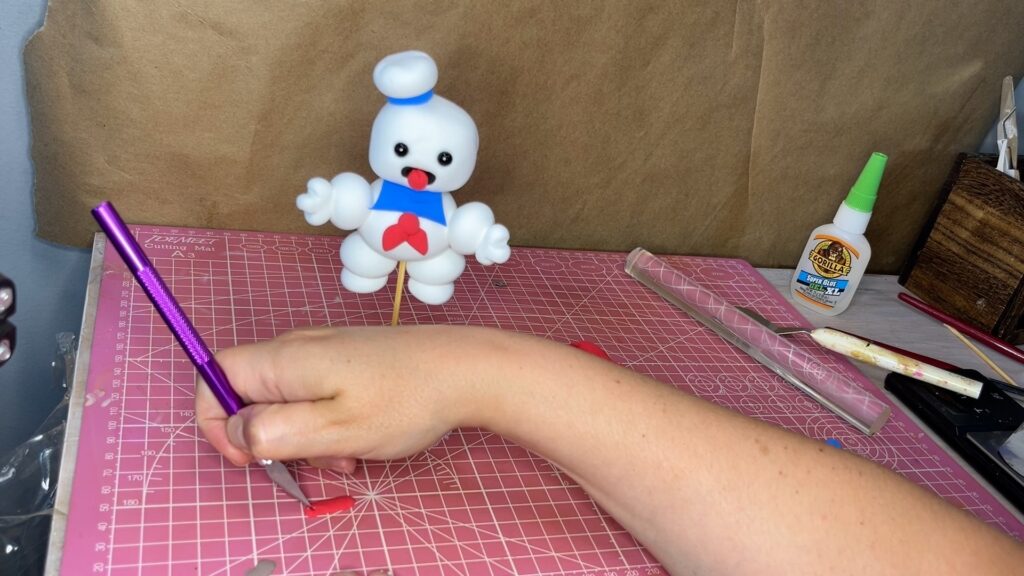
Add the blue piece first, then the white ball to the head. Now take 0.07g red and roll it into a worm. Flatten it and cut one end like a ribbon. Attach it to the hat.
Next, roll out black clay to a very thin string and cut two pieces for the eyebrows. Attach them to the forehead.
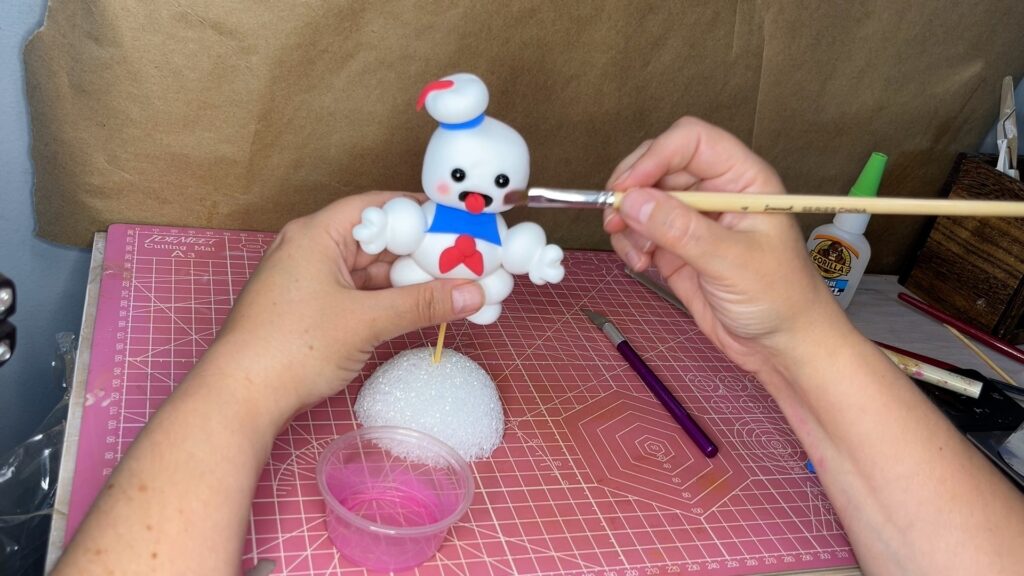
Lastly, add some pink soft pastels blush for extra cuteness.
All done! Admire your mini stay puft marshmallow man.
Tips for making the Stay Puft
Propper support
Unless you want him sitting down you definitely need to prop him with a skewer or something, so he can dry without shrinking or getting super flat and wide feet. If you want him to sit put the feet more to the front. that would be cute too!

Before you put the head on
Make it easier on yourself and draw the white lines on the scarf before you put the head on. IDK why I didn’t this of it in the moment. But I was on my second hour of recording and just not thinking straight. Its such a given 🙂
The mouth
This one I wish I could help. I managed to make it look right but I honestly feel like the foam clay angels were helping me a lot. I definitely love the black open mouth look with the cute tongue so we will be making more designs like this and hopefully get the hang of it. So I can exactly explain what I was doing. I can see this going really wrong. Please don’t get discouraged and keep trying. Maybe you find a better way.
Let me know below if you have any questions or want to share how your stay puft turned out. If you know someone who loves to craft, please share this tutorial with them. I really appreciate it!
[…] Stay Put Marshmallow […]