
This project is part of my earlier foam clay collection. Some details may use older techniques, older measurements (including grams), or early versions of my size-based system.
I’m keeping it here for free because many people still enjoy it, but it isn’t part of the updated beginner path or the improved printable library.
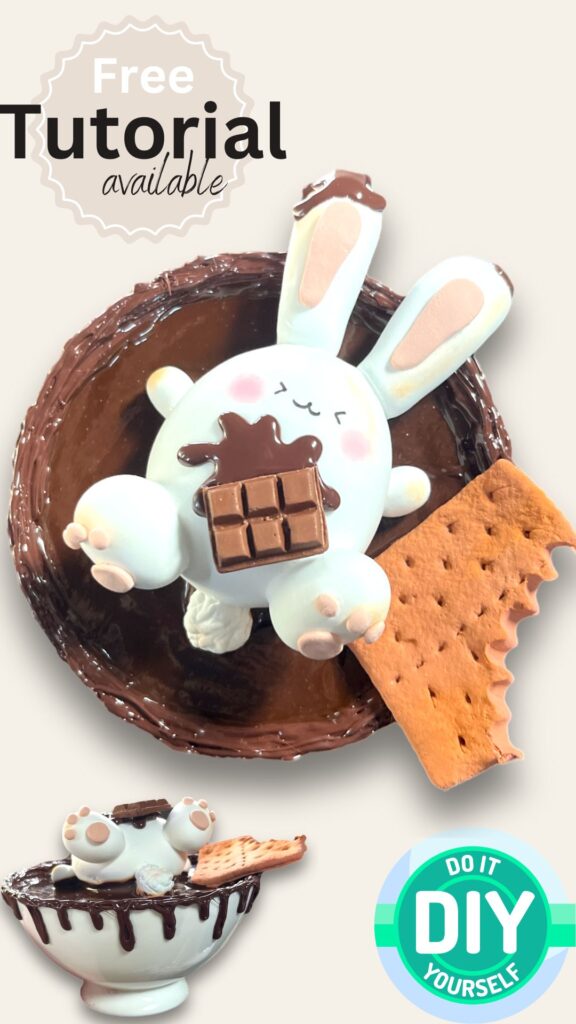
This adorable fake chocolate craft project is so fun to make. It makes the most adorable easter decoration and is a cute gift for any dessert lover or foodie. So, grab your materials and let’s get started on this sweet adventure!
This post contains affiliate links, which means I make a small commission at no extra cost to you. See my full disclosure here
Why Foam Clay is So AMAZING!
Crafting with foam clay is not just about creating cute figures; it’s like a therapy session that’s all about relaxation and pure enjoyment. Imagine the joy of squishing, molding, and creating without any mess – that’s the beauty of foam clay! It’s not just for the kids; adults can totally get in on the fun too. So, if you’re looking for a creative outlet that’s soothing and brings out your inner artist, foam clay is the way to go!
It’s a fantastic indoor activity for the whole fam! It’s the perfect medium to improve your sculpting skills. If you are looking to quickly learn new skills to master your other mediums such as polymer clay or ceramics you are at the right place! Foam clay is so quick and easy to work with that you can practice many projects in a short amount of time improving your skills along the way. What are you waiting for? let’s get those creative vibes flowing together! 🌈✨
Material Needed:
- 5-inch soup bowl
- Toilet paper or paper towel roll
- Pen
- Cardboard
- Scissors
- Brown hot glue sticks
- Super glue
- Mod Podge
- Brown acrylic paint: Burnt Amber to get the perfect chocolate shade
- Popsicle stick
- White Foam Clay
- Pink pastels
- Toothpicks
- Beige foam clay
- Brown pastels
- Paintbrush
- Acrylic pen
- Brown foam clay
- Silicon mold graham cracker
WATCH ME MAKE THE CHOCOLATE BUNNY STEP-BY-STEP
Step 1: Building the Fake Chocolate Base
To create the chocolate base for our bunny’s bath, we’ll first need to construct a sturdy foundation using cardboard. Cut the toilet paper roll to match the height of your bowl, then trim it slightly below the rim.
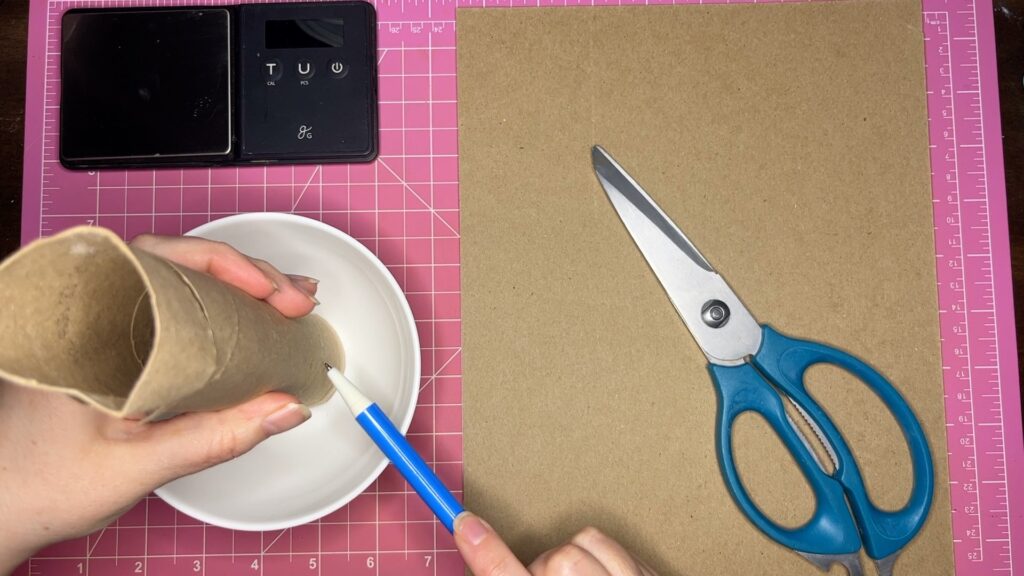
Next, trace the bowl onto a piece of cardboard and cut it out, making sure to cut slightly inside the tracing for a snug fit.
Glue the roll to the cardboard using hot glue and super glue, then attach the cardboard circle on top.
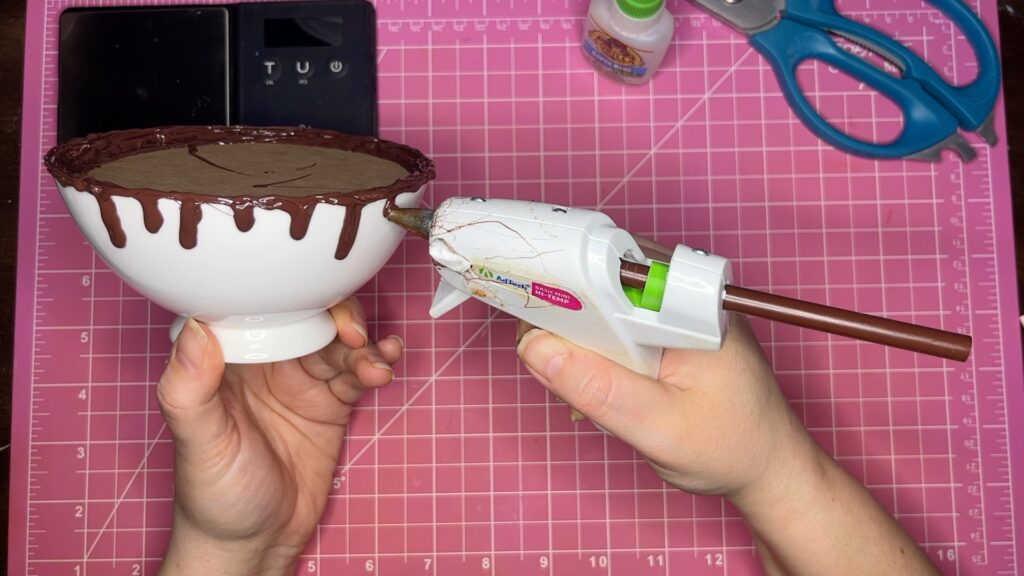
For this chocolate bath effect, I used two techniques — a hot glue drizzle for the drips on the rim of the bowl and a Mod Podge chocolate glaze for the chocolate bath. If you want the full recipe and step-by-step instructions for the Mod Podge chocolate glaze, check out my Mod Podge chocolate glaze tutorial which covers mixing and applying it for realistic faux chocolate effects. The Mod Podge glaze works especially well for larger, pooled chocolate areas and gives a semi glossy, edible-looking sheen that’s hard to get with hot glue alone and it is much more cost effective that way! If you want even more glossy look you can varnish it with a glossy coating.
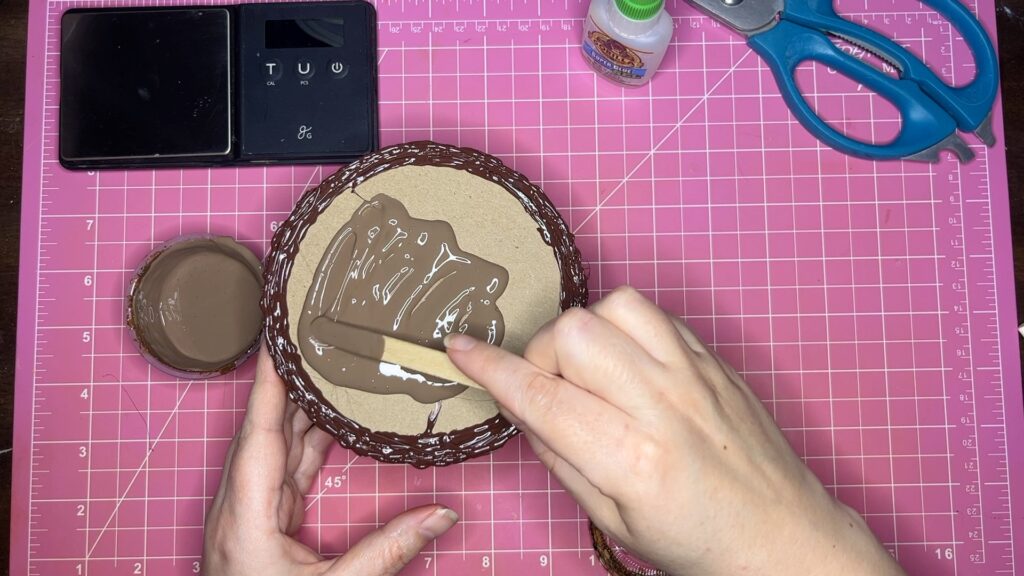
To create the chocolate filling effect, mix Mod Podge with brown acrylic paint. Make sure not to add too much paint, it will darken as it dries. (TIP: If you keep it in an air-tight container you can use this in your next fake chocolate project)
Spread the fake chocolate filling onto the top of the cardboard, using a popsicle stick.
Next, to get the air bubbles out, knock the bowl on the table gently but with enough force to make them pop. You will need to do this quite a few times as they first rise to the top and then pop.
Step 2: Crafting the Bunny Body Parts
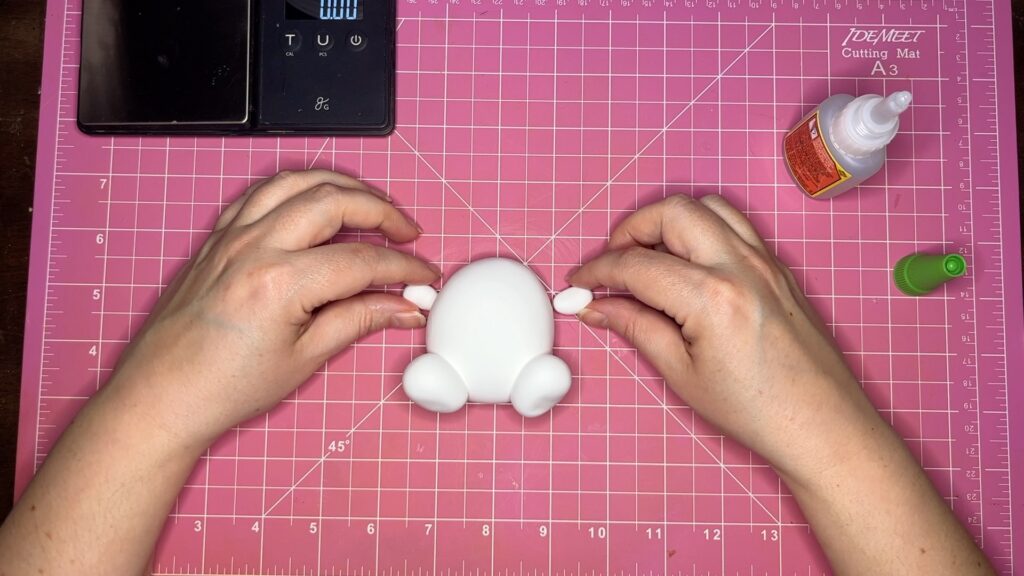
Shape the bunny’s body from white Foam Clay, forming it into a smooth oval shape.

Create two oval balls for the feet and attach them to the body using super glue.
Shape two short sausages for the arms and attach them to the sides.
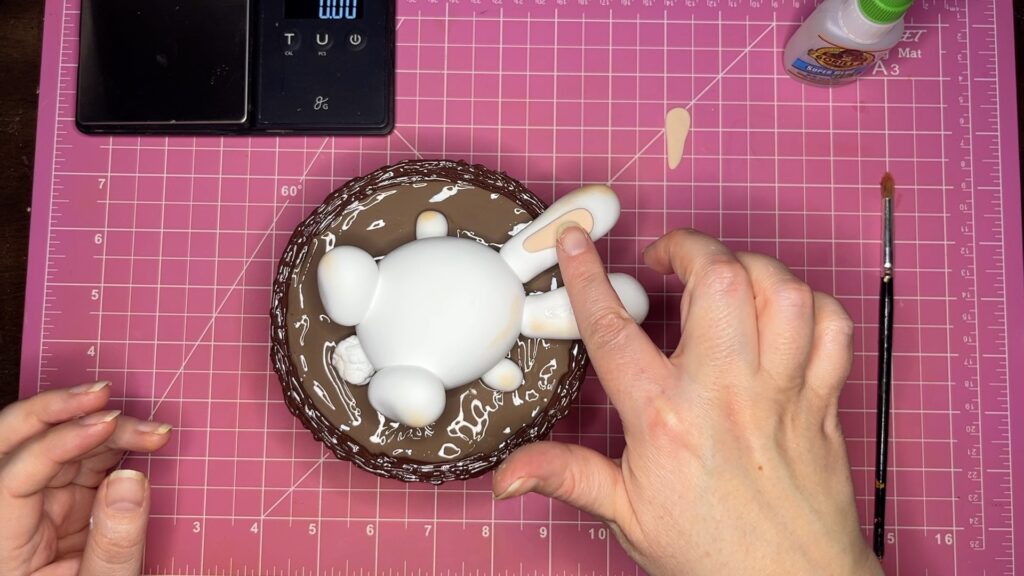
For the ears, shape two larger tubes with one narrow end, insert toothpicks, and attach them to the bunny’s head.

Place the bunny in the center of the chocolate base and add a fluffy tail to the bottom. If your chocolate is already dried, add some more glue mixture or super glue to attach the bunny.

Step 3: Adding Finishing Details
Give your bunny a delightful roasted marshmallow effect by shading the edges with soft pastels.
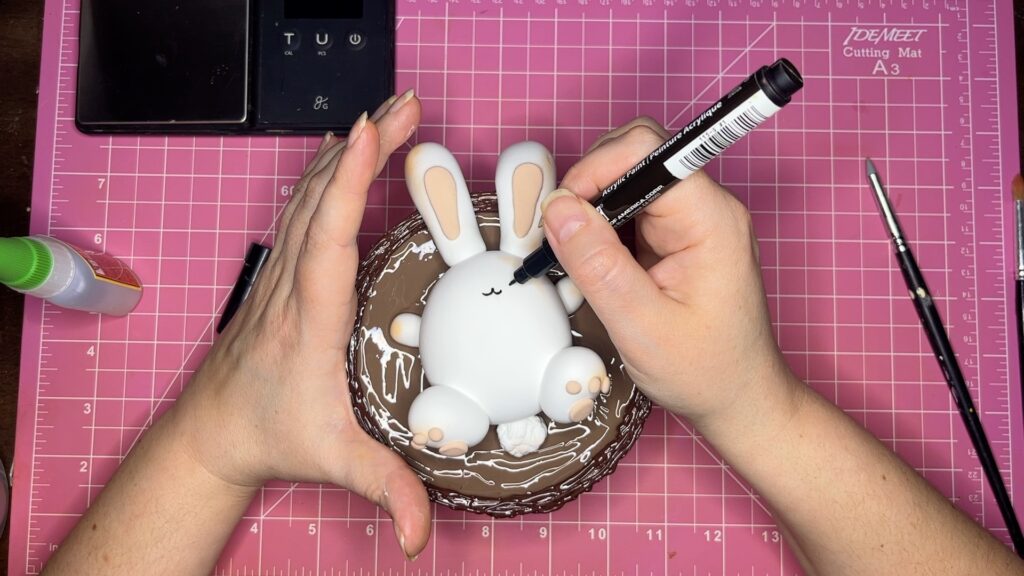
Use beige clay to create the inner ears and paws, attaching them with super glue.
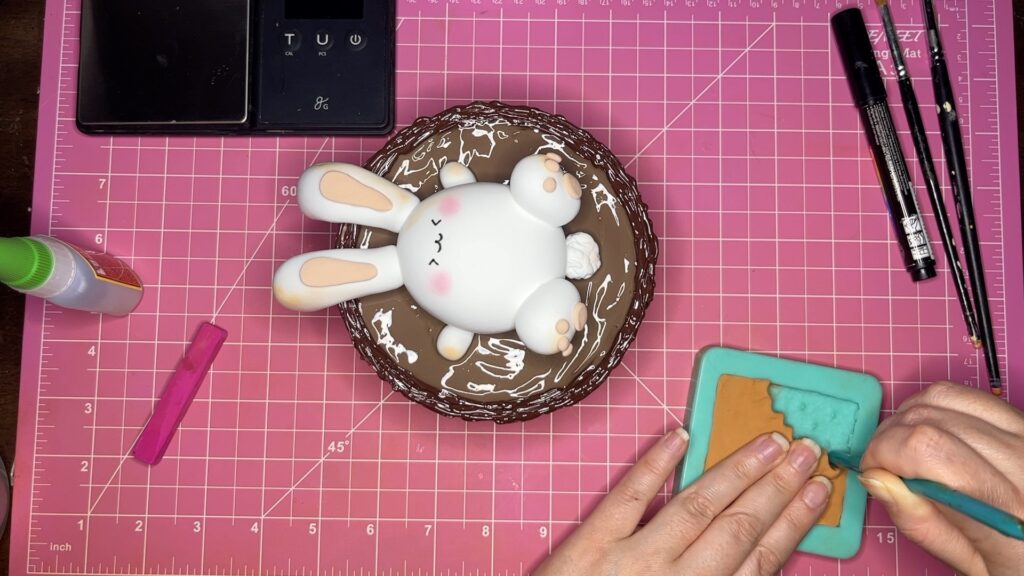
Craft tiny toes and attach them to the feet, then draw the bunny’s face using a black acrylic pen. Add a touch of blush with pink pastels.
Shape a graham cracker using brown clay in a cookie mold and create bite marks with the end of a paintbrush while the clay is still in the mold.
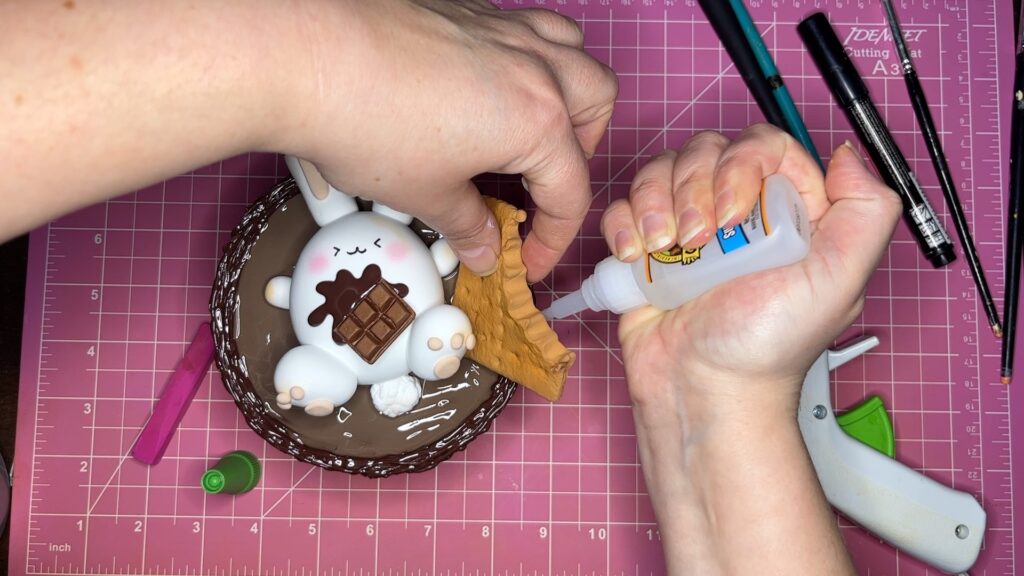
Finish by drizzling brown hot glue onto the bunny’s belly and top of with a chocolate bar charm, then fixate the cookie next to the bunny with super glue.
And there you have it, a sweet and whimsical foam clay bunny enjoying a chocolate bath! This adorable creation is sure to add a sprinkle of joy to your home decor or make a delightful gift for a fellow dessert lover. So, indulge in sweetness and let your creativity shine with this charming DIY project. Happy crafting!
MORE S’MORE TUTORIALS
Looking for more foam clay tutorials? Visit the Learning Hub to explore beginner to advanced projects and techniques.
Leave a Reply