
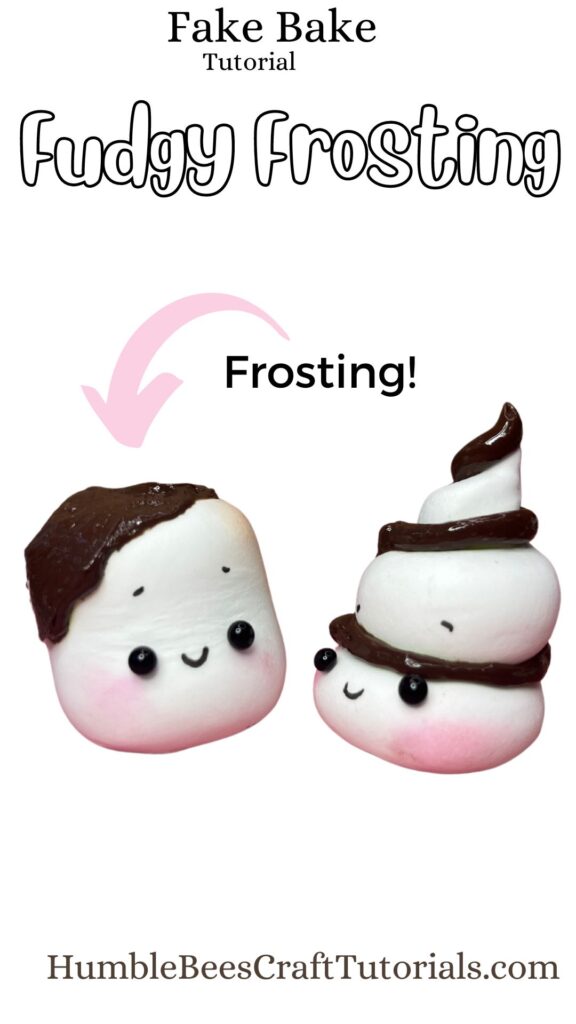
This week you will learn how to make this super thick, fudgy chocolate decoden cream or cream glue with only two ingredients. 100% Silicone and paint. It’s great for fake bake shakes to coat the rim or drizzle a thick chocolate sauce onto your frappes. You can even decorate your phone case with it for a trendy kawaii DIY phone case. It holds sprinkles well and dries with a glossy finish while staying squishy. You will learn how to make, store and use it. Pin and save it to your bookmarks so you can always come back and make a new batch!
Get Printable Recipe when you subscribe to my Newsletter
This post contains affiliate links, which means I make a small commission at no extra cost to you. See my full disclosure here
WATCH ME MAKE THE FROSTING Step-by-Step
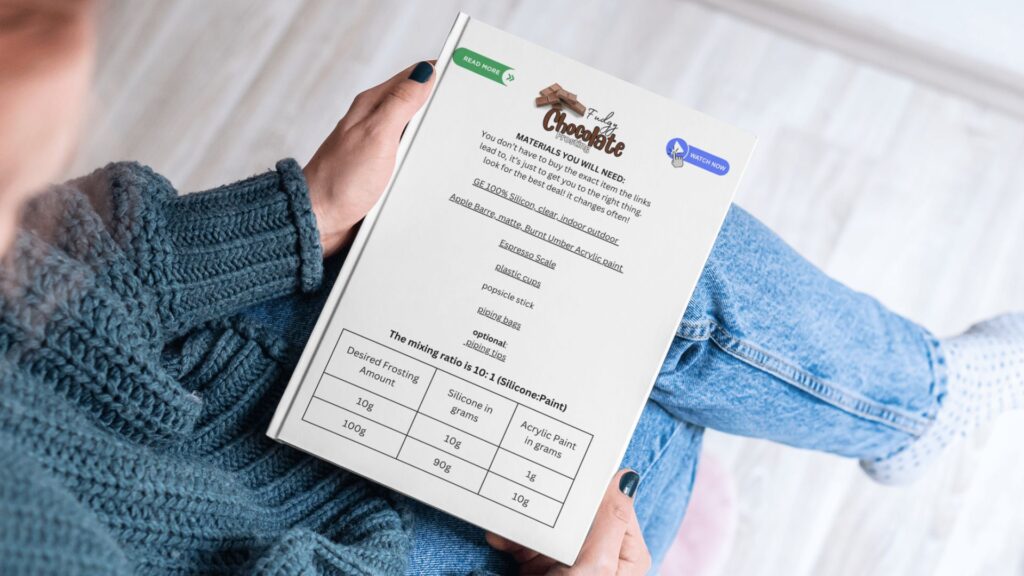
MATERIALS YOU WILL NEED:
GE 100% Silicon, clear, indoor outdoor
Apple Barre, matte, Burnt Umber Acrylic paint
popsicle stick
optional: piping tips
Step 1: Gather the ingredients
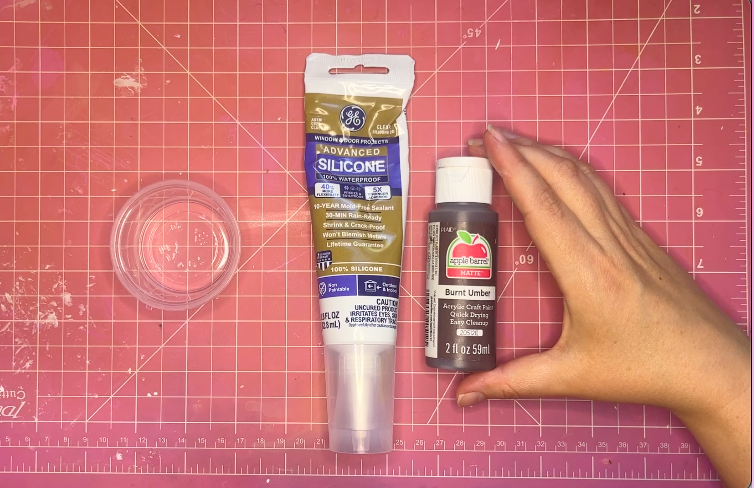
To make this chocolate frosting you need brown acrylic paint and clear silicon. There are MANY different silicons out there. I only tested this kind so I highly suggest getting this brand and exact type to get the same results. If you can’t find it, look for clear, 100% silicon, indoor/outdoor use. “Indoor use” ensures minimal fumes and makes it safer to use in arts and crafts.
Step 2: Mixing the frosting
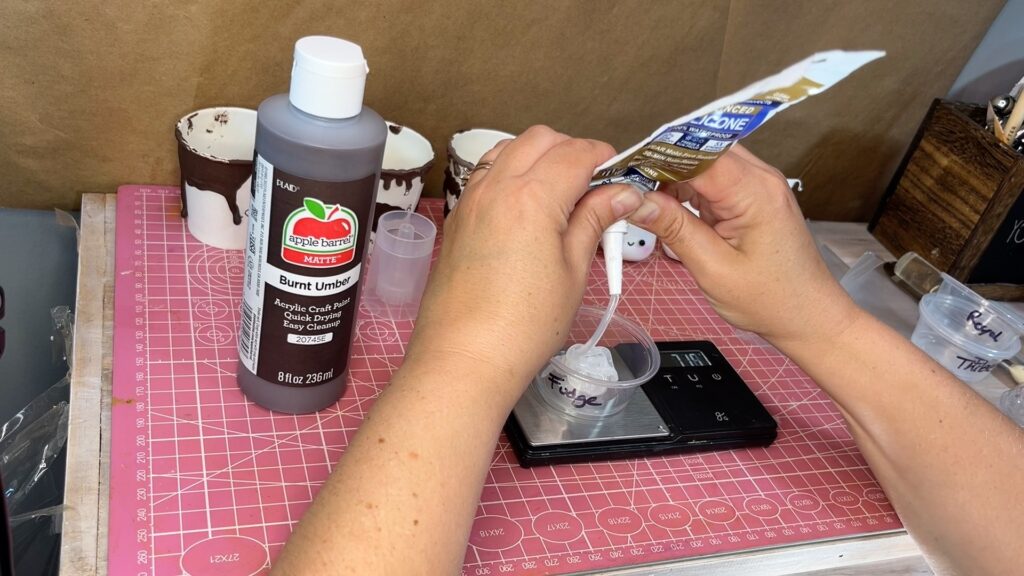
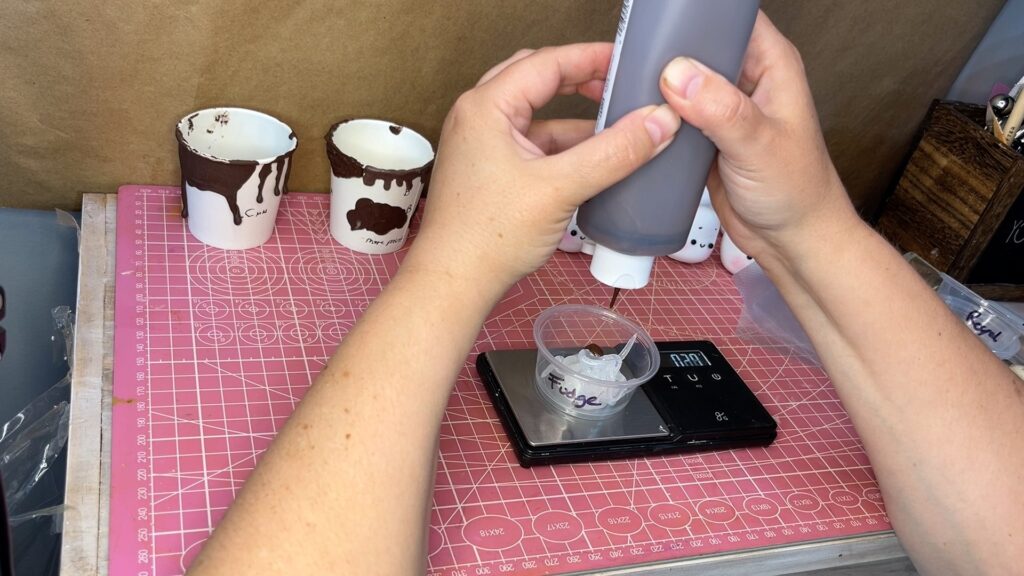
You will also need a scale to get the ratio right. You want to use a container that you don’t need to clean. Don’t flush the silicon down the sink. That would not end well in the long run. Instead, designate a bowl with a lid and store it with the lid on to reuse as needed. For my experiments, I only made very small amounts and used disposable plastic cups which is another option.
To use the scale correctly, add your container, then tare it to zero. Now, add your silicone and paint in a 10:1 ratio. So if you want around 10g of frosting you add 10g of silicon and 1g of paint. You will have 11g technically but there’s always some sticking to the sides and loss.
Step 3: Transfer to piping bag
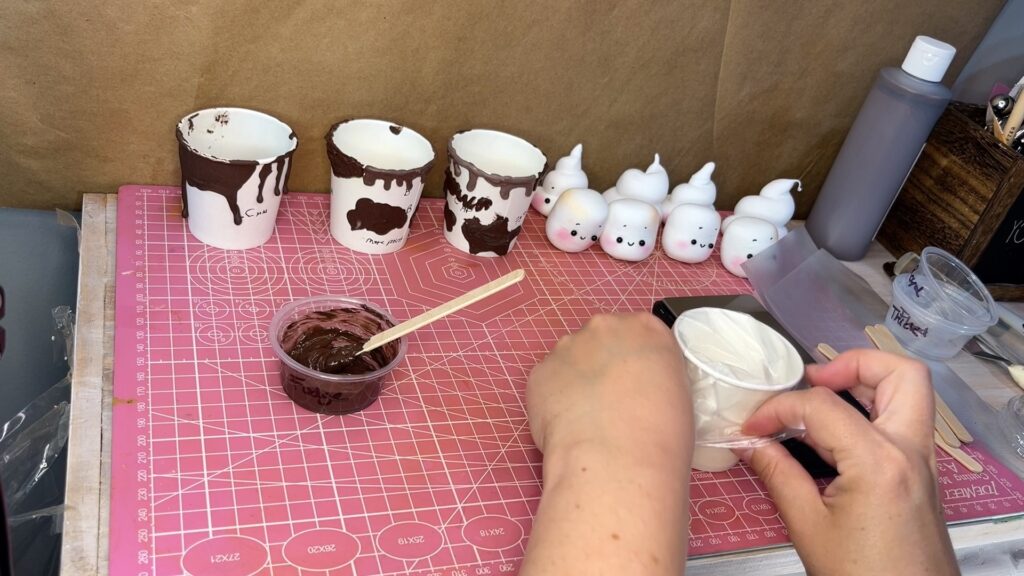
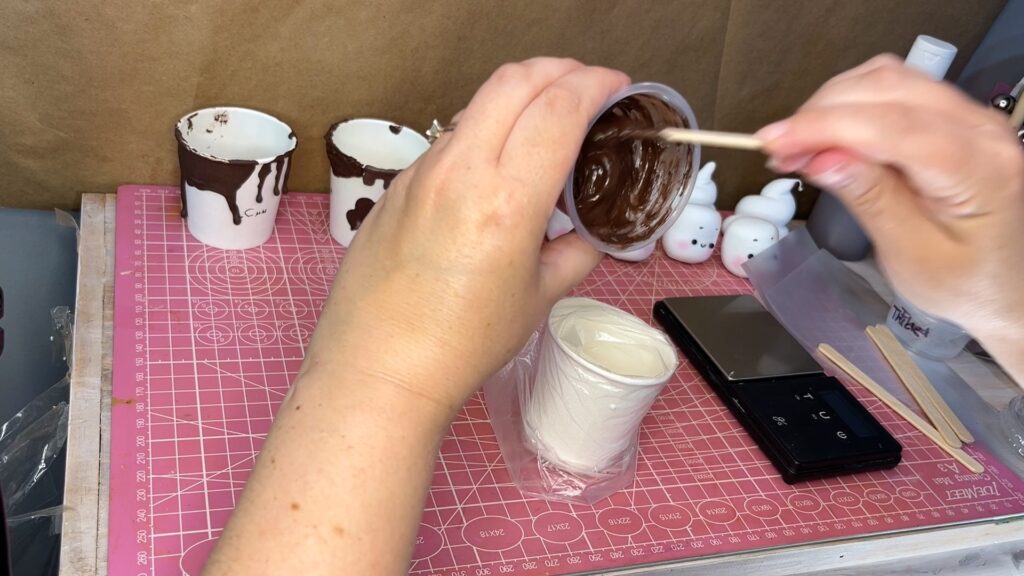
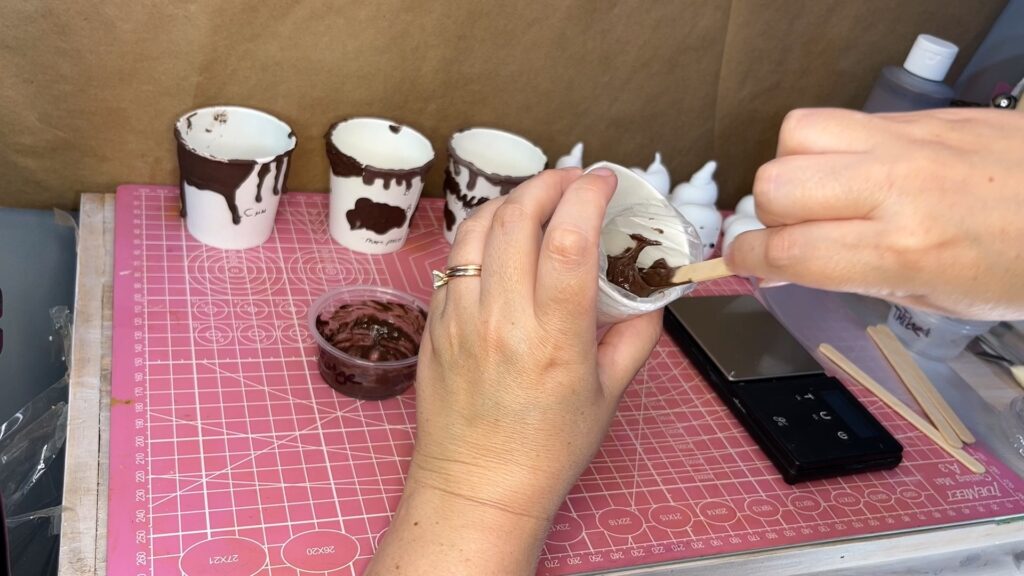
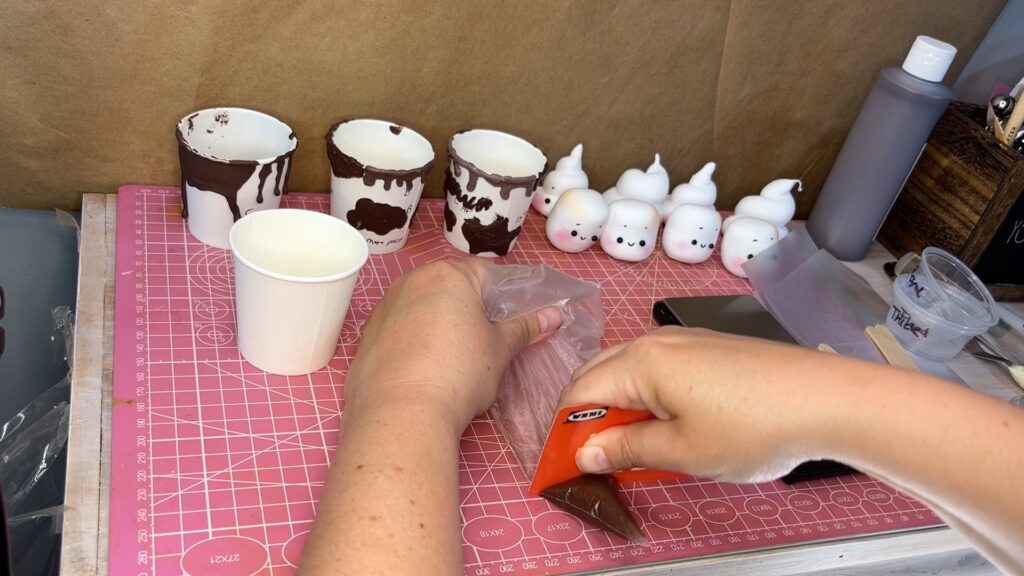
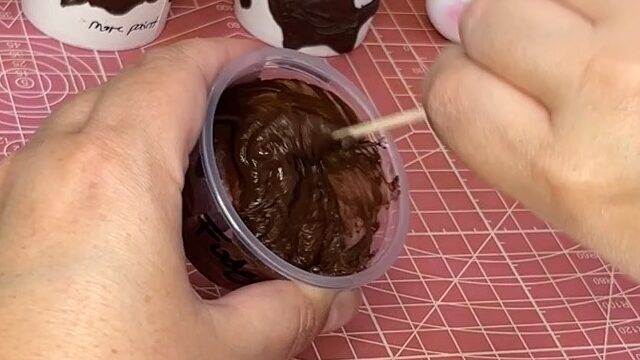
Mix very well with a popsicle stick then add it to a piping bag. I like to stick the bag in a cup and pull the sides as much down as I can. This way I can get the frosting as low as possible. Then squish the air our and use a credit card to slide down all the frosting into the tip.
What to use the frosting for and how
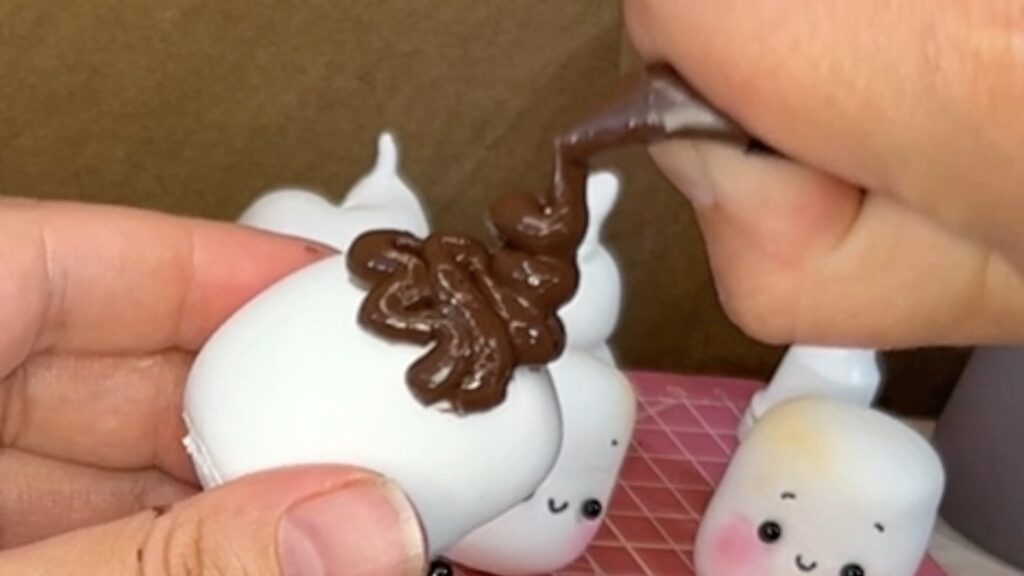
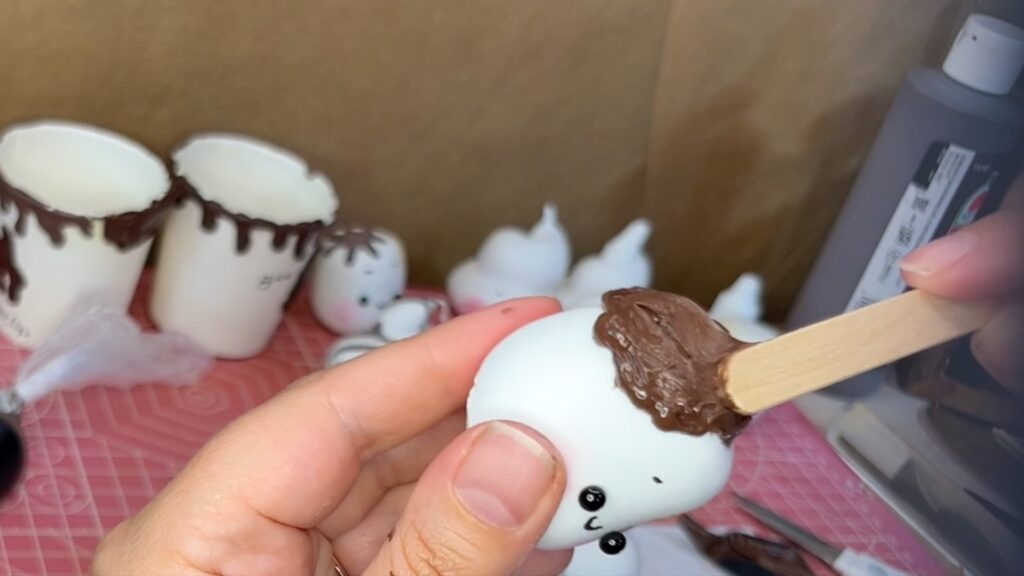
This is a great frosting for shake rims or brownie toppings. Perfect for when you want the ooey gooey look with a high gloss, fudgy finish.
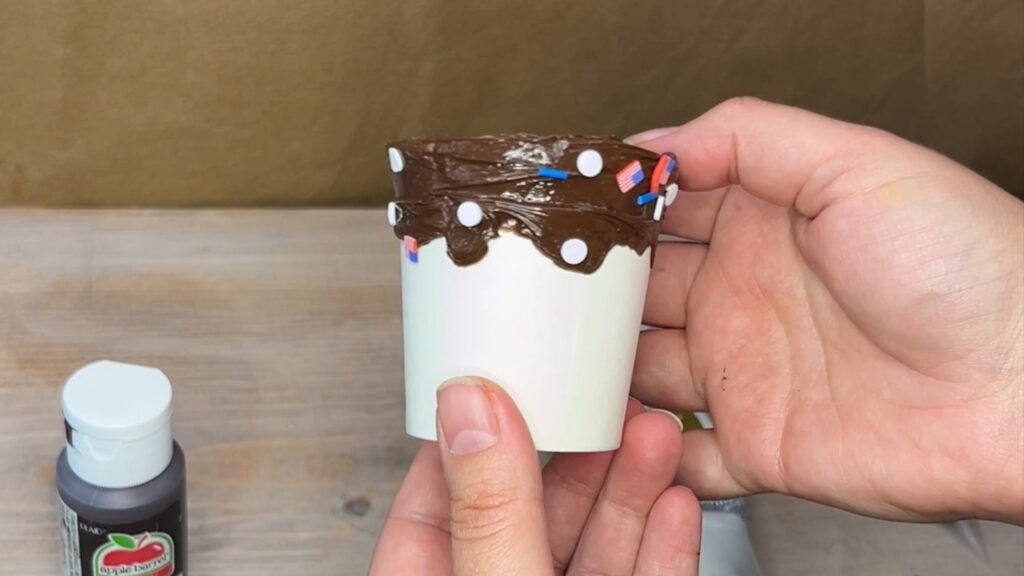
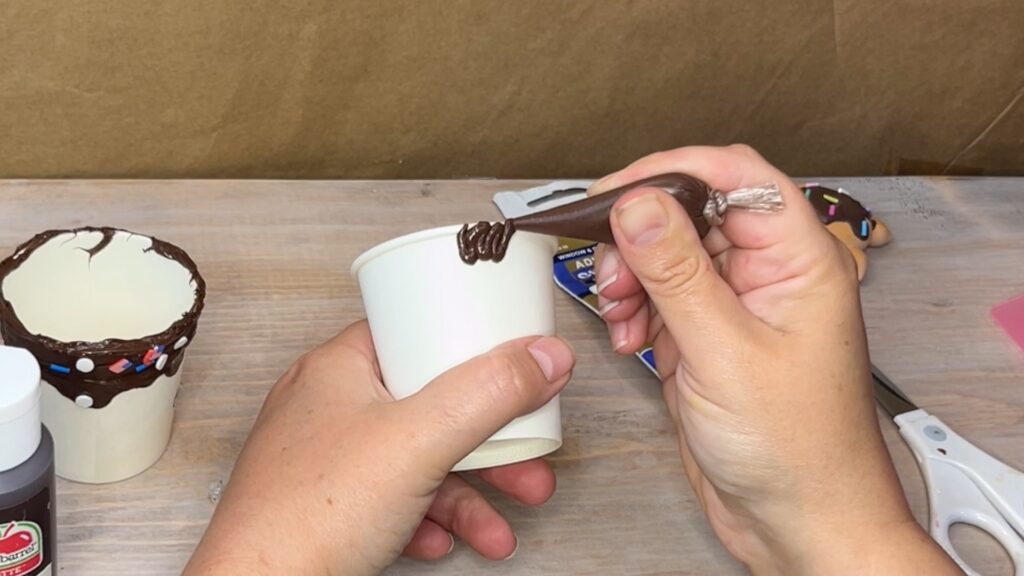
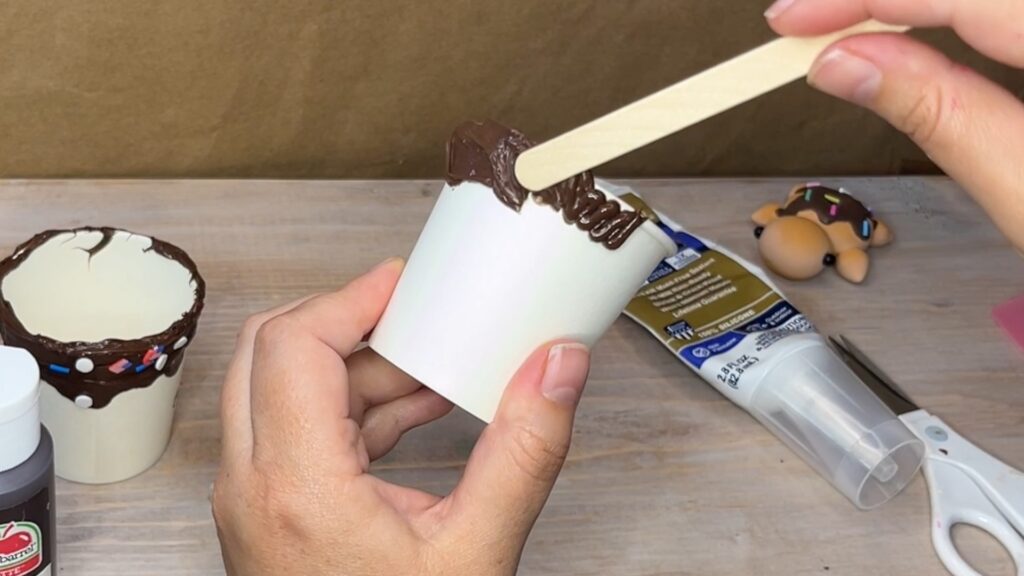
It’s very thick but still can be piped in a bag. You don’t really need a tip. Just pipe it onto your project and spread it with a popsicle stick unless you are doing very detailed work. I am unsure if a star tip would work with this recipe. Something I’d like to try soon.
How to store the frosting
Store your piping bag in an air-tight container. You can fold the tip and tape it in place to ensure no frosting drips out.
How long is the drying time
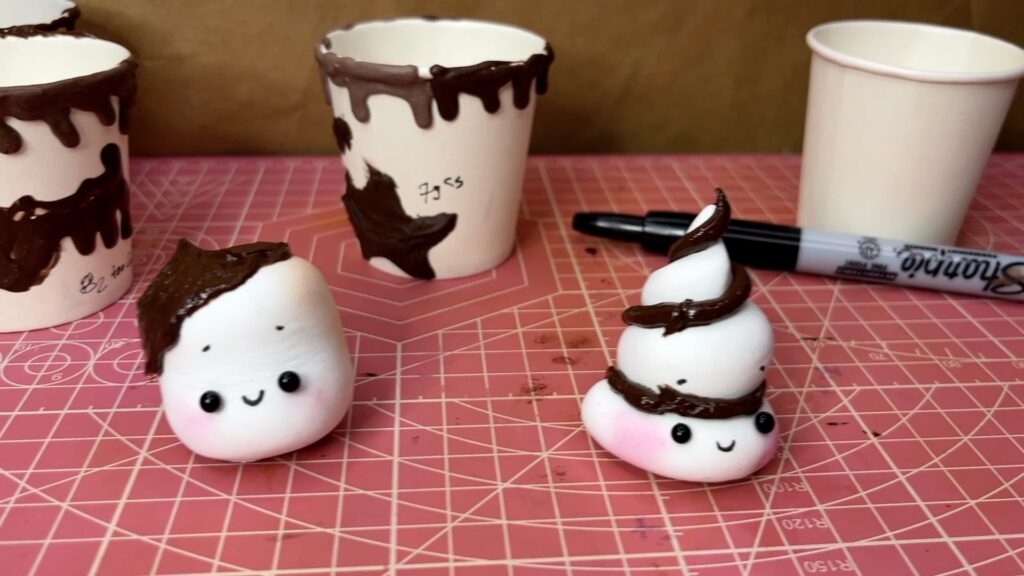
This frosting takes the longest to dry from all my other recipes. It is fully cured after 24h, dries flexible and is highly glossy. It does not smooth out or settle, it’s truly like fudge and keeps its texture.
I hope this recipe helps you create some stunning, ooey gooey fake bakes in your next project. Please share this post or pin it to your boards for reference. Thank you so much!
[…] DIY Decoden Cream – Chocolate Fudge […]