
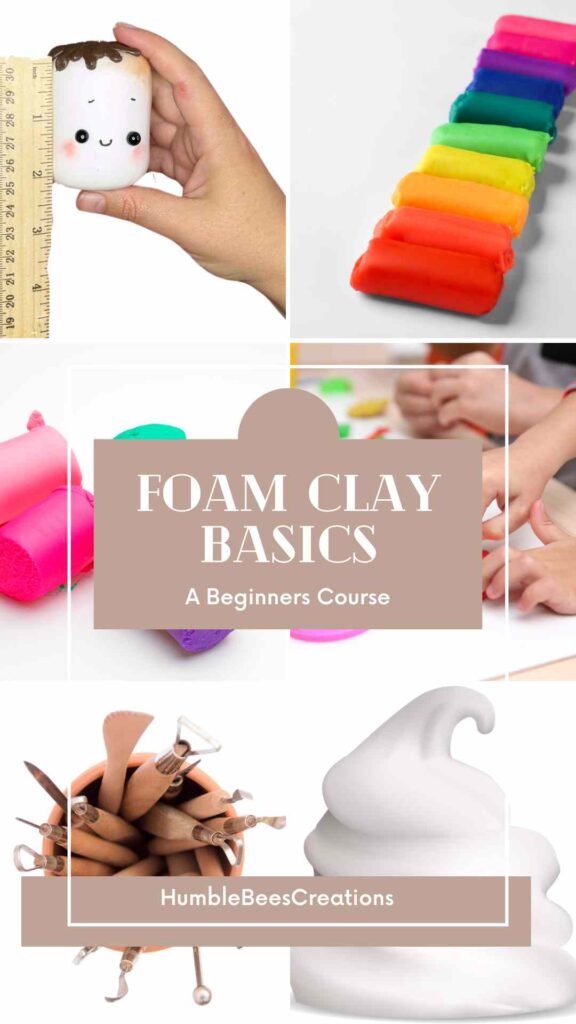
Welcome to my Foam Clay 101 mini class. In this lesson I will teach you about what a good quality foam clay is like, where you can buy foam clay and the best practices that I use on a daily basis. There is so many options here in the US for different brands of foam clay. I use Bohs foam clay because it’s a great quality at a good price. If you want to see a few other options watch this video where I compare 6 different brands. The Ultimate Foam Clay Comparison
This post contains affiliate links, which means I make a small commission at no extra cost to you. See my full disclosure here
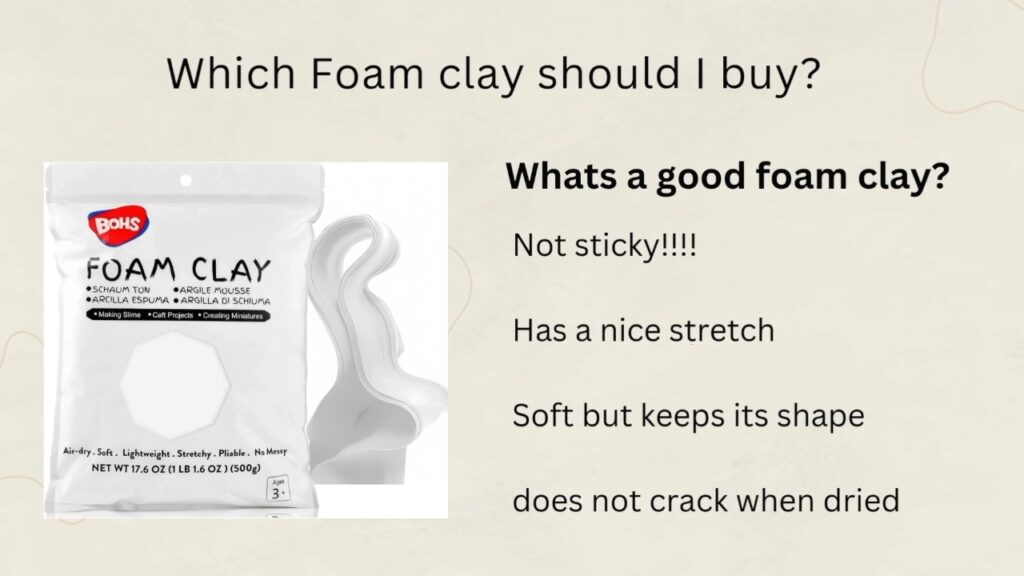
How to recognize a good quality foam clay?
Foam clay is a very soft and stretchy clay. I go more in detail of what foam clay is made of in this post (Everything you need to know about Foam Clay). It should not be sticky. It should have a nice stretch. And even though it is satisfyingly soft it should still keep its shape when you sculpt your creation. Lastly, it should not crack when it dries.
If your foam clay is sticky or too soft to keep its shape, I do have some tips for you. We will learn more about troubleshooting clay in a later lesson but if you need immediate help watch this video (How to fix sticky clay) where I talk about how to fix sticky clay or stiffen up clay so you can better work with it.
If you read this far then I highly suggest you come join our Facebook group. We have lots of foam clay artists who all share their creations, give tips and inspire each other with new ideas.
Now let’s talk about what to do to successfully use foam clay to create fun characters.
Clean work surface, tools and hands

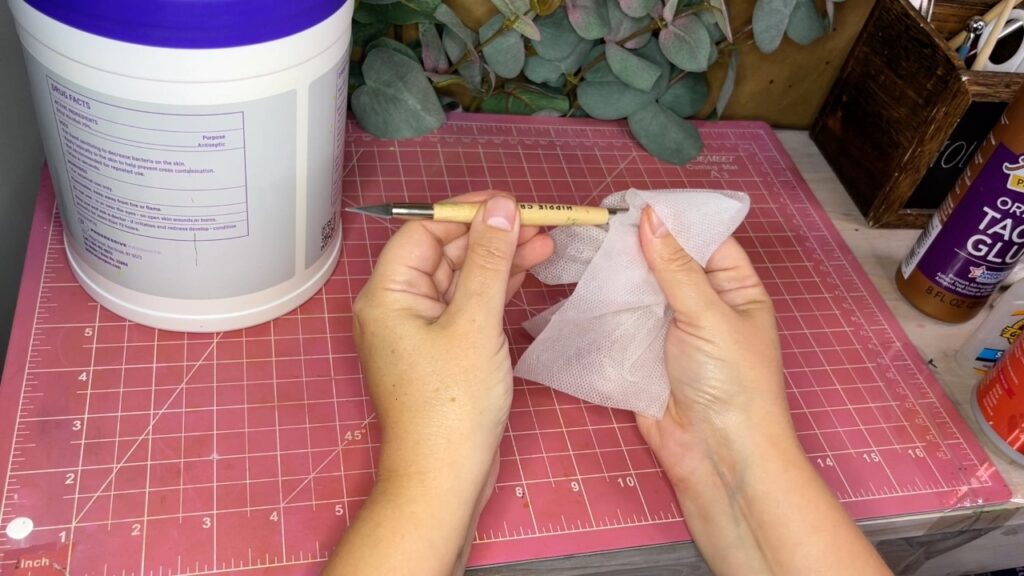
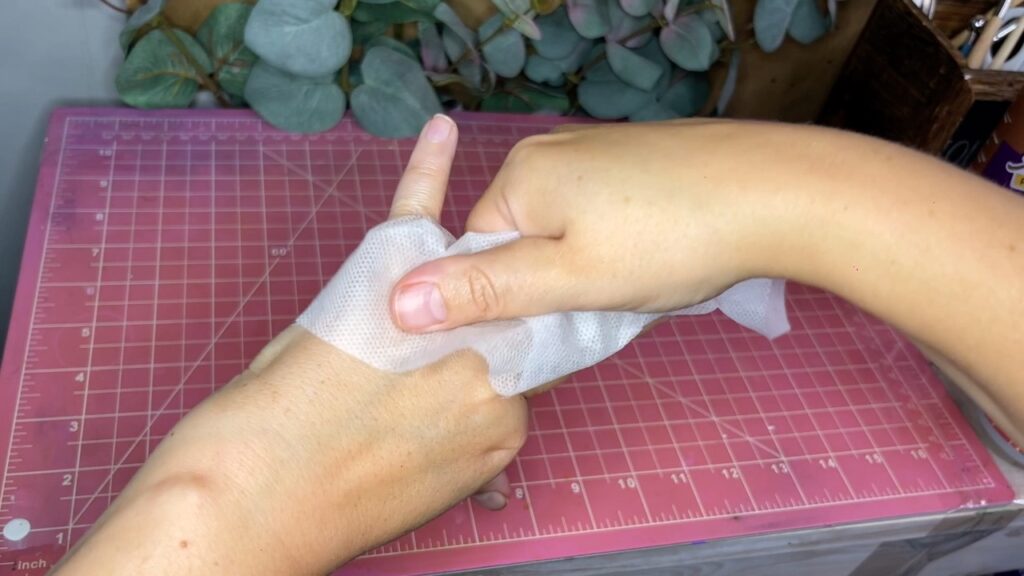
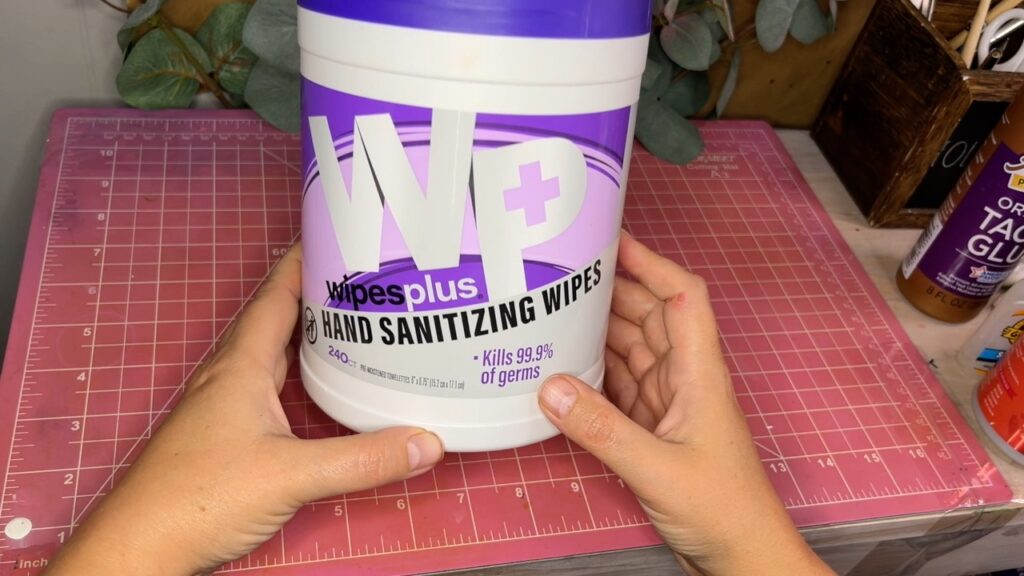
The most important thing is to have a very clean and non porous surface. I use alcohol wipes to clean anything – tools, surfaces and my hands. I find they are the most convenient for me to use.
Conditioning clay and getting it ready
The first thing you want to do when you get your clay out of the bag is to condition it. Basically just mixing and kneading the clay to get all the air bubbles out of it. That will help you to create that super smooth look that everyone loves.
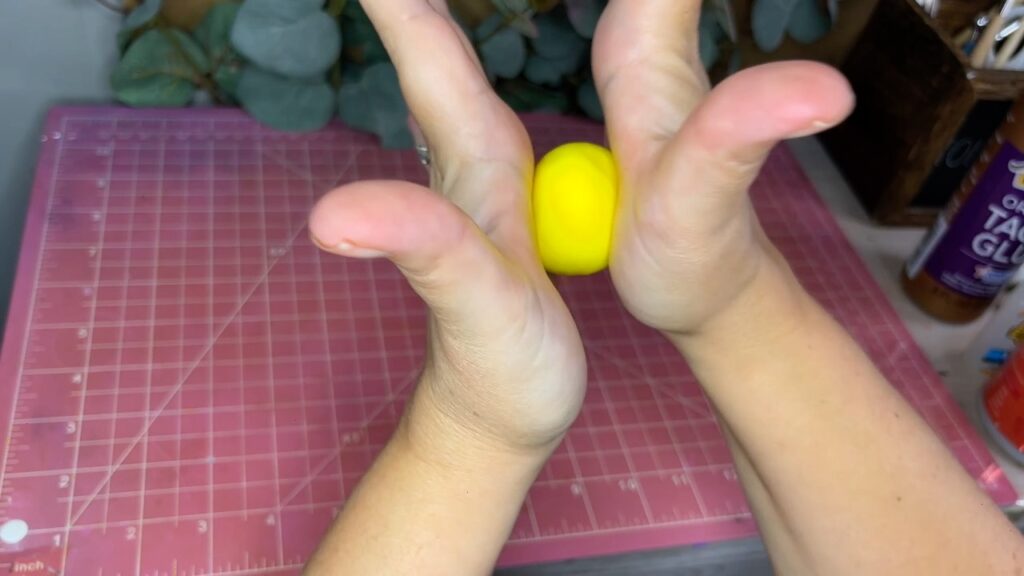
One key step for a wrinkle-free surface is to use your palms and use a decent amount of pressure. Just keep rolling it between your palms and iron out any of the wrinkles that you can see.
Work Quick, its an air dry clay!
One thing to keep in mind, it is an air dry clay so you don’t have all the time in the world. You want to be working as quick as you can. If you do take too long, you can always remix it and start again. I do it all the time.
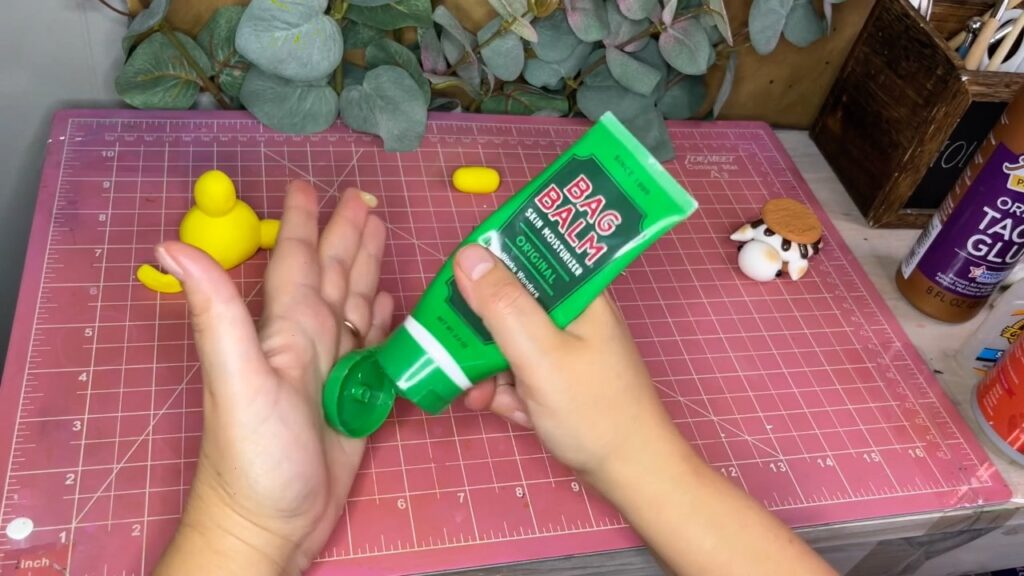
My tip to slow down the drying process is to use a little bit of Vaseline or bag balm. It will cover the surface of the clay and just slow down the drying process. It also helps you to slide over the surface for sculpting even if you use tools and it will avoid any stretch marks.
How to join two pieces together?
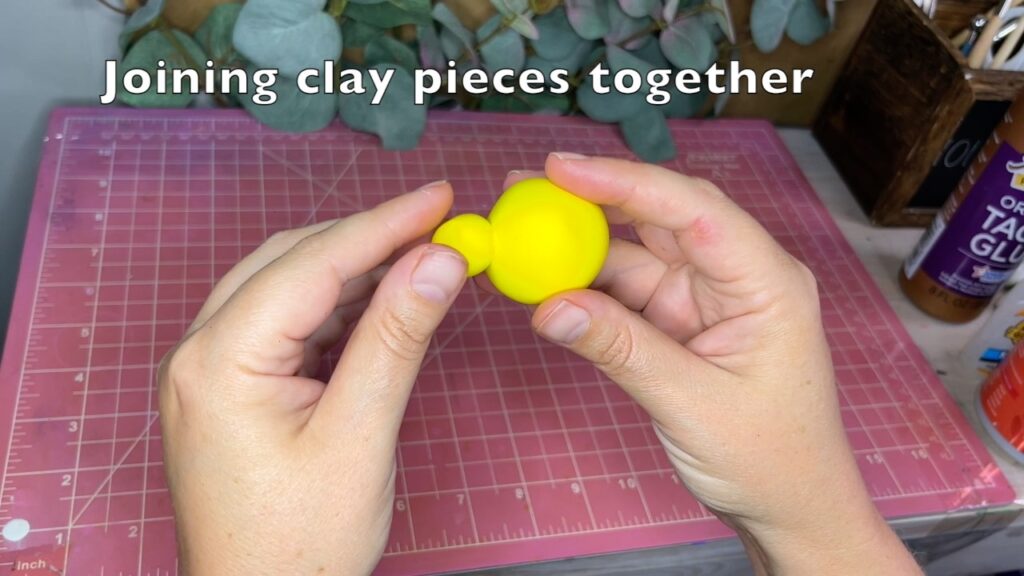
As long as your clay is still wet, it will stick together without any glue. Now one thing to avoid is once you put those two pieces together, don’t move it any more. It will create ugly joints if you keep wiggling it around. The best way to create clean joints is to plop it on there and leave it alone.
How do you get such a smooth surface?

The most common cause I think that creates wrinkles for people is that they manipulate the clay after it has dried for a few minutes. They might think it’s still okay to move but it is not, especially if you have a pretty dry clay to from the get go. If you want to create an S-curve for example, you gotta do it right after you shape it. Smooth and mix the clay, roll it into the shape you need, curve it. Don’t manipulate it much longer after this. That will create a smooth, wrinkle free surface with the desired curve.

How do you avoid legs or arms breaking off easily?
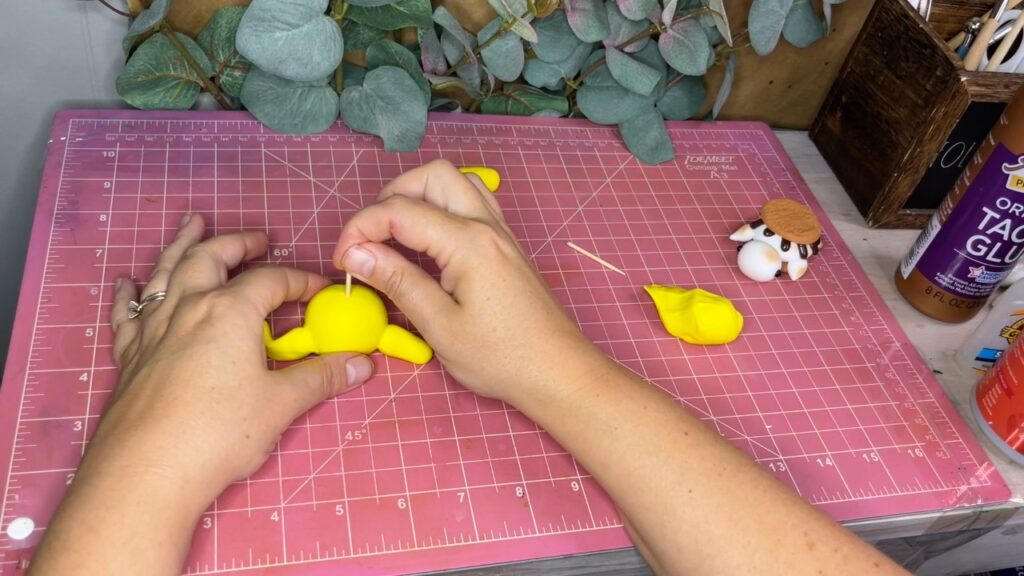
For joints of any type, I use a toothpick. You can use the toothpick together with a glue if your clay is dry and wont stick t each other. That’s what I do for my turtles. It is the strongest joint you can achieve in a foam clay figure.
You can use any of these glues. I use the Gorilla Glue the most and make sure it’s the gel kind or else it’ll drip all over the place. Now if you create two pieces, let them dry separately or if you created them and you waited a little bit too long and the surfaces don’t grip anymore, then that’s when you definitely have to use some glue.
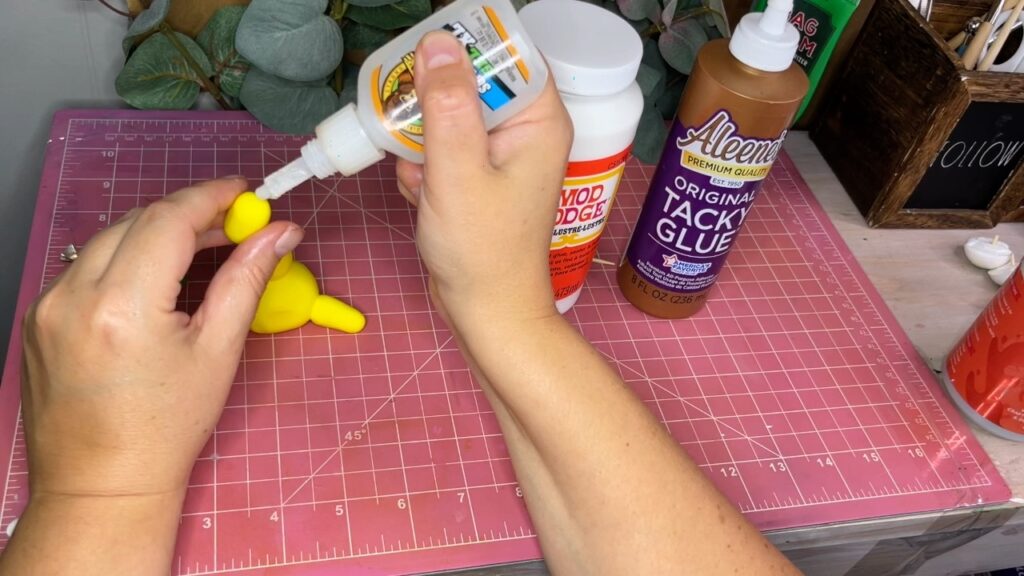
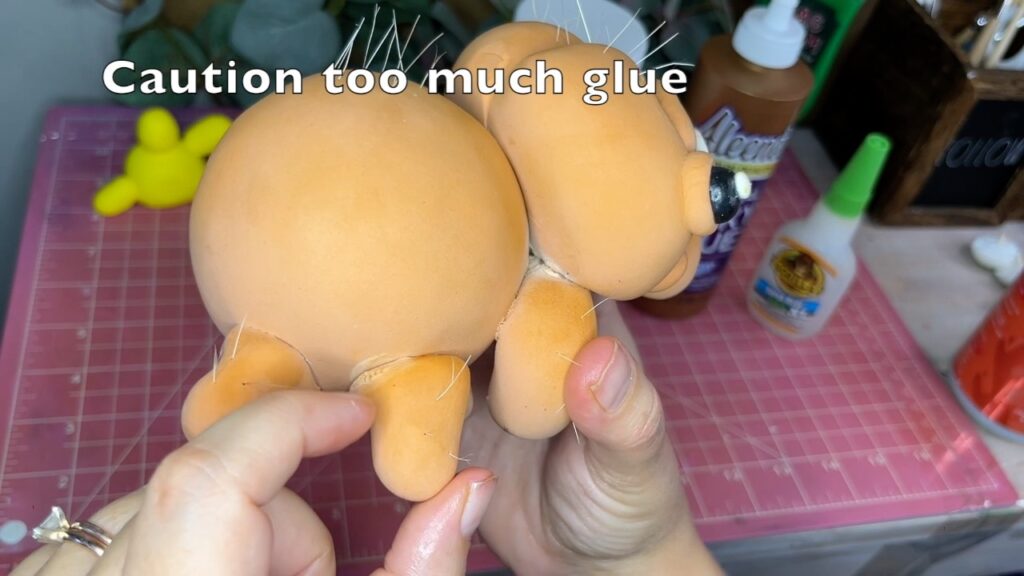
You want to use very little in the center of the piece that you’re putting on because you want to avoid spilling of the glue out of the joint.
This is what happens if glue spills out. Not a good look. So use it sparingly.
Can you seal foam clay?
Many people wonder about sealing foam clay to make it waterproof or protect it from dirt. Yes you can and will learn about it in lesson 05. My only tip is wait until it is fully dried. I would wait at least two weeks. This will ensure no more shrinkage will occur that could cause any ugly wrinkles or cracks in the varnish.
Whats next?
In the next lesson I will talk all about tools. Which tools are the most common tools I use on a daily basis and how to use them to sculpt.
Thank you for reading, I hope this was helpful to you. Please let me know if you have any questions. You can comment here, or message me on Facebook.
Leave a Reply