
This project is part of my earlier foam clay collection. Some details may use older techniques, older measurements (including grams), or early versions of my size-based system.
I’m keeping it here for free because many people still enjoy it, but it isn’t part of the updated beginner path or the improved printable library.
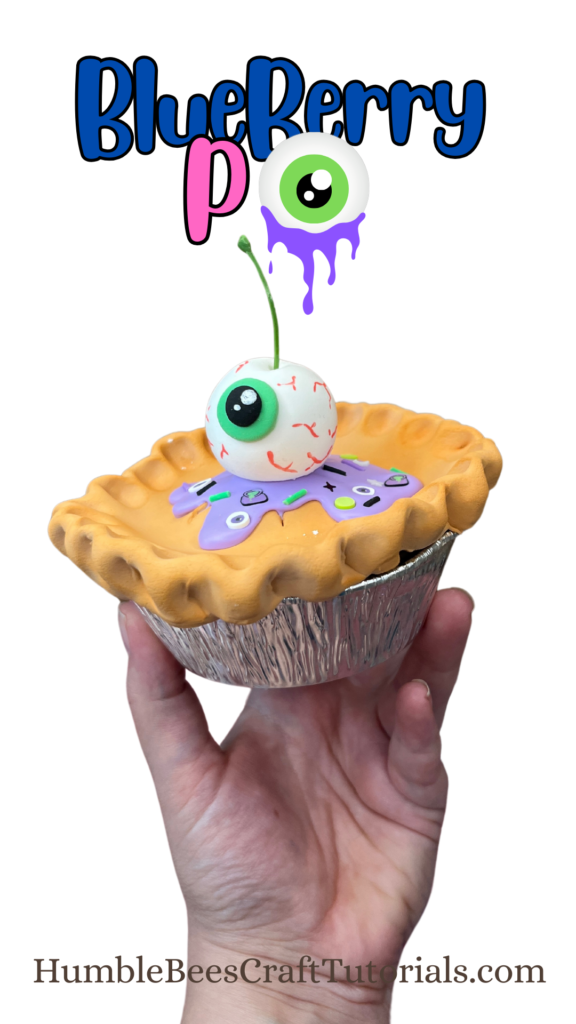
Learn how to create a blue berry pie out of foam clay using real baking techniques!! Makes a fun halloween tiered tray decoration or can be turned into an ornament because it is so light weight. Learn how to make the frosting and use it to decorate many other creations. Fake baking is so much fun!
Read till the end as I share valuable lessons I learned creating this spooky halloween pie.
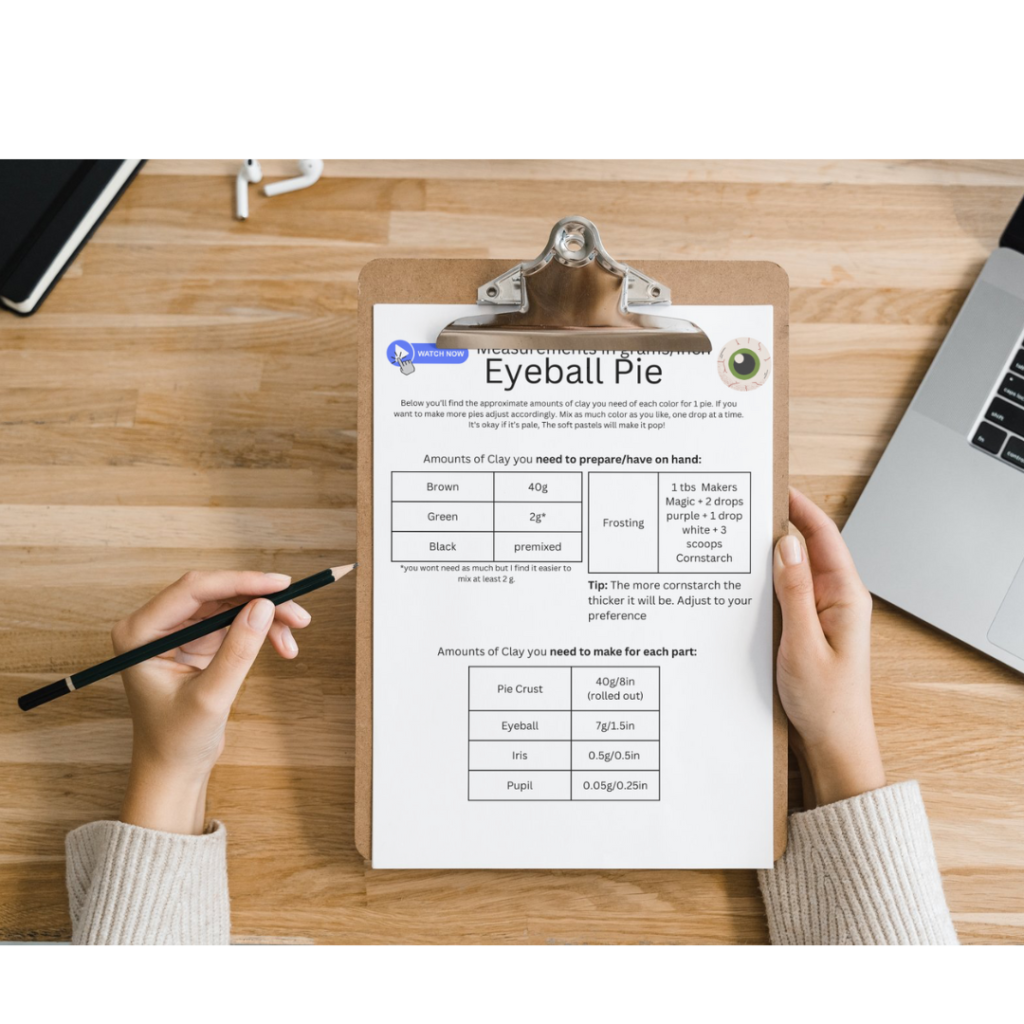
Get Printable Measurements List when you subscribe to my Newsletter
This post contains affiliate links, which means I make a small commission at no extra cost to you. See my full disclosure here
Crafting with foam clay is not just about creating cute figures; it’s like a therapy session that’s all about relaxation and pure enjoyment. Imagine the joy of squishing, molding, and creating without any mess – that’s the beauty of foam clay! It’s not just for the kids; adults can totally get in on the fun too. Especially when creating cake desserts and cakes. If you’re looking for a creative outlet that’s soothing and brings out your inner Baker, foam clay is the way to go! It’s a fantastic way to combine the love for beautiful desserts with the desire to create something everlasting. What are you waiting for? let’s get those creative vibes flowing together! 🌈✨
Tips for working with Foam Clay
- If you have a particular soft and sticky clay I suggest to let it dry just a little bit and then mix it well or you can add a different type of clay called SOFT Clay. This will take the tackiness out and give the foam the needed support to hold its shape.
- The Secret to a super smooth and wrinkle-free appearance is your palm and the right pressure. When you roll the clay between your palms don’t be afraid to really squish and roll it around. This will ensure all the wrinkles disappear. Then you lessen the pressure and shape it into its final form.
- if you are trying to save money and color your own clay, use Gel Food Colors. I find that acrylic colors will mess up the clay’s consistency and dry it out, which makes it difficult to work with.
If you are brand new to foam clay watch my beginner playlist on youtube that will go more into detail and teach you everything you need to know about foam clay.
Let’s get started!
MATERIALS YOU WILL NEED:
Toothpicks
Mix your own Colors
Don’t be afraid of mixing your colors. It gives you so much more control of “waste”. Especially if you find yourself using a color very rarely but still need it on hand for THAT ONE project. I use Chefmaster gel food colors, but also use Wilton gel colors. Both are great, I just prefer the bottle style over the tubes for easy application. One thing people don’t like about mixing their own colors is that they are afraid of running out and then not being able to mix the same exact shade again. I get that!!! And I tried to make it a “science” creating a coloring recipe BUT it’s no fun! It’s not necessary IF you can make sure you make enough for your project in one go. If you download my measurememts you will know exactly how much you will need.
The gel colors are easier to mix than regular liquid and don’t mess with the consistency of the clay as much as you might will. I rarely get the clay to the final shade, because I love to finish off with soft pastels for that extra brightness and soft look. So you never have to add tons of gel color, just enough to get the “background” shade you desire.
Take all my measurements with a grain of salt. It’s really just to get you some framework. Every clay is different and every food color is too. So adjust to your situation and don’t stress about being accurate!
WATCH THE FULL TUTORIAL HERE:
Step 1: Color your Clay
For a printable measurement lists subscribe to my free newsletter and join my private group. You will find all the lists under “files” at the top of the groups homepage.
Take about 40g of white foam clay and add 1 drop brown gel food color at a time. Mix very well, have some fun with it and enjoy the sensory stimulation. It is very satisfying to mix and knead the clay. Add some more as needed and experiment with adding some yellow, or even some orange.
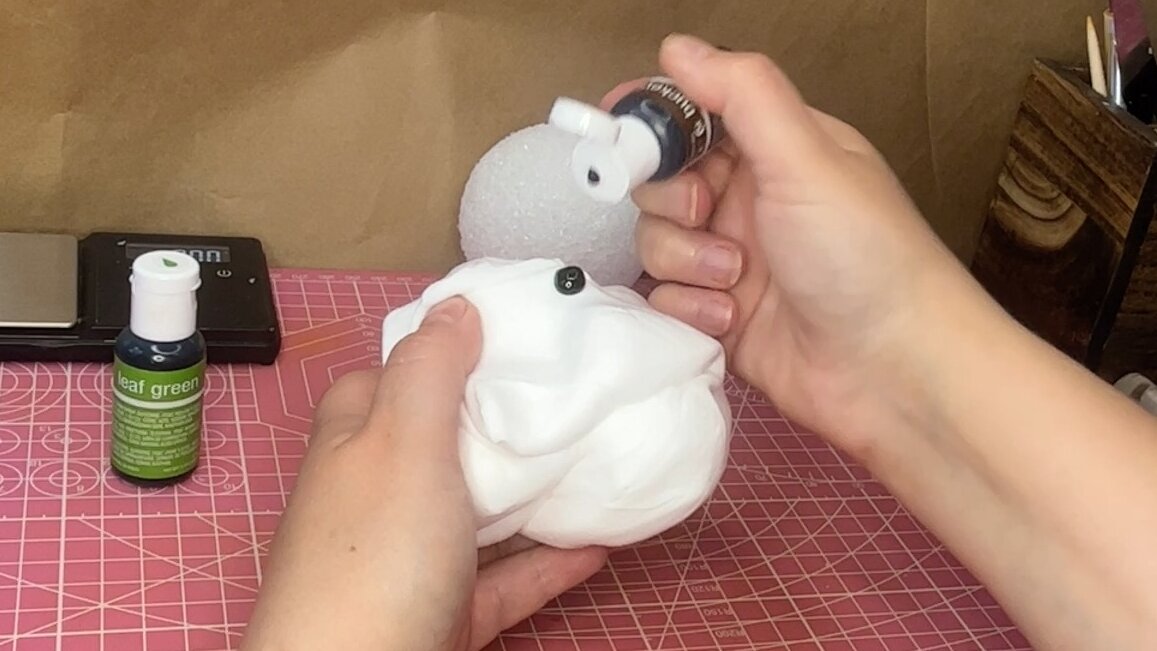
You will also need a small amount of green clay. I recommend never to mix any smaller that 2g or else it gets too messy. Add 1 drop of green to your clay and mix very well.
Make sure you also have some black clay ready to use. Black is the only “color” I do not mix. It will never look as pigmented as it comes pre packaged. So save yourself some time and buy a bag of black clay to have on hand.
Step 2: Prepare the “Filling”
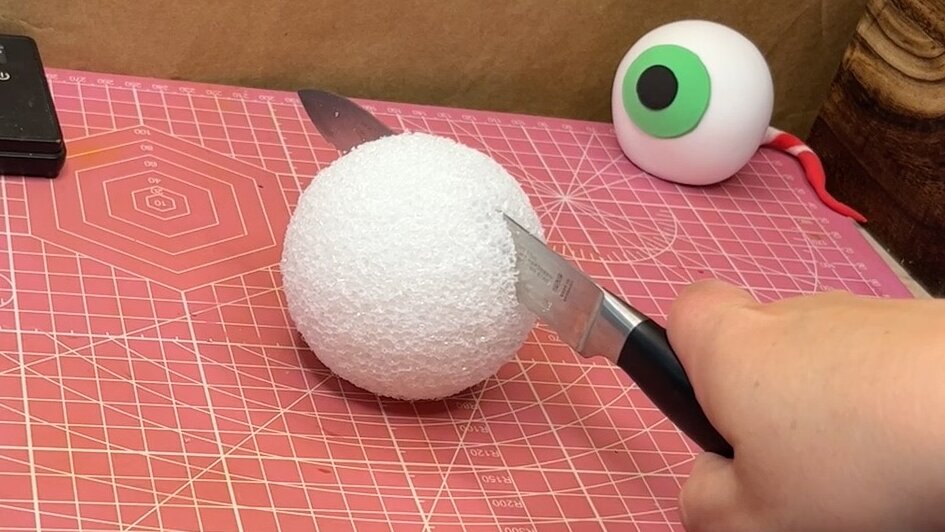
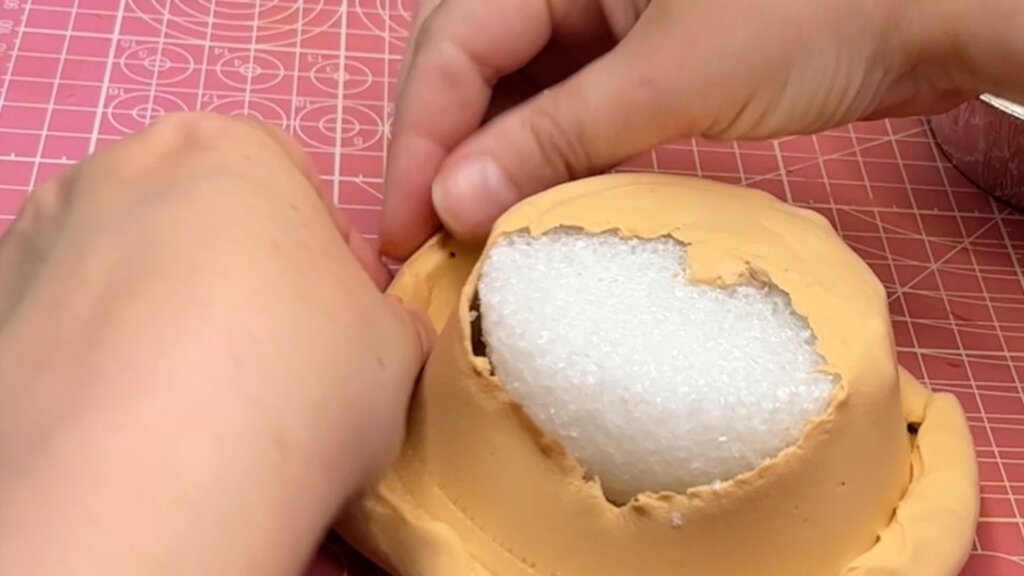
Cut a 3 inch styrofoam ball in two pieces. If you want your pie to be more round cut 3/4. Mine is almost at half and I wish made it a bit bigger. Next time!
TIP: You can skip the bottom layer!!! I watched too many real pie making videos and realized too late that you will not see the bottom part, if you use a small pie dish. So save that clay for something else! You still need 40g to roll out for the top layer.
Make sure you read the tips at the end of the post as I have a few tricks on how to avoid bubbles when rolling out the clay and more.
Step 3: Make the Pie
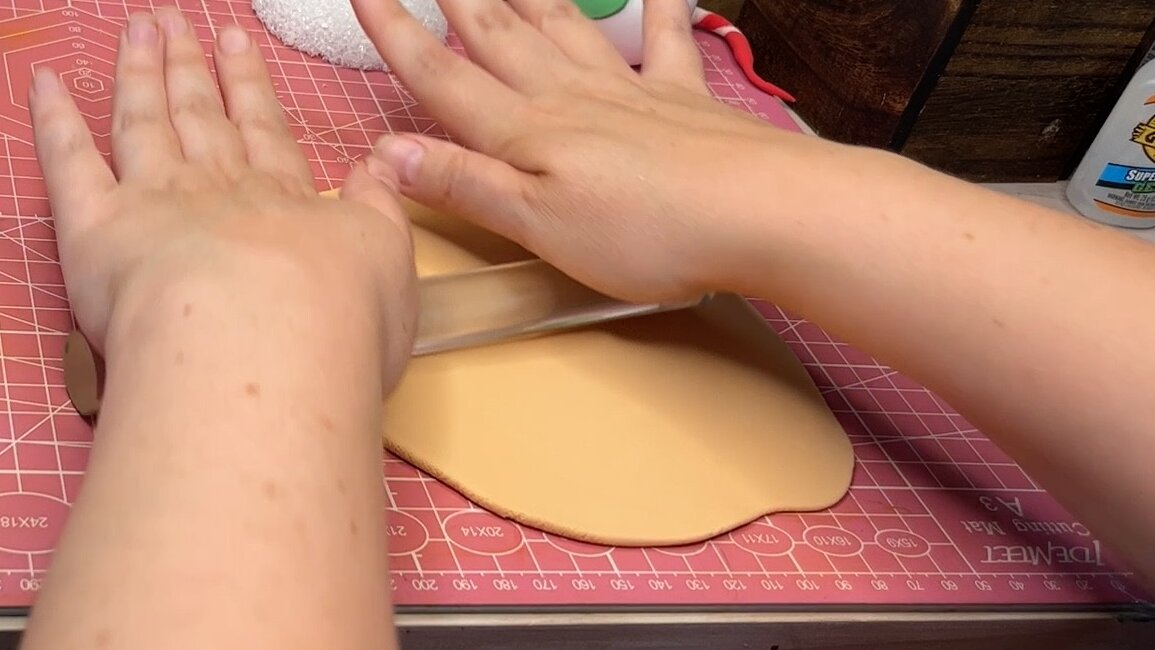
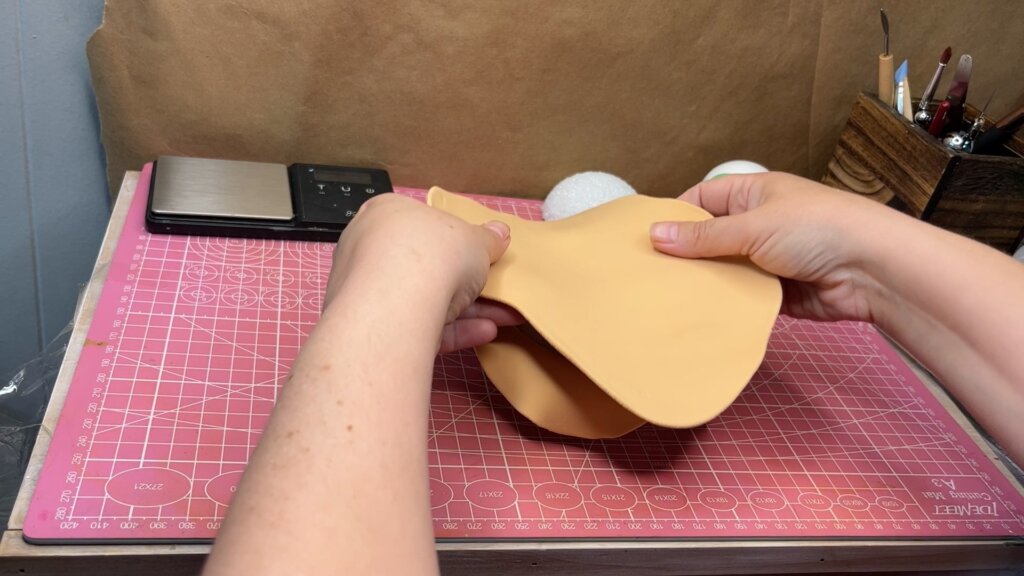
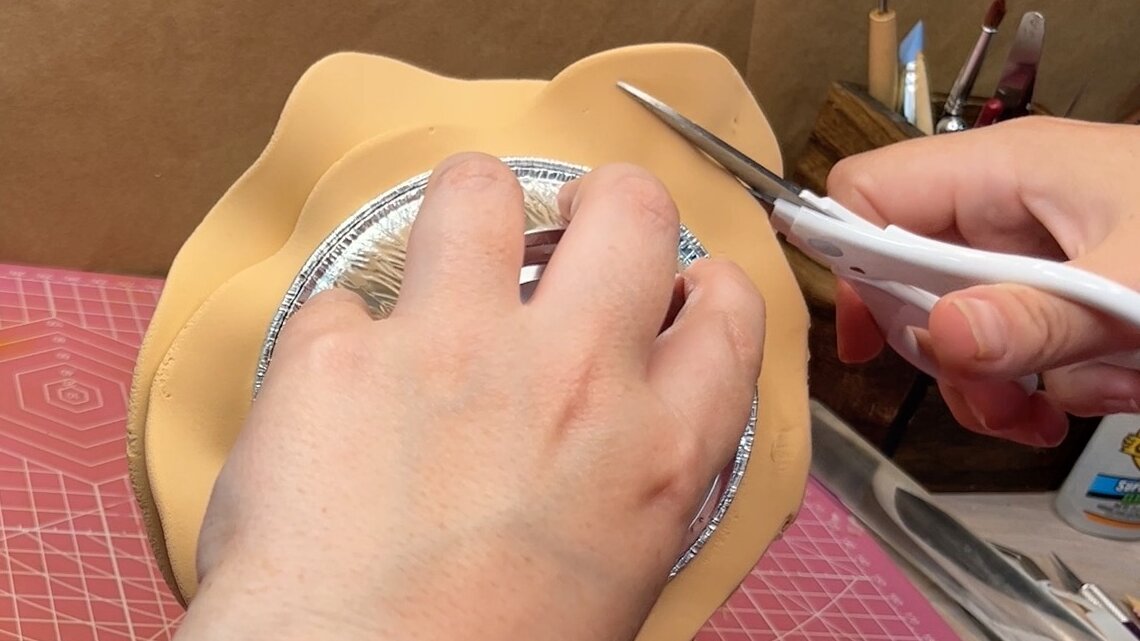
Roll out your brown clay to about 1/4 inch. Then drape it over the styrofoam ball. Cut off the excess but leave 1-1.5 inch overhang.
Next fold the overhang under and work your way all around the pie.
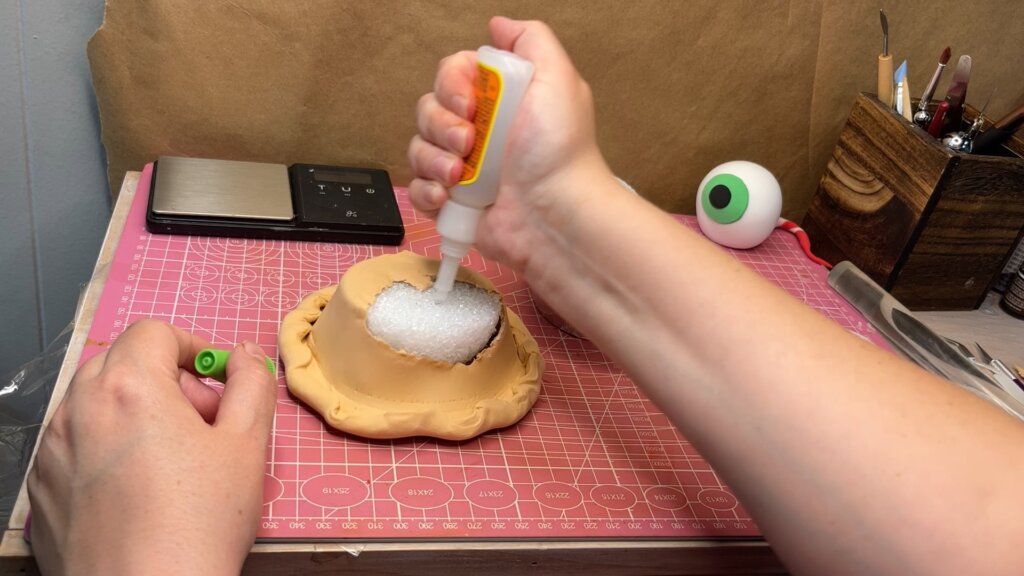
Add some glue to the bottom to secure the pie in the dish
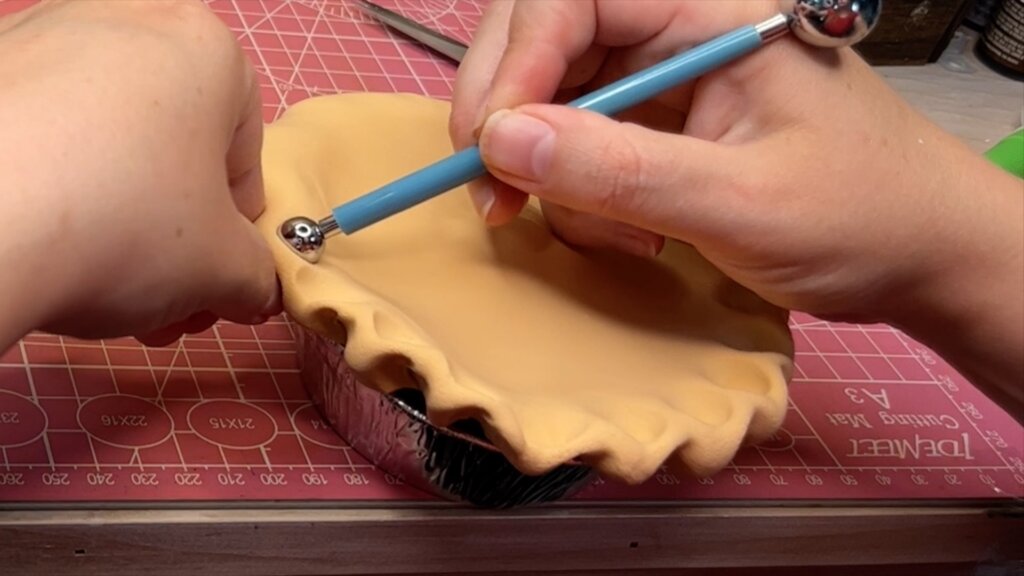
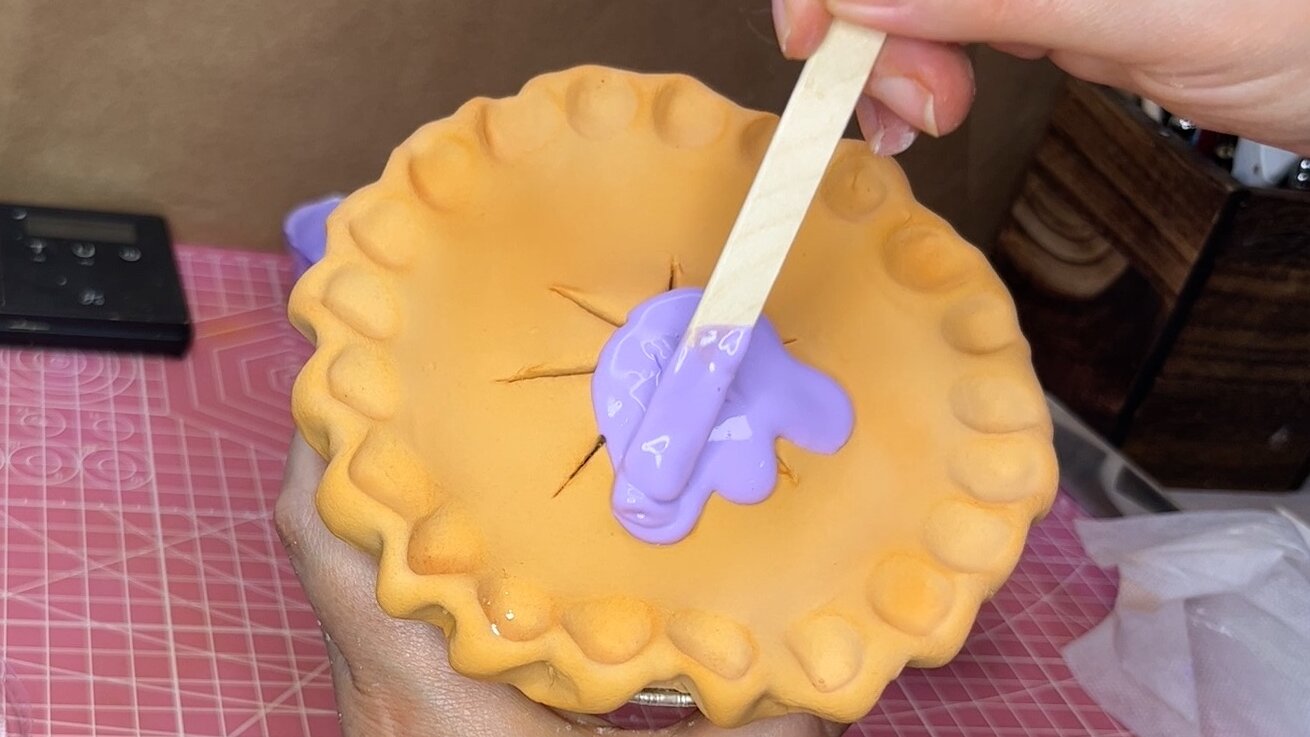
Use a large ball tool or your knuckle and crimp the crust. Then cut vent slits in the middle using a knife or spatula.
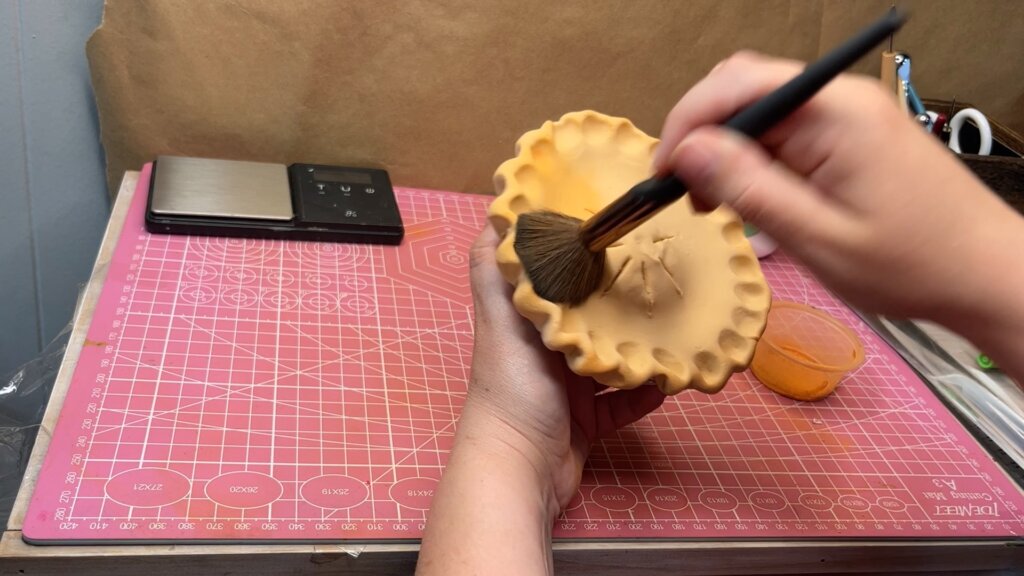
Shade with brown pastels to give it the baked look.
Step 4: Blueberry sauce
I am experimenting with a few recipes for sauces and frostings. For right now we are still eyeballing but I will be coming out with some printable recipe books for you! So stay tuned and make sure you subscribe to get notified when they are ready.
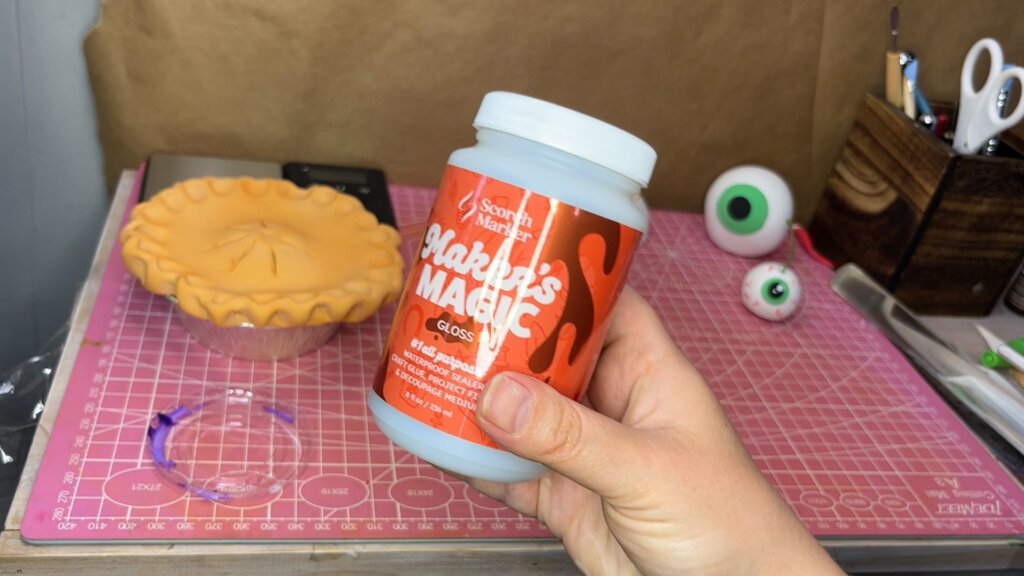
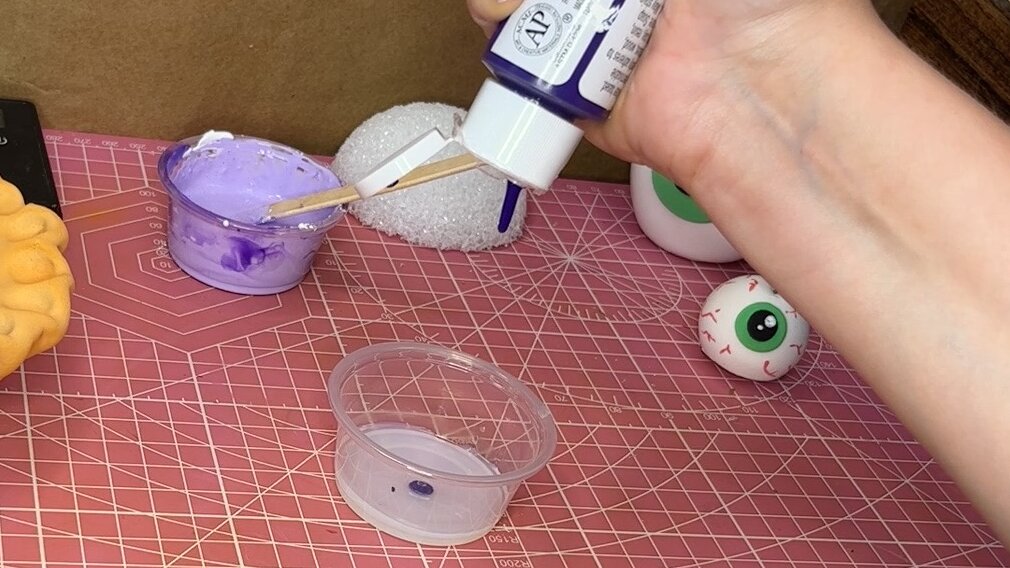
This time I decided to use makers magic instead of mod podge. You can use mod podge, just might get slightly different results. Add couple drops of purple and one drop of white. It’s important to add some white to lessen the darkening of the frosting while it’s drying. At the end I will show you a couple pictures of a pie where I did not add the white!
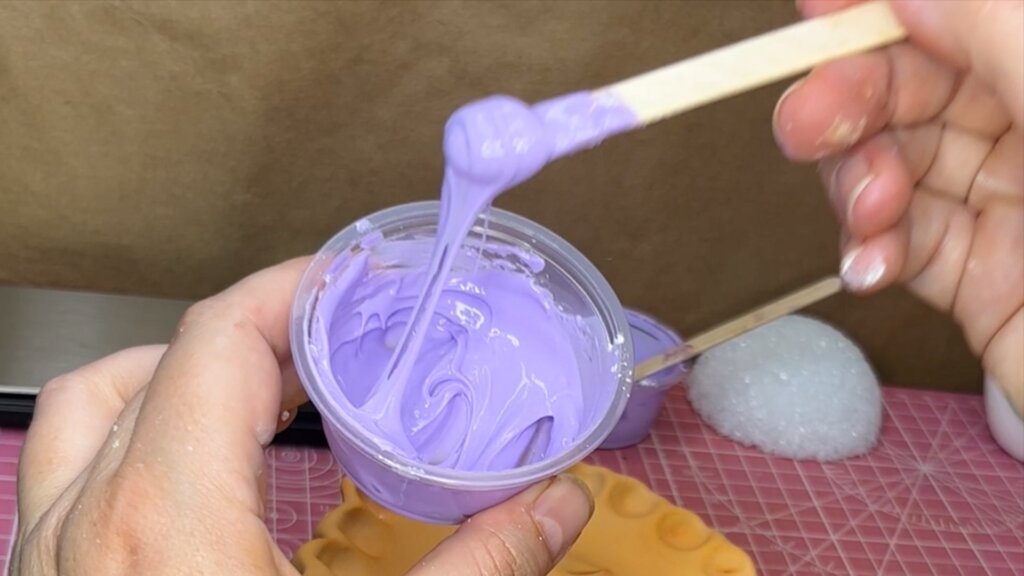
Add a couple scoops of corn starch. (I heard you can use baby powder if you don’t want to use cornstarch, I will be testing this soon) This will thicken the sauce and gives it a 3D effect when its dried. mix very well to get rid of all the clumps
when you spread the frosting, work with gravity not against it. push it in the direction you want it to go and then let it run down to smooth out your streaks. It will give you a very nice drip effect.
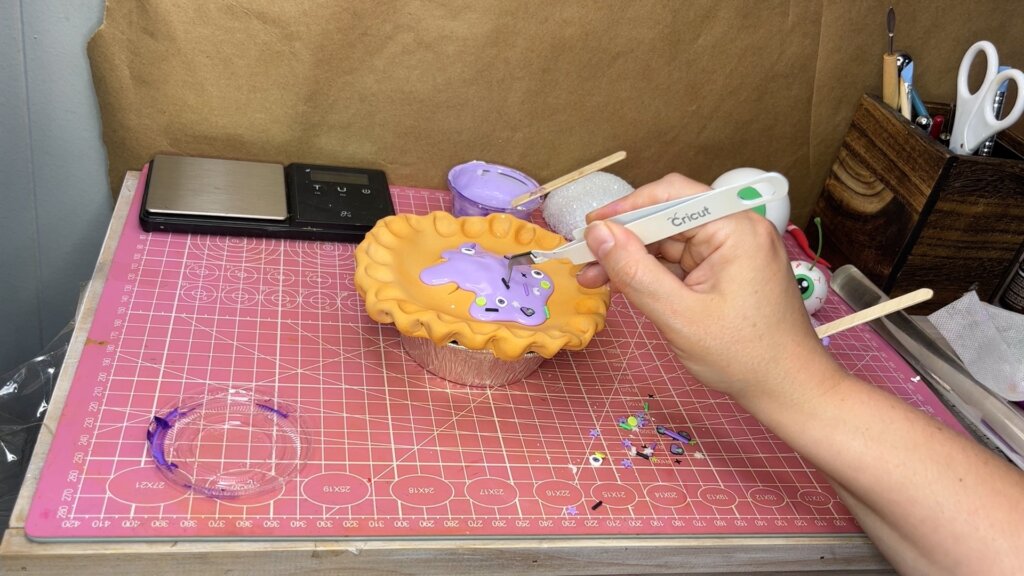
I get my sprinkles from Playcode3. They have a huge variety to choose from and great prices.
I like to add them with tweezers instead of sprinkling them, so they distribute evenly.
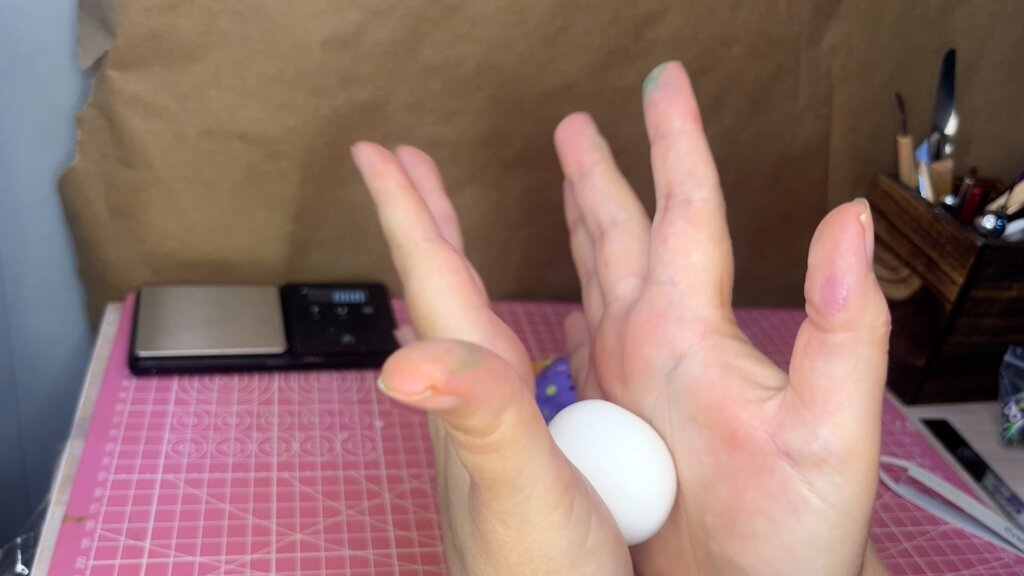
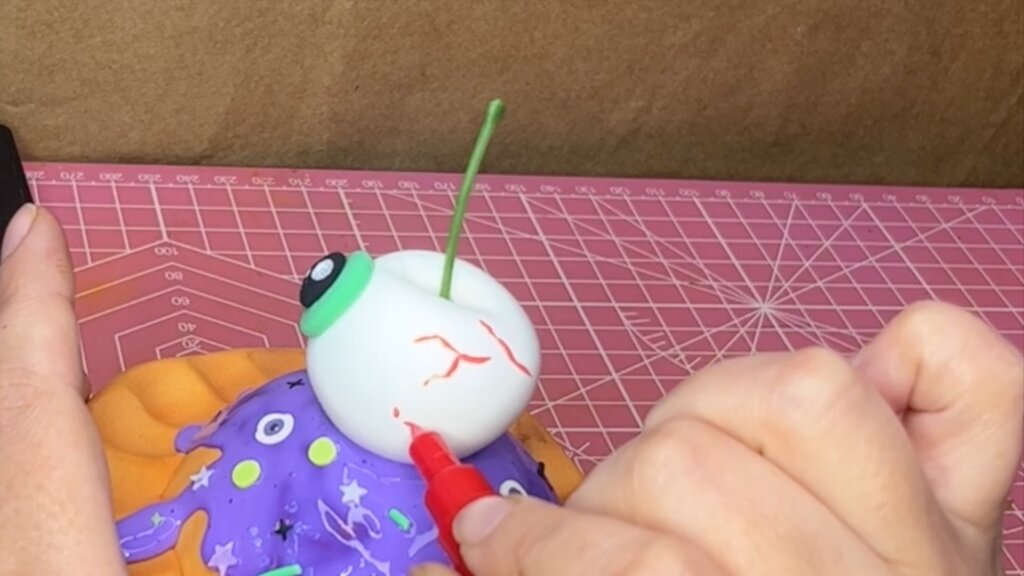
Step 5: The Eyeball
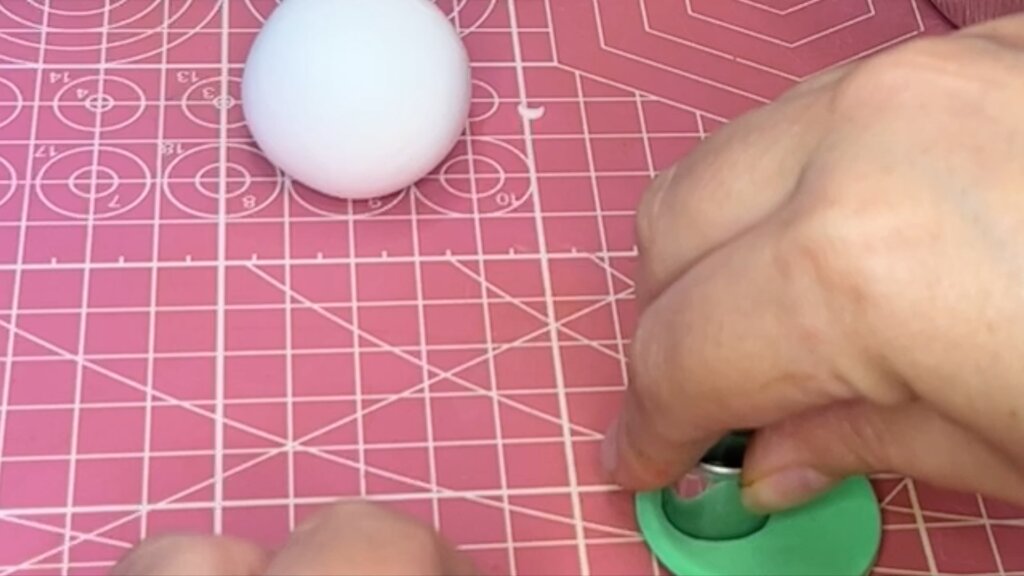
Shape 7g of white clay into a ball. Cut out a 0.5inch circle of green clay with a cookie cutter and form a small (about 0.25inch) pupil from black clay.
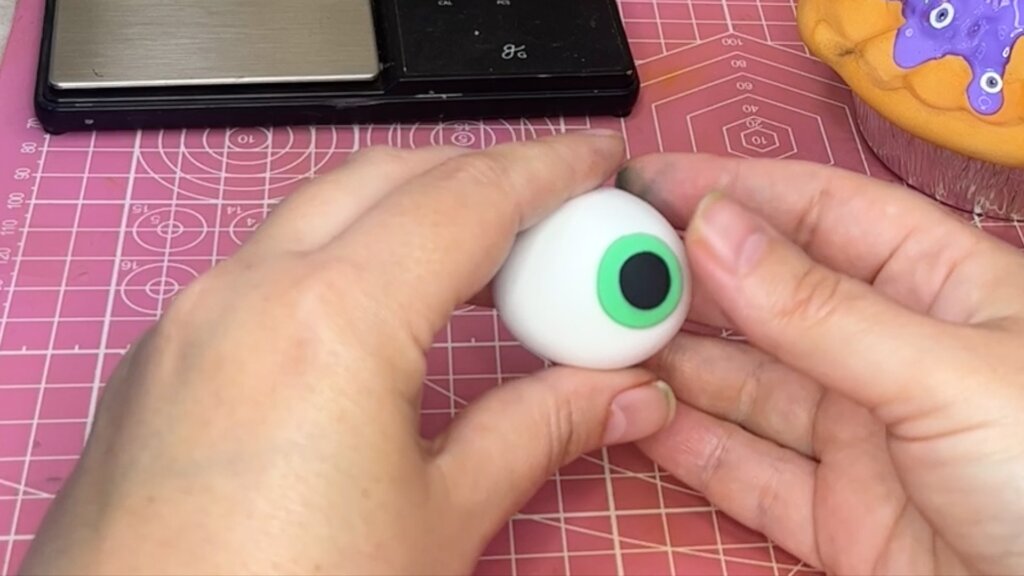
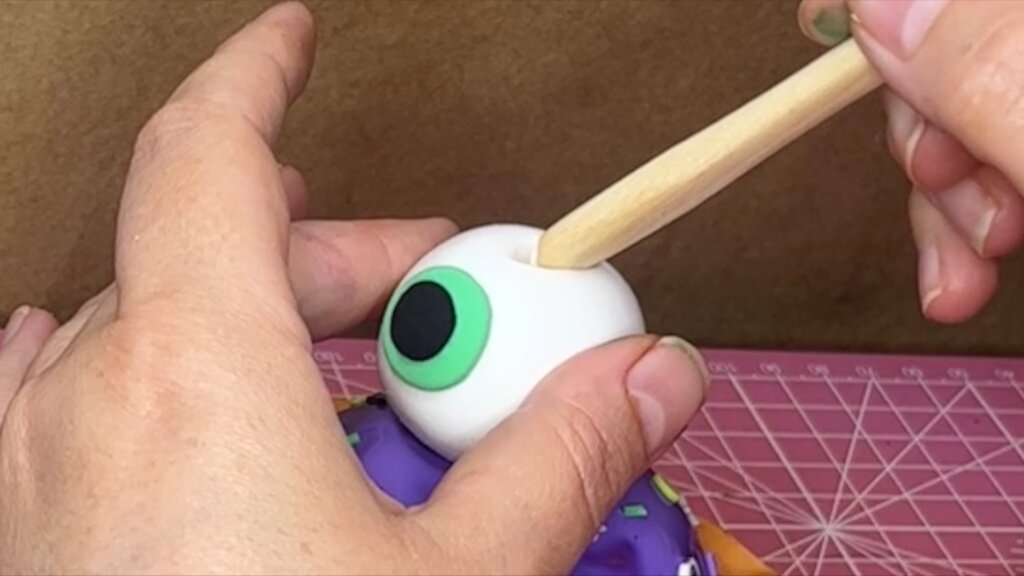
Attach the iris first then add the pupil on top. Imitate the cherry look and make a small indentation on the top. Then stick a fake cherry stem inside.
Let it dry for a bit (20 mins) before you start drawing details on it. This will help to keep its shape and avoid any bleeding off pigments.

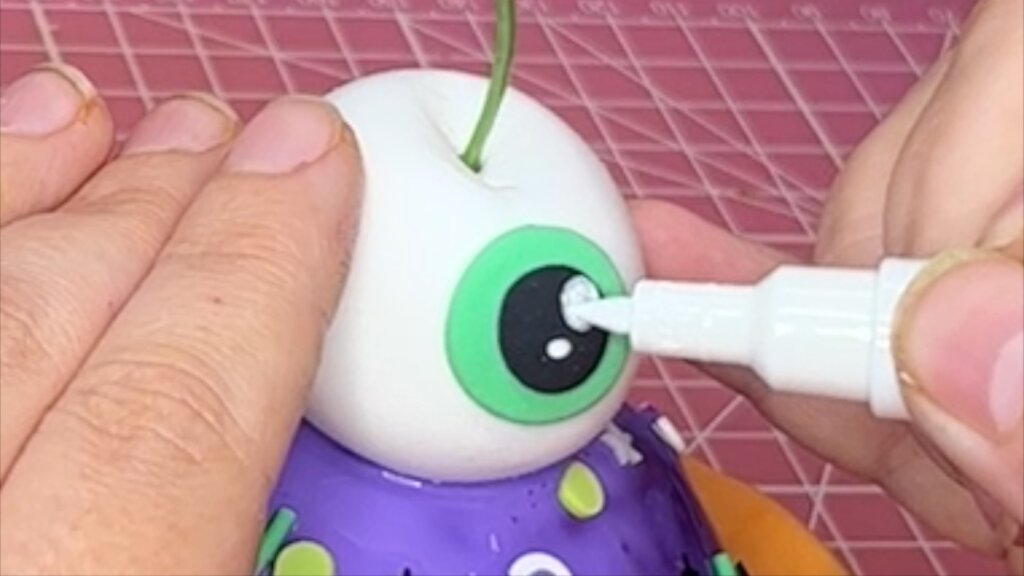
Use a red acrylic pen to draw the bloddvessels and add a white spark on the pupil.
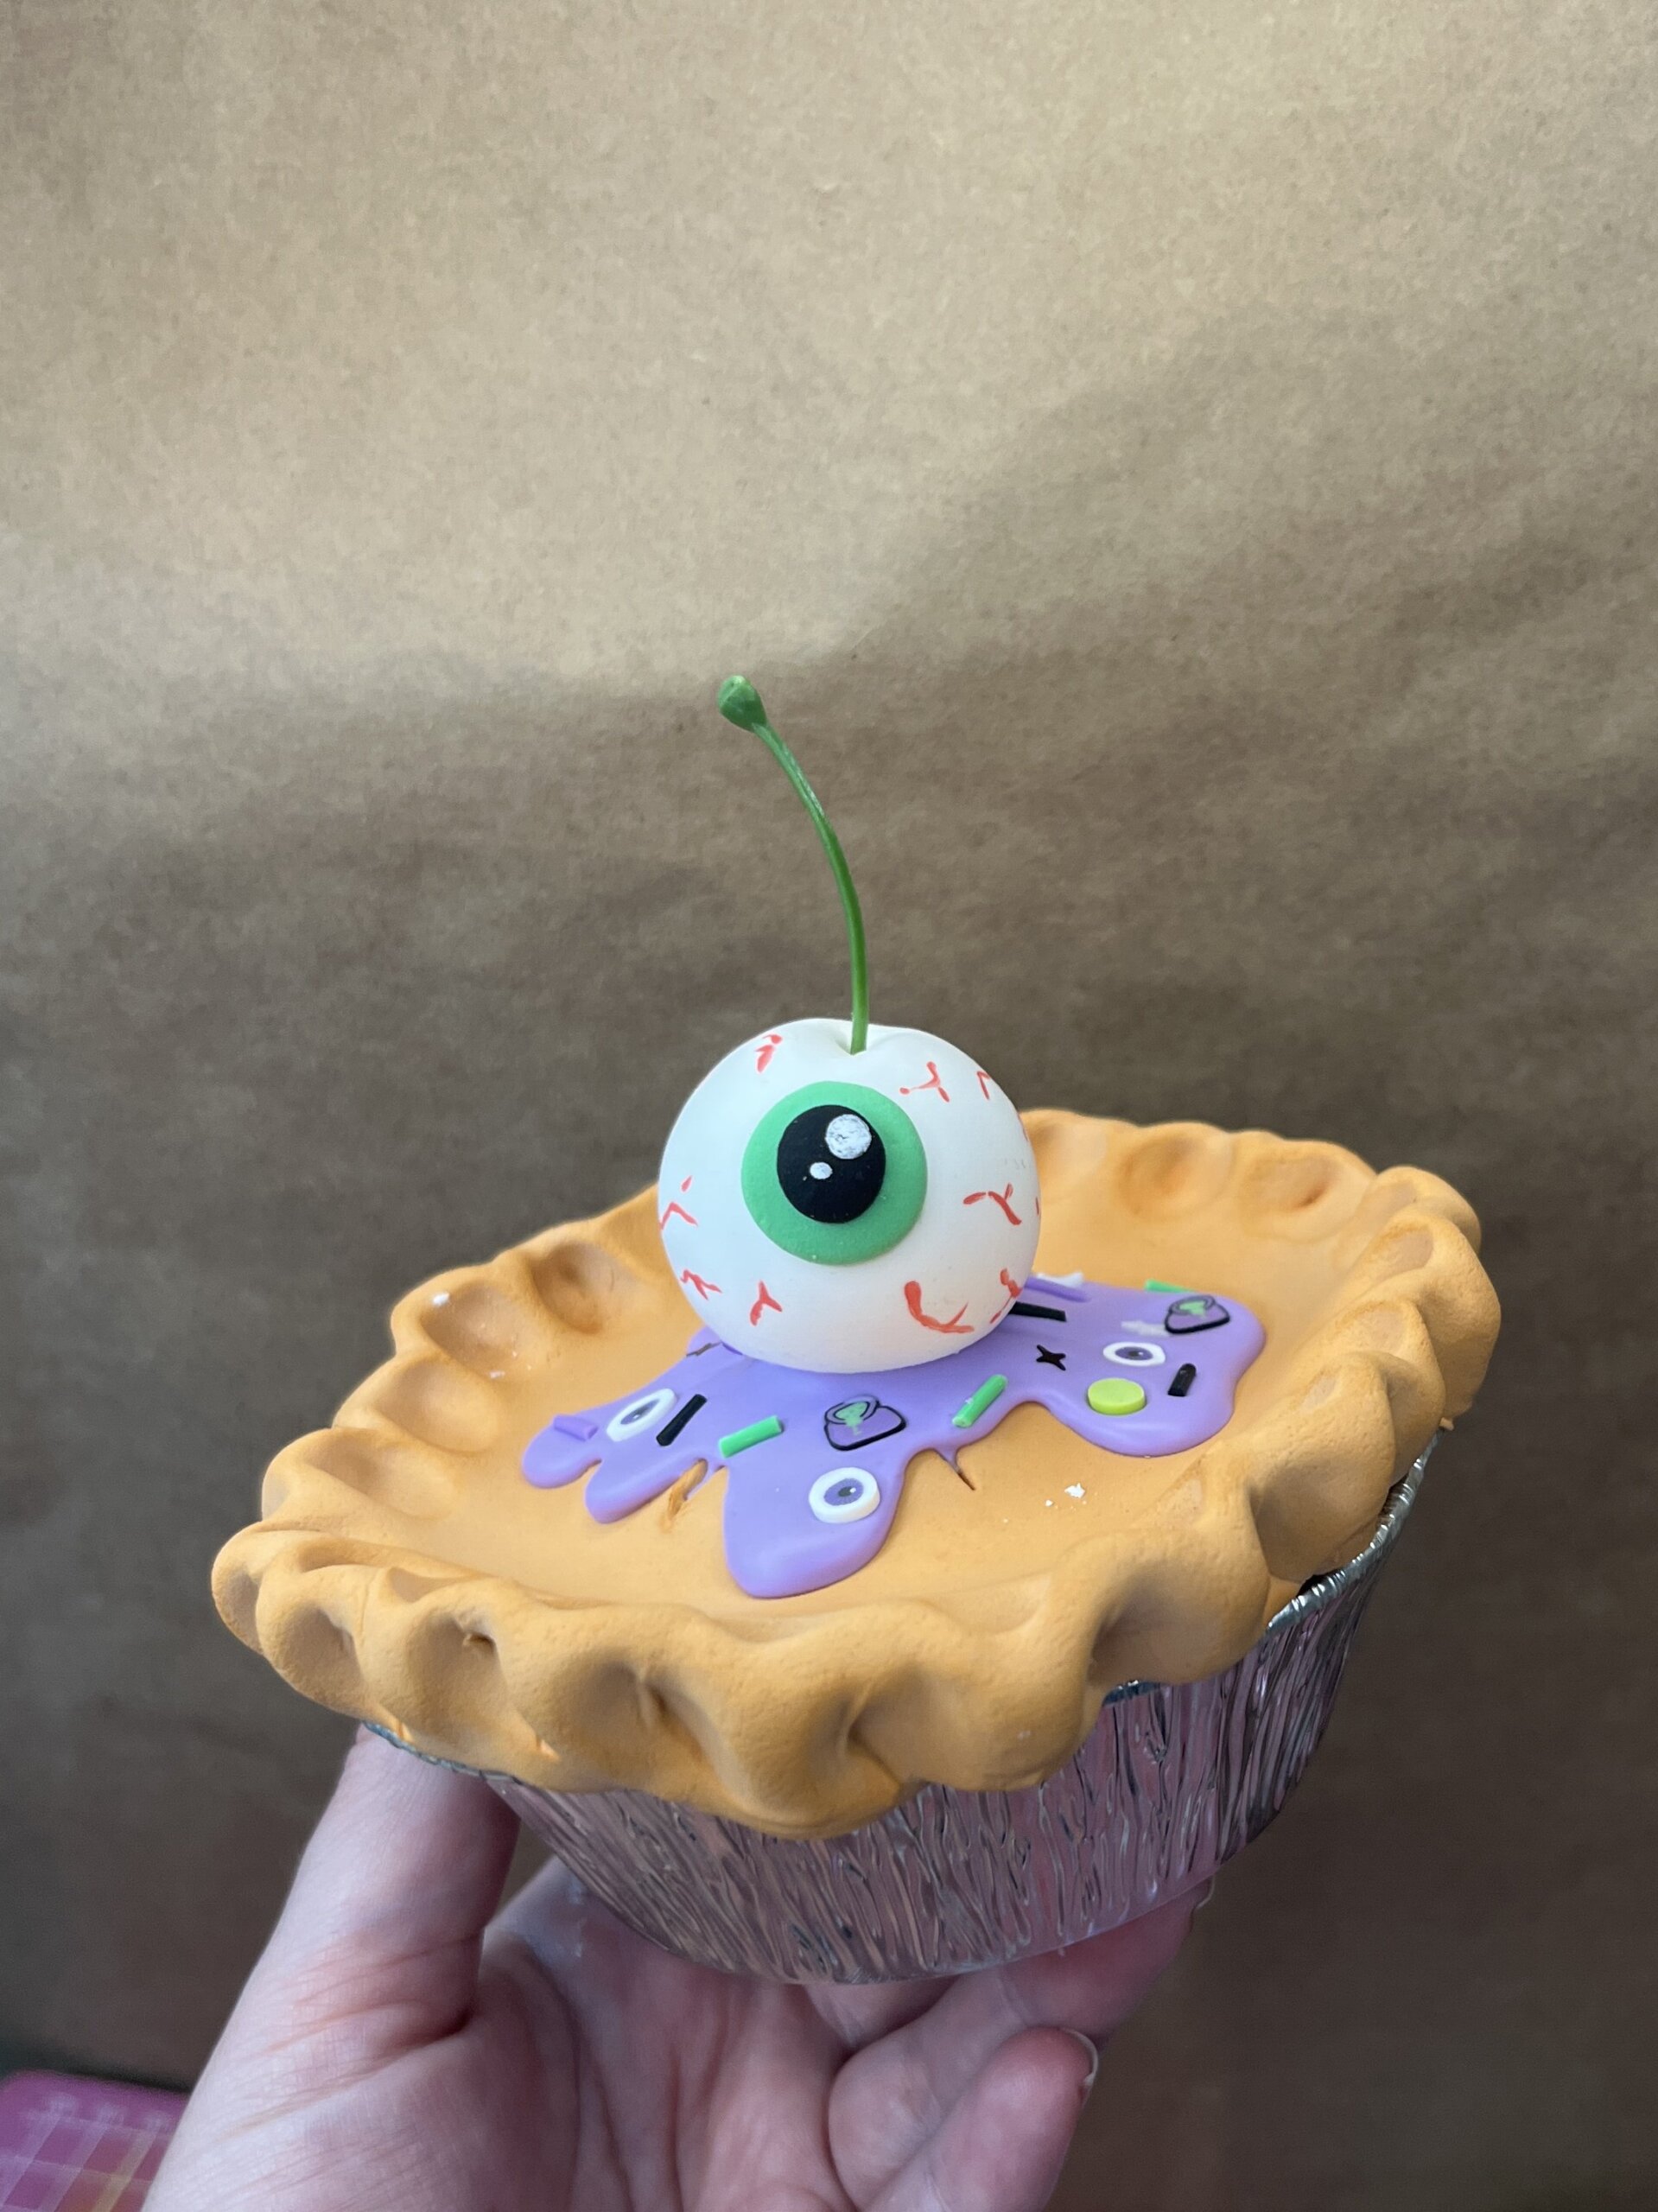
Finished! How fun is this Eyeball Pie?? Great for your Halloween decoration stash.
Things I learned making the Eyeball Pie:
Tip 1: How to avoid Bubbles when rolling out the clay
Roll out slow! Slower!
This is something I was fightig with and I am still not 100 % sure if this is the all time cure. But its worth a try. It worked for me.
I dont know the science behind this (even tho I do have a degree in biology) But I am guess that the slower you move the better can trapped air release. If you go fast, those bubbles will form and pop leaving ugly marks.
So try to go slow and give your clay time. You will have a mich smoother result.
Tip 2: How to avoid blurry lines when drawing on details
Let your clay dry a little before you paint!
There is actually two benefits of waiting even just 20 minutes for the clay to dry up on the surface:
- Pigments from pen or paint brush are less likly to form blurry lines. If the clay is wet the pigments easily transfer into the water inside the clay and thats what create the blur.
- You are less likly to squish your clay. If you have a perfect ball and start drawing on it right away you might misshape it by accident. Especially as a beginner who has not mastered the “soft grip” yet.
Tip 3: My frosting is super dark after it dried up
Mix little white paint in it!
I have to do a little more testing but I noticed very quickly that my frostings dries much darker than what it is when I mix it. This time I also added cornstach which makes it more white too. So maybe it wasnt needed in this case but I still wanted to mention this in case you have issues with your frosting turning out dark.


Looking for more foam clay tutorials? Visit the Learning Hub to explore beginner to advanced projects and techniques.
Leave a Reply