
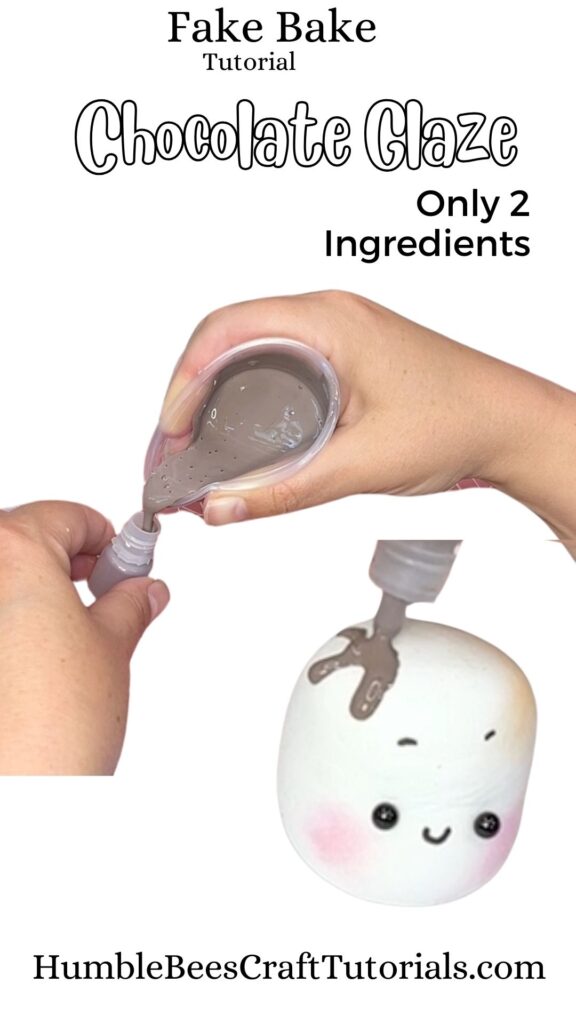
Welcome to this week’s DIY Fake Chocolate Glaze tutorial! Whether you’re a clay crafter, fake baker, or simply love creating fun and realistic fake food decorations, this guide is perfect for you. In this step-by-step tutorial, you will learn how to make a professional-looking faux chocolate glaze that’s ideal for foam clay and polymer clay projects, kid-friendly crafts, and even small business products. Join our crafting community and learn the secrets to creating stunning fake foods and more that will impress everyone.
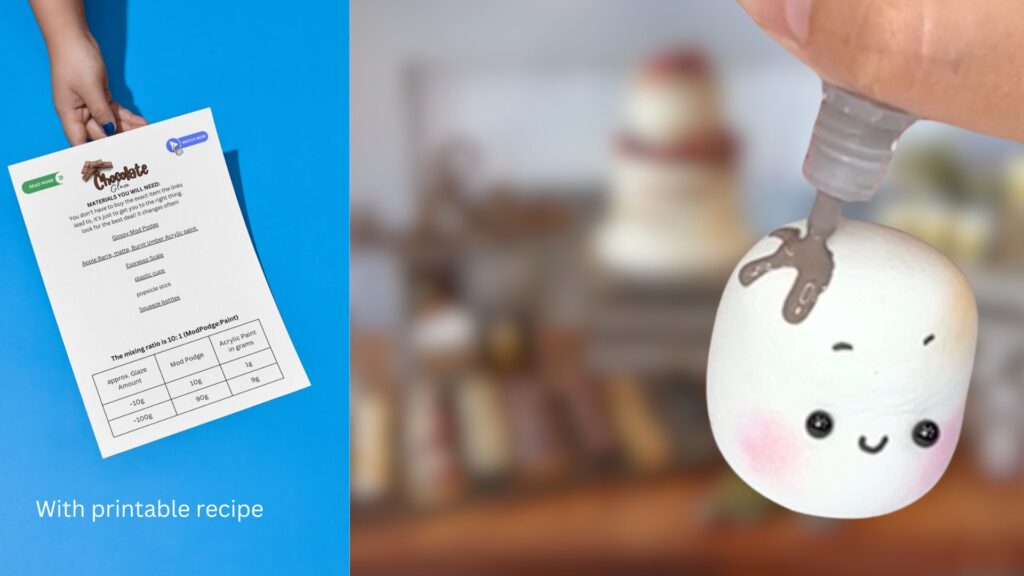
Sign up for my Newsletter and get the printable recipe for free
This post contains affiliate links, which means I make a small commission at no extra cost to you. See my full disclosure here
WATCH ME MAKE THE GLAZE STEP-BY-STEP
This post contains affiliate links, which means I make a small commission at no extra cost to you. See my full disclosure here
MATERIALS YOU WILL NEED:
Apple Barre, matte, Burnt Umber Acrylic paint
STEP 1: Gather The Ingredients
You probably have both the ingredients on hand. If not they are very affordable and easily found on amazon or your closest craft supplies store. Make sure its the high gloss Mod Podge if you want to obtain the same glossy finish that I was able to achieve.
STEP 2: Mixing The Glaze
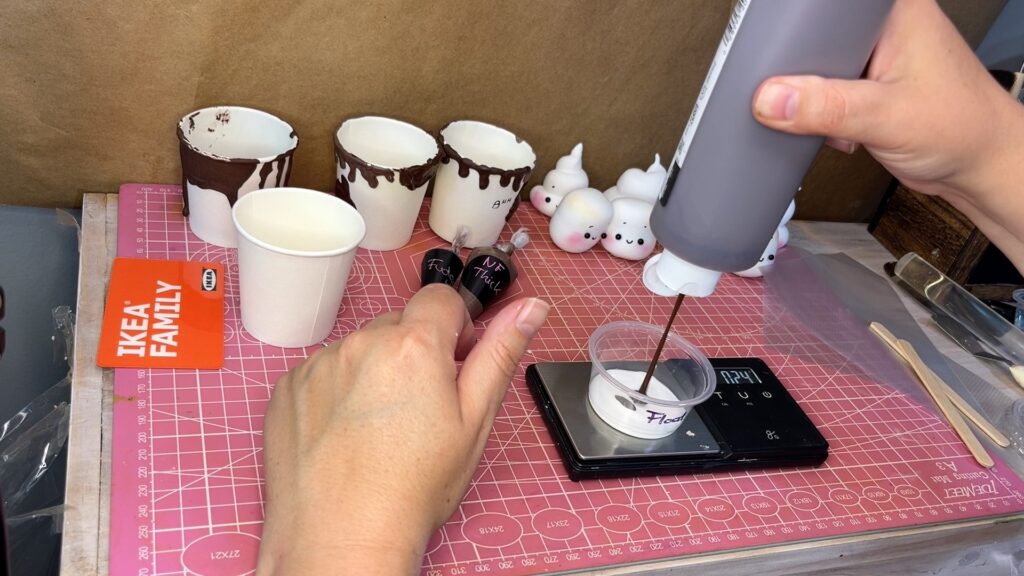
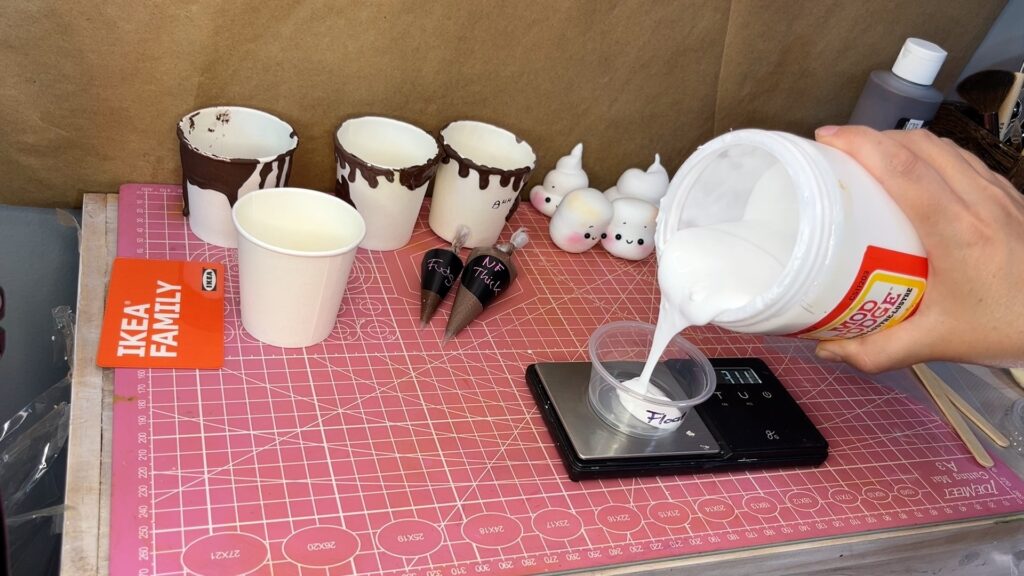
You will also need a scale to get the ratio right. You want to use a container that you don’t need to clean. Don’t flush the glue down the sink. That would not end well in the long run. Instead, designate a storage container with a lid to reuse as needed. For my experiments, I only made very small amounts and used disposable plastic cups which is another option.

To use the scale correctly, add your container, then tare it to zero. Now, add your glue and paint in a 10:1 ratio. So if you want around 10g of frosting you add 10g of Mod Podge and 1g of paint.
STEP 3: Transfer Into a Bottle
These bottles are what I use most the time that is too liquid to put in a piping bag. You can buy bigger bottles if you know you will need more glaze for other projects. As long as its stored air tight it will keep for a while. Just like mod podge itself keeps just fine (if you dont forget to put the lid on).
WHAT TO USE THE GLAZE FOR
This glaze is low viscosity, meaning its pretty liquid which makes it great for flooding cookies, glazing cakes, dipping fruits or drizzles on lattes and shakes. Its best dispensed with a squeeze bottle. It is not suited to be piped, it would just run out of the bag uncontrollably. It can be stored in those bottles and you can refill them as needed.

HOW LONG IS THE DRYING TIME
It surprisingly dries pretty quick to the touch but I would give it 24h to completely dry especially larger surfaces. It will be darker once dried. If you want to keep it ligher you have to add a bit of white acrylic paint.
THINGS I LEARNED MAKING THE CHOCOLATE GLAZE
Tip 1: Avoiding Bubbles
You will not be able to avoid bubbles completly but try your best to not mix too vigerously as this does create a lot of bubbles which you dont want in your final glaze. Also, do not shake the bottle, rather tap the tip onto the work surface to move the glaze into the tip right before dispensing.
Tip 2: Getting rid of Bubbles
To get rid of the bubbles that are unavoidable you can do a couple things.
- You can let your glaze sit after its been mixed and let the bubbles rise to the top. Tap the bowl onto the work surface to help speed up the process and to pop the bubbles.
- You can ignore the bubbles, glaze your fake donut, cake etc, and pop them afterwards with a needle tool.
Tip 3: The glaze dries too dark
If you prefer a lighter glaze you have to add a drop or two of white acrylic paint. This helps keep the glaze lighter even after it fully dried.
I hope this recipe helps you create some stunning, shiny, chocolatey fake bakes. Please share this post or pin it to your boards for reference. Thank you so much!
Other DIY Chocolate Frosting Recipes:
Looking for more foam clay tutorials? Visit the Learning Hub to explore beginner to advanced projects and techniques.
Leave a Reply