
This project is part of my earlier foam clay collection. Some details may use older techniques, older measurements (including grams), or early versions of my size-based system.
I’m keeping it here for free because many people still enjoy it, but it isn’t part of the updated beginner path or the improved printable library.
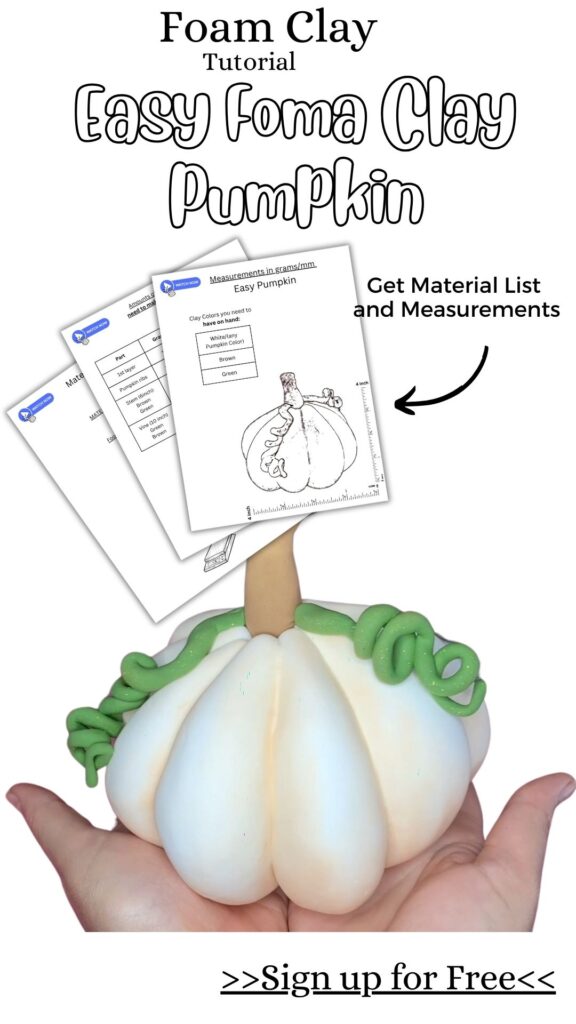
Ready for a fun, easy DIY project? In this tutorial, I’ll show you how to make a beautiful clay pumpkin, perfect for your fall decor. No experience needed—just follow this simple step-by-step guide to create your own handmade pumpkin. You can use it in your Fall designs and add funny creature to it. Let’s get started and make your own Pumpkin masterpiece.
This post contains affiliate links, which means I make a small commission at no extra cost to you. See my full disclosure here
Materials you will need:
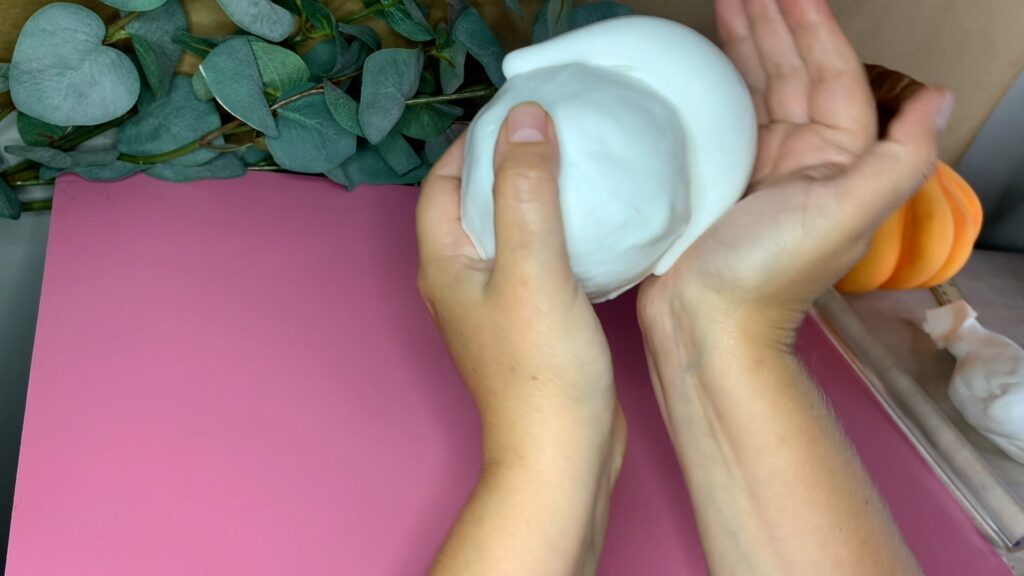
Step 1: Cover the Ball
This step is just to make it easier to adhere the next layer that shapes the pumpkin. It will be completely covered, so you don’t have to worry about it looking perfect—just ensure the ball is fully covered.
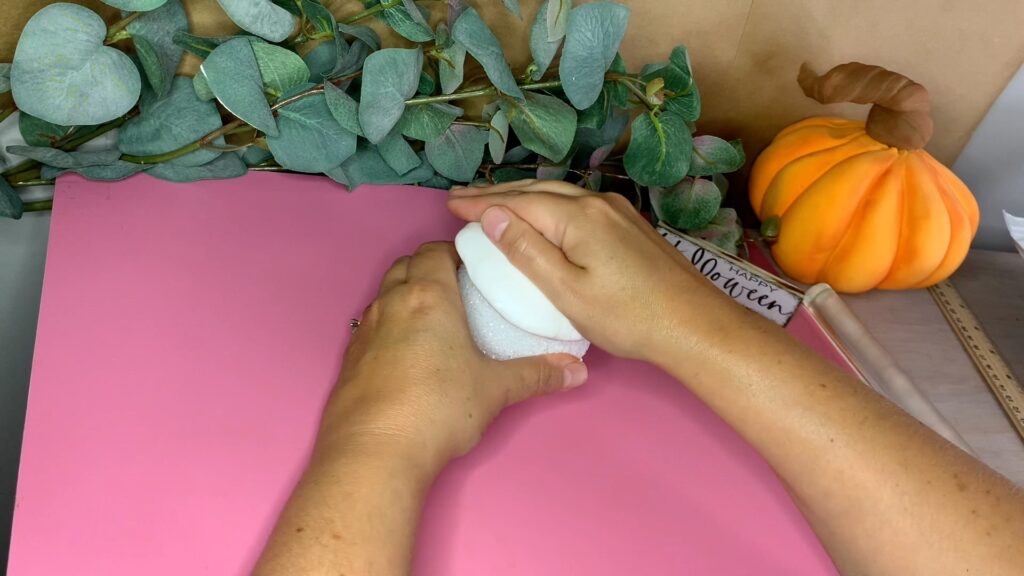
Take a large chunk of white clay and shape it into a disk. Press it onto the ball, spreading it evenly until the entire ball is covered.
You can use any color you have on hand since this layer will be completely covered up.
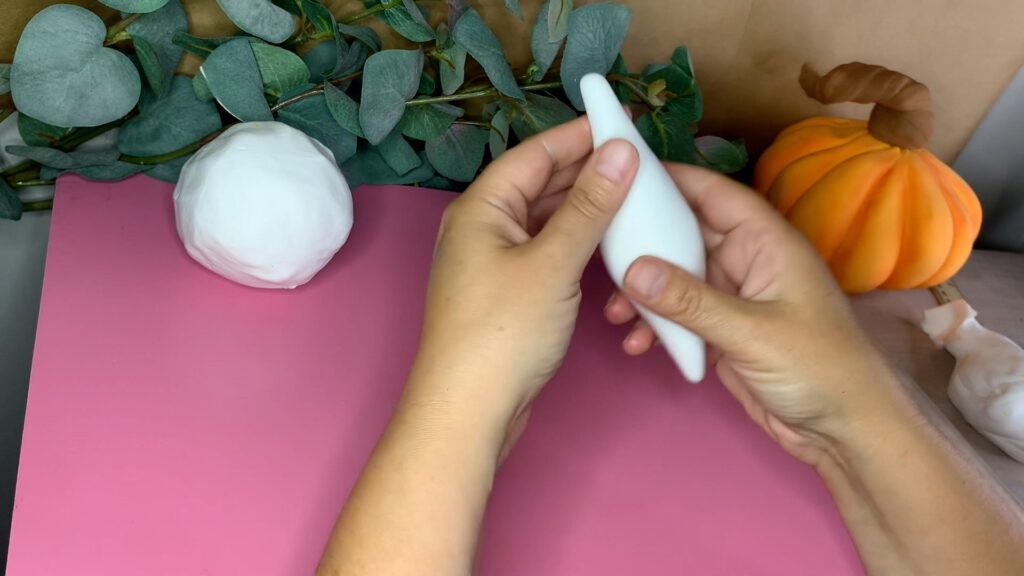
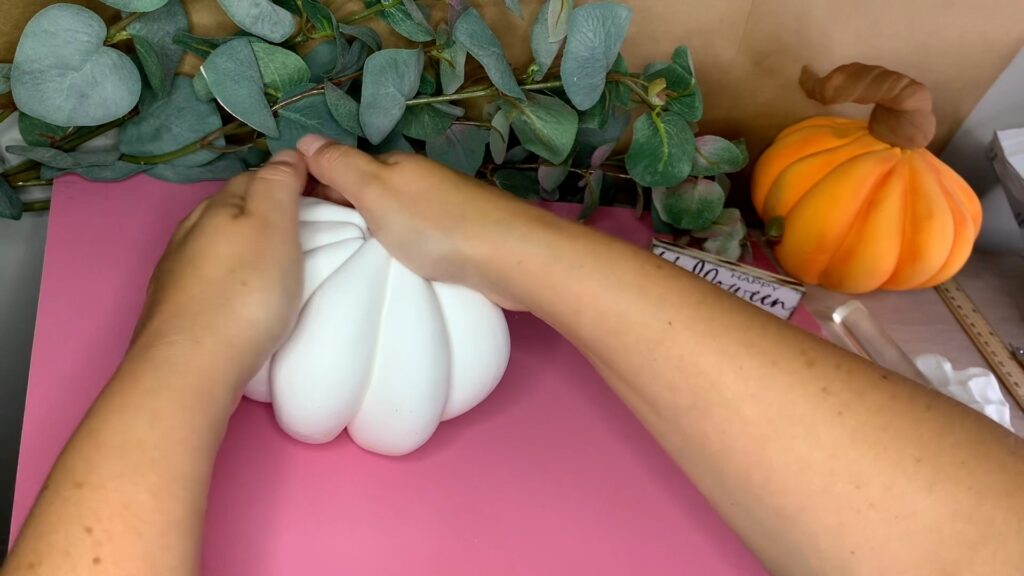
Step 2: Shape the Pumpkin
To create the pumpkin shape, you’ll make multiple pieces of the same shape and attach them to the ball.
Each piece can be slightly different in size to give your pumpkin a more natural, realistic look.
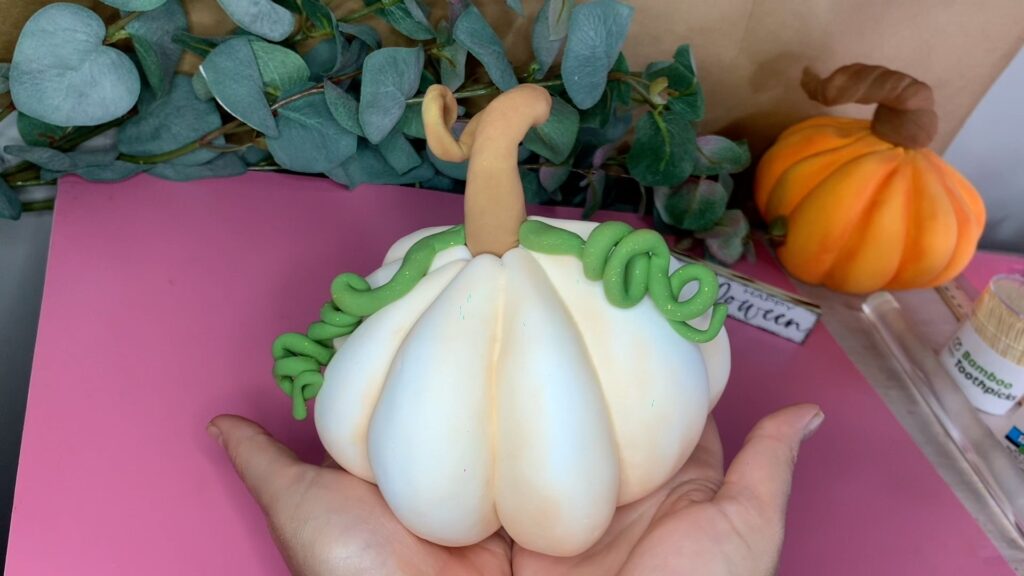
Take a generous amount of the colored clay you want for your pumpkin and roll it between your hands. Leave the middle section chunky and make the ends pointed.
Attach one pointed end to the top of the pumpkin and the other to the bottom.
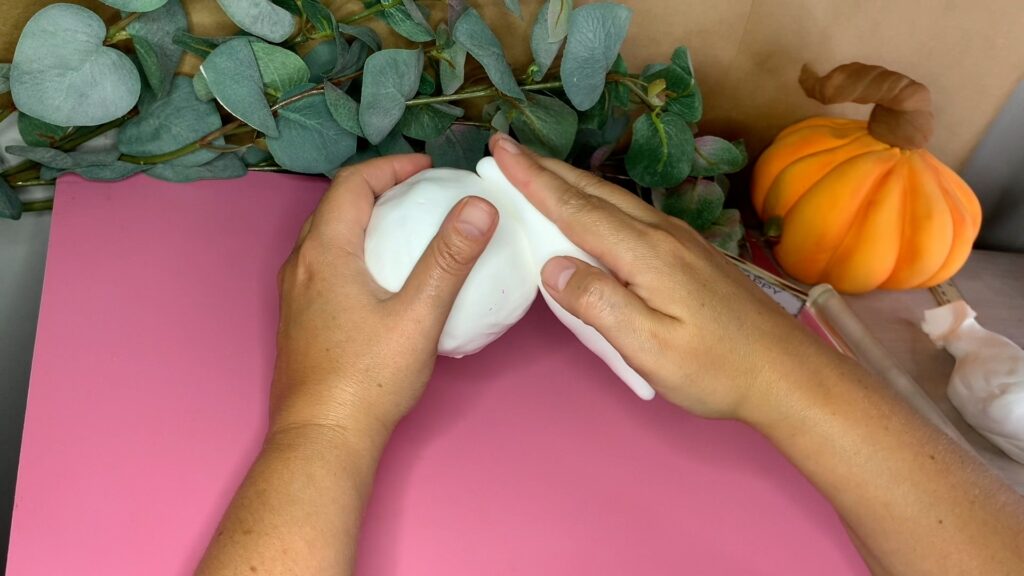
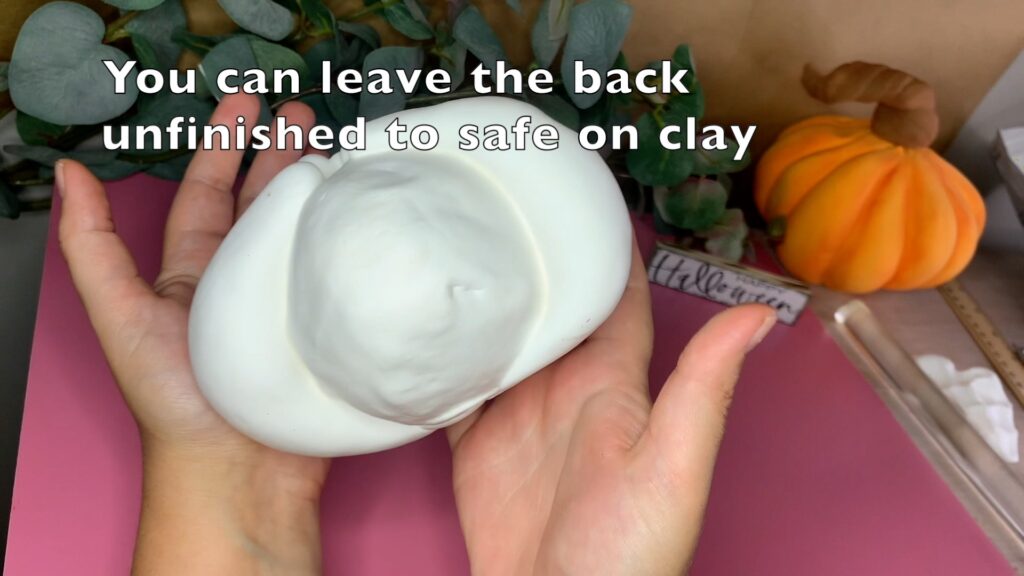
Repeat this process with another piece, attaching it next to the first one. Continue working your way around until at least the front half of the pumpkin is covered. You can leave the back uncovered to save on clay.
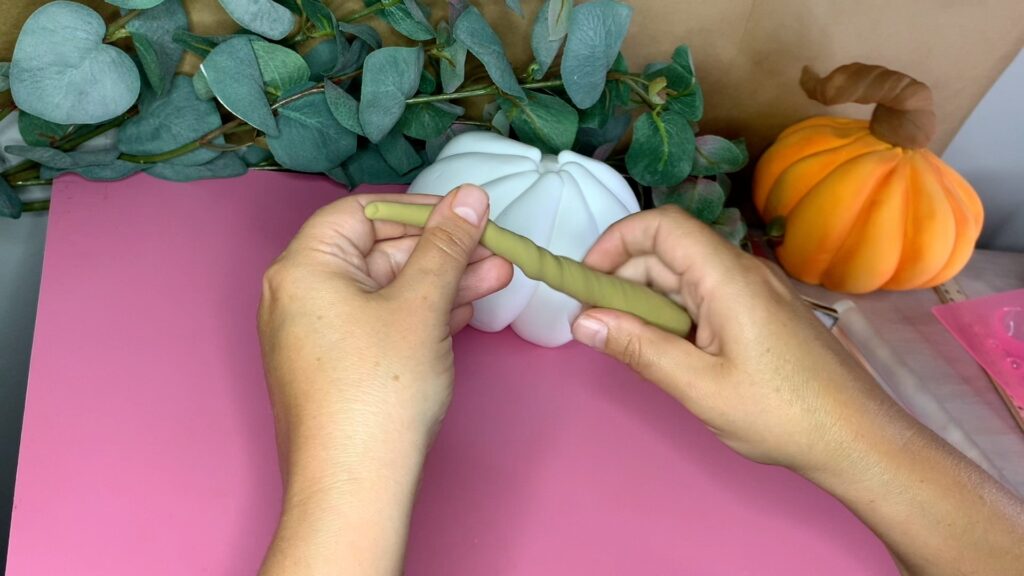
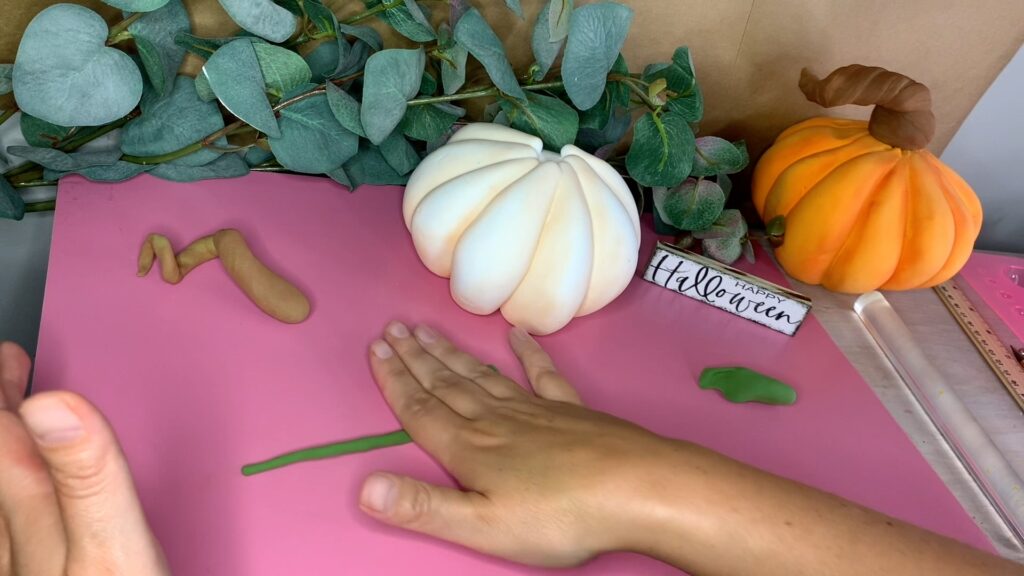
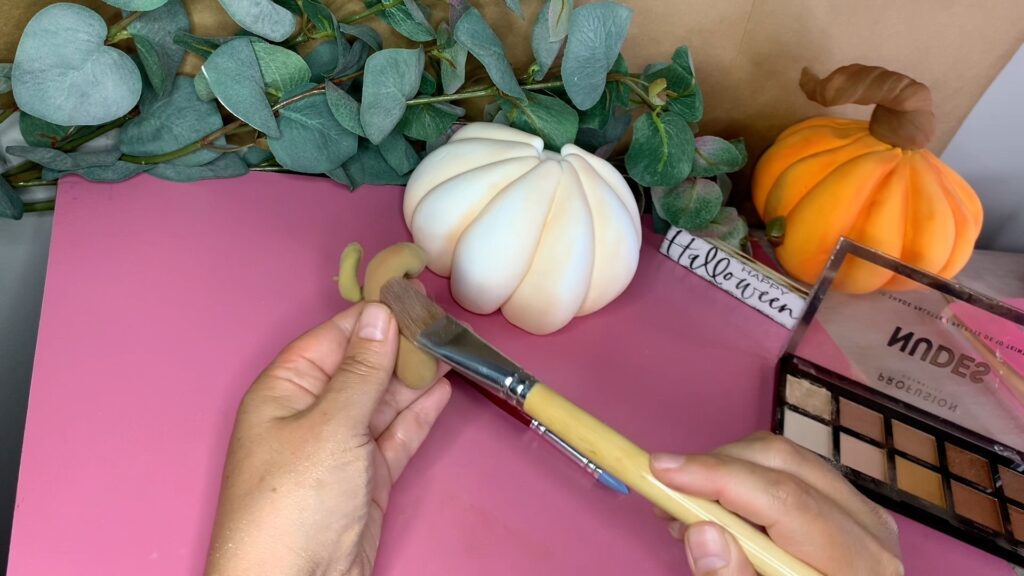
Measure out the clay needed for the stem (use your measurement chart here) and mix it. Roll the clay into a 6-inch long piece with one pointed end and one thick end.
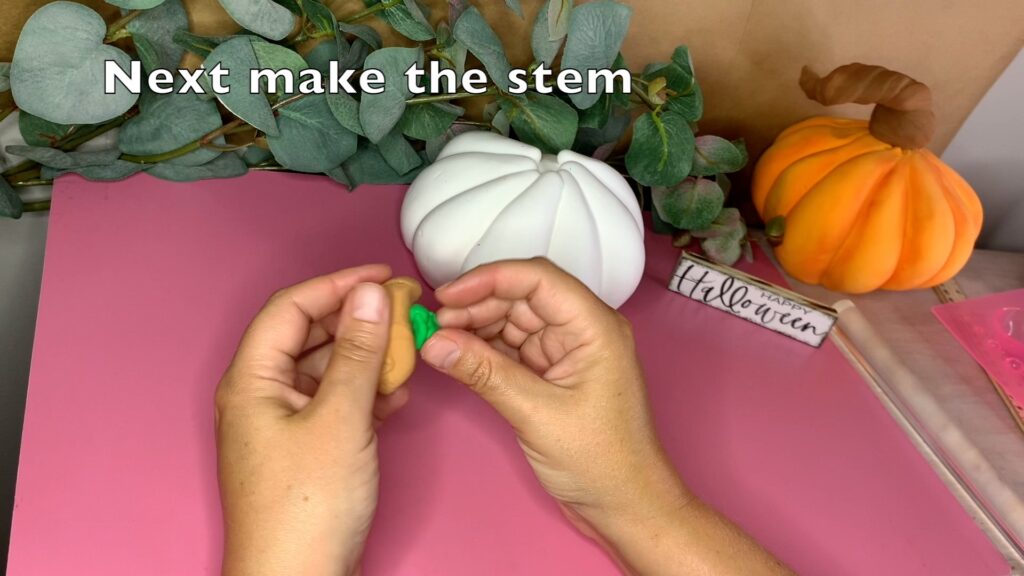
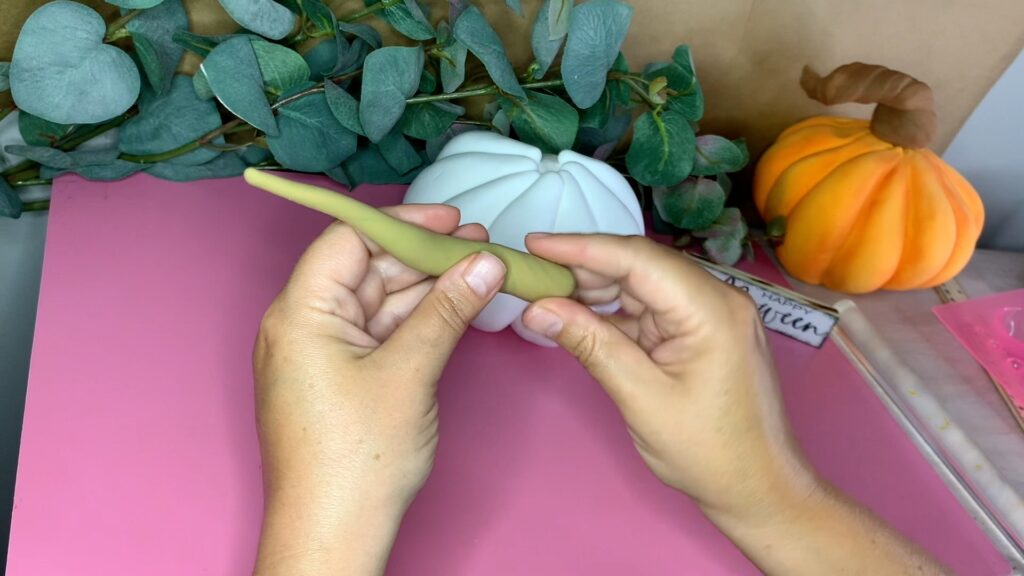
Twist the clay, starting at one end and working your way to the other.

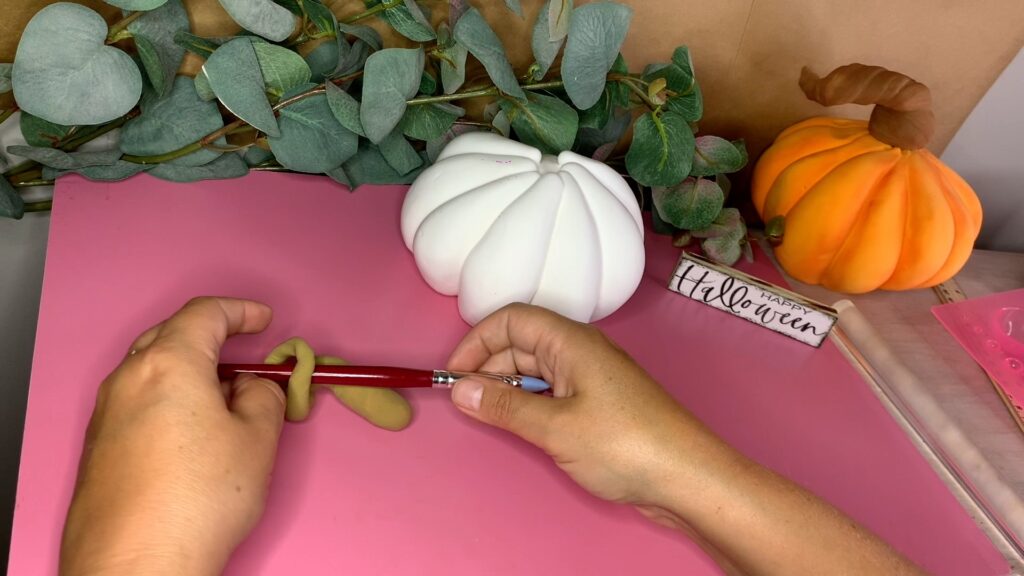
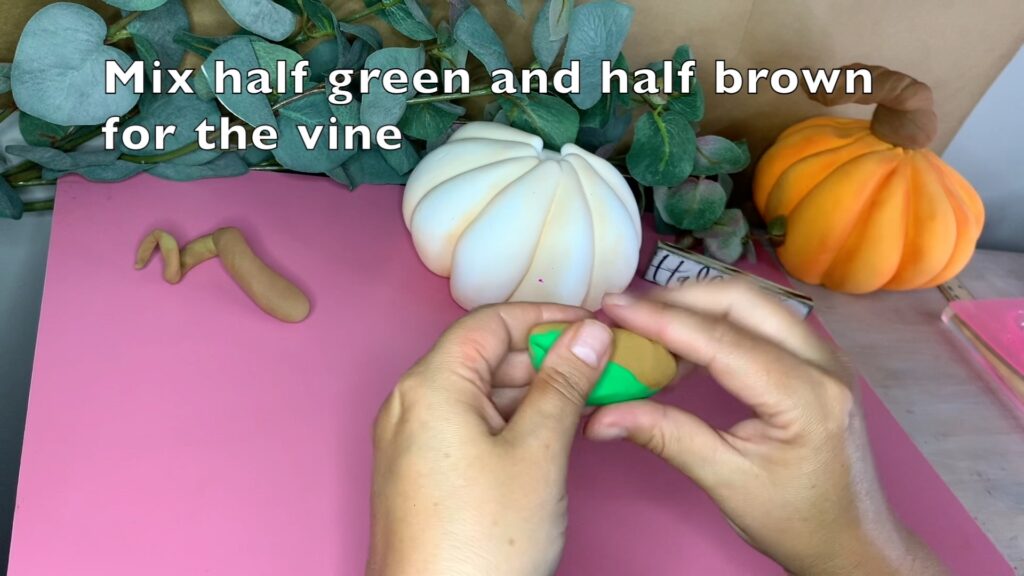
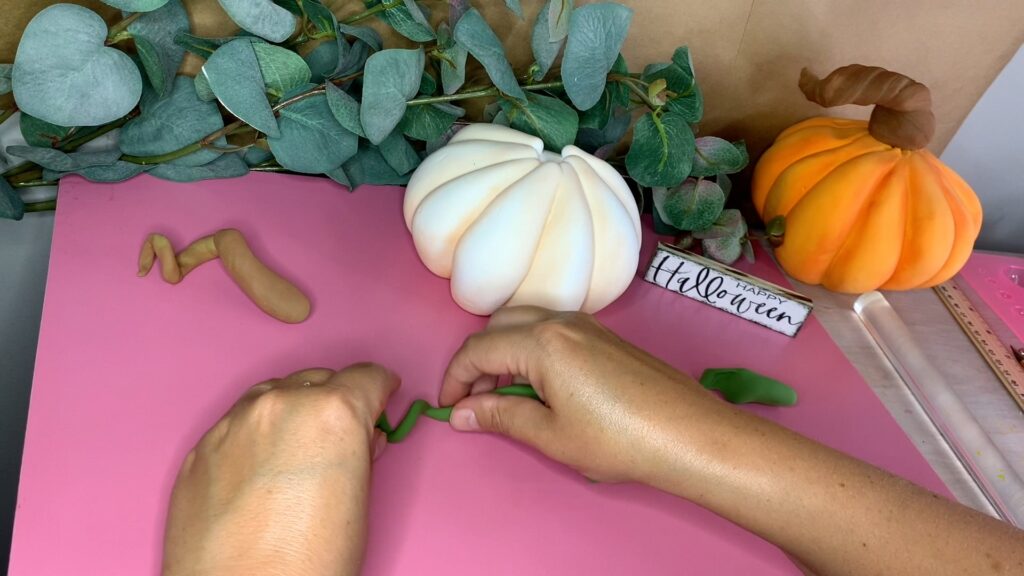
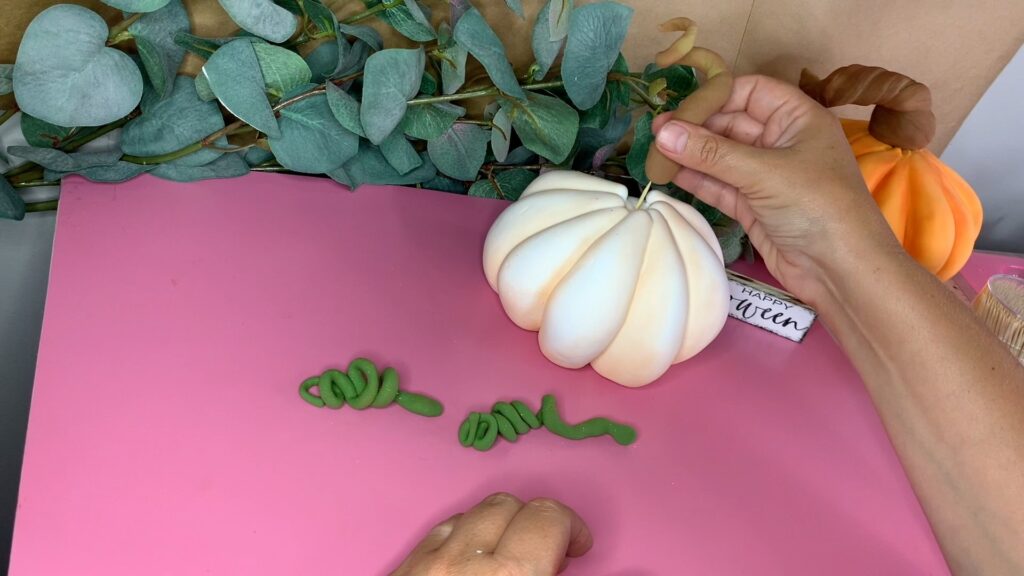
Mix equal parts of brown and green clay and roll it to about 10 inches long. Twirl it around to create a couple of cute vines for your pumpkin.
Step 3: Make the Colors Pop
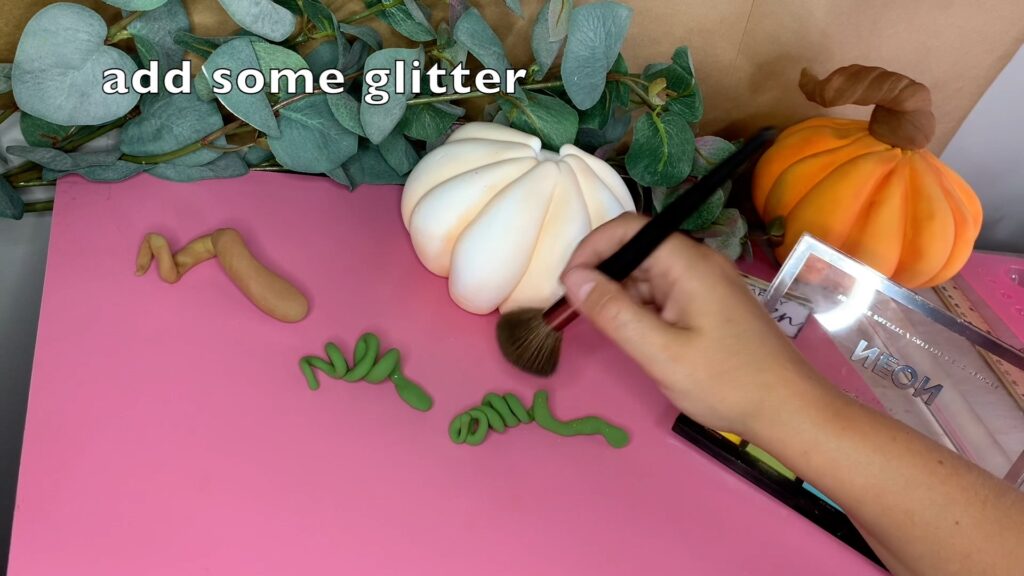
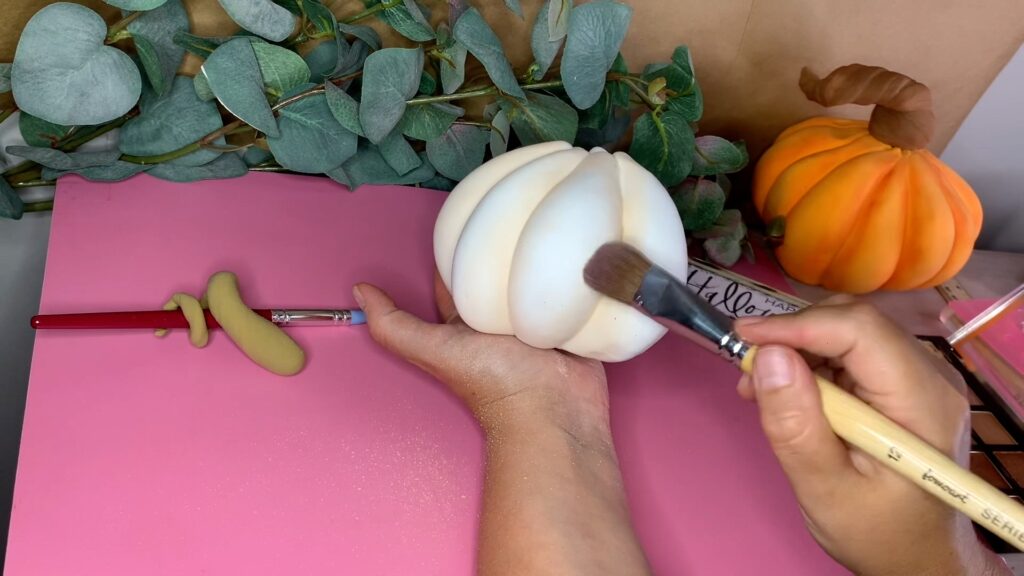
To give your pumpkin a realistic look, add some eyeshadow a couple of shades darker than your pumpkin color. I’m using beige. Apply it in all the crevices to bring your pumpkin to life.
Apply some brown eyeshadow to the stem and a bit of glittery green to the vines.
Step 4: Assemble Your Pumpkin
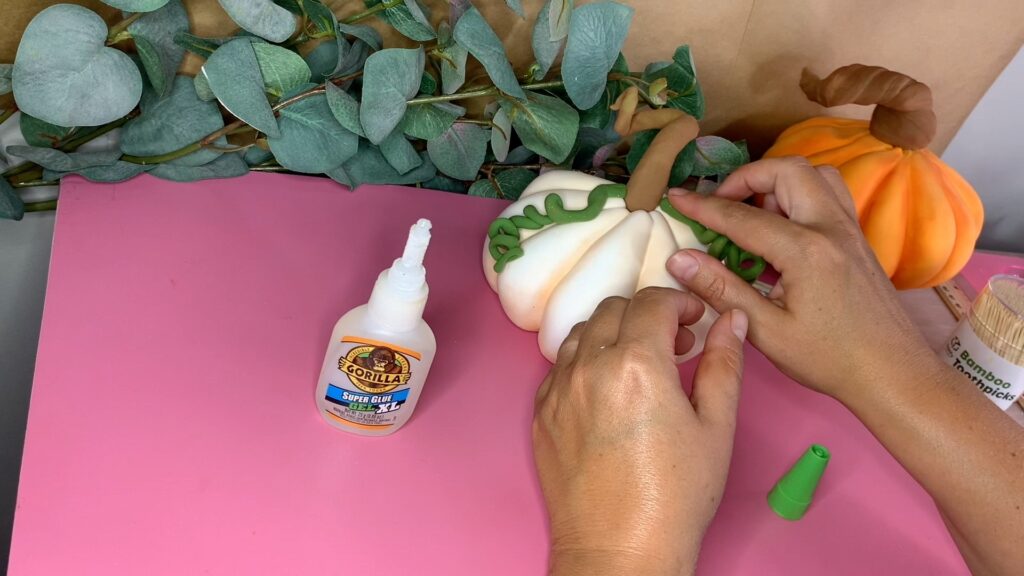
Insert a toothpick into the top of the pumpkin to securely attach the stem.

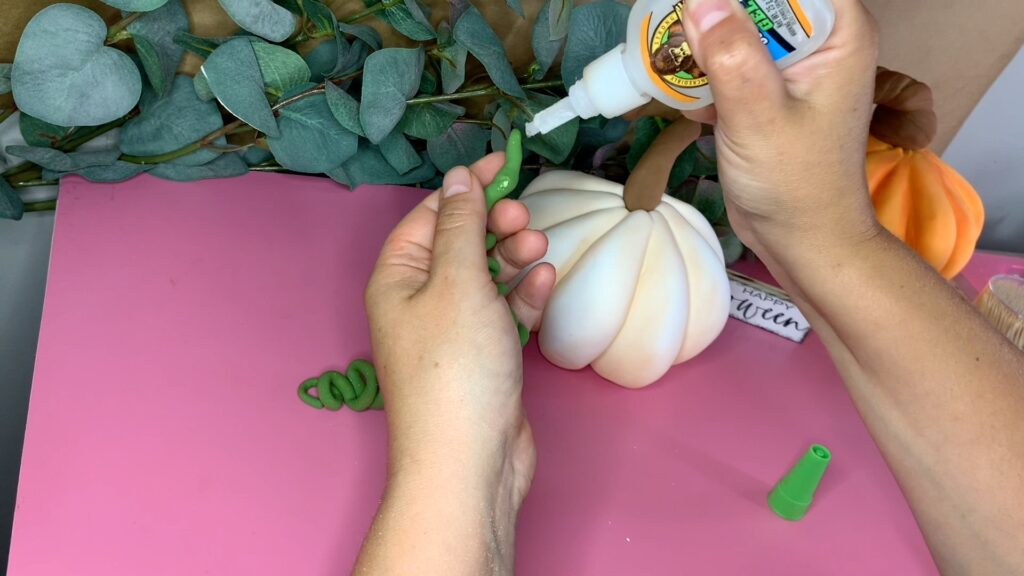
Attach the vines with some glue. Give your pumpkin 2-3 days to dry completely, flipping it over to let the bottom dry as well.
What Will You Do with Your Pumpkin?
We’d love to see your creations! Make sure to stop by and share a picture in our crafting group!
Looking for more foam clay tutorials? Visit the Learning Hub to explore beginner to advanced projects and techniques.
Hi, am I member of your private group? Where do I get copies of the diagrams for the tutorials?
Hi Linda, if you haven’t found it yet its in the private group (yellow sky with clouds) in the file section. You’ll see it towards the top of the group page in that tab menu bar. might have to slide it to the right to see the file button. but the newest upload should also shows up somewhere on the right. If this isn’t helping message me on facebook and Ill send you screen shots. thank you for joining my group. I hope you have fun crafting the little critters!!!