
This project is part of my earlier foam clay collection. Some details may use older techniques, older measurements (including grams), or early versions of my size-based system.
I’m keeping it here for free because many people still enjoy it, but it isn’t part of the updated beginner path or the improved printable library.
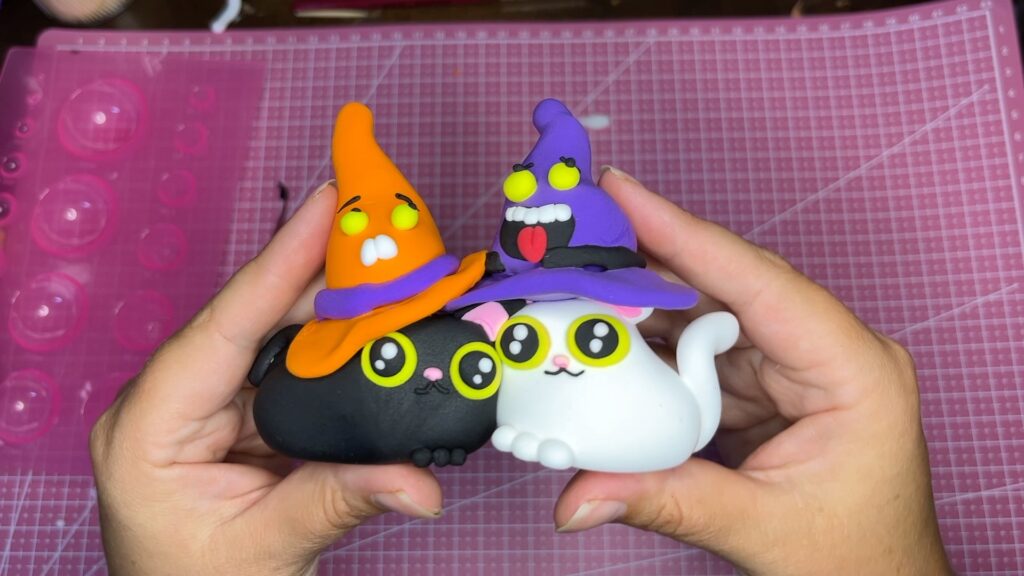
Make this cute couple of cats with their funny hats as halloween craft idea. You can turn it into an ornament or add it to your Halloween display. Perfect gift for the crazy cat lady in your life.

This post contains affiliate links, which means I make a small commission at no extra cost to you. See my full disclosure here
Why Foam Clay is So AMAZING!
Crafting with foam clay is not just about creating cute figures; it’s like a therapy session that’s all about relaxation and pure enjoyment. Imagine the joy of squishing, molding, and creating without any mess – that’s the beauty of foam clay! It’s not just for the kids; adults can totally get in on the fun too. So, if you’re looking for a creative outlet that’s soothing and brings out your inner artist, foam clay is the way to go!
It’s a fantastic indoor activity for the whole fam! It’s the perfect medium to improve your sculpting skills. If you are looking to quickly learn new skills to master your other mediums such as polymer clay or ceramics you are at the right place! Foam clay is so quick and easy to work with that you can practice many projects in a short amount of time improving your skills along the way. What are you waiting for? let’s get those creative vibes flowing together! 🌈✨
Tips for working with Foam Clay
- If you have a particular soft and sticky clay I suggest to let it dry just a little bit and then mix it well or you can add a different type of clay called SOFT Clay. This will take the tackiness out and give the foam the needed support to hold its shape.
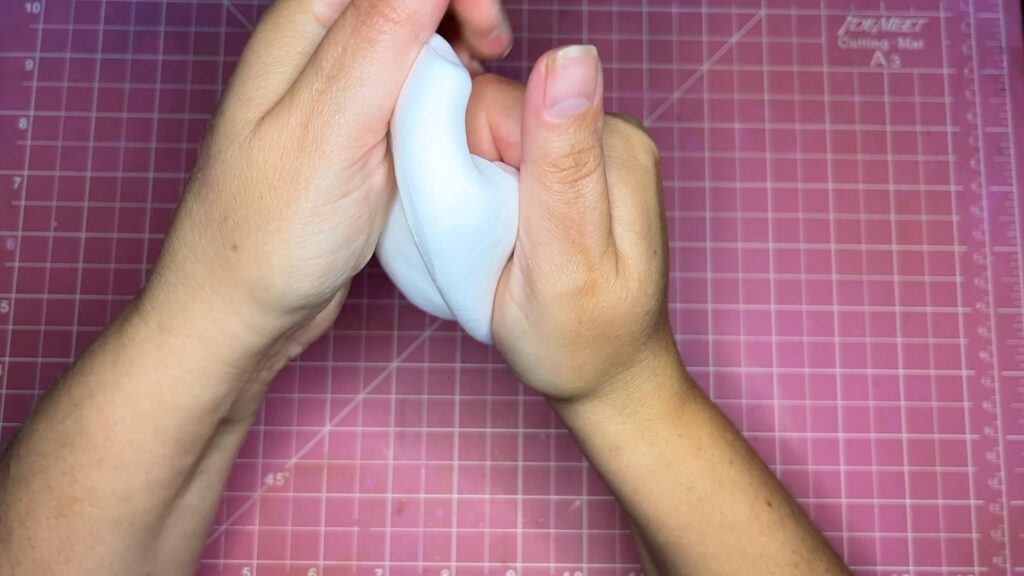
- The Secret to a super smooth and wrinkle-free appearance is your palm and the right pressure. When you roll the clay between your palms don’t be afraid to really squish and roll it around. This will ensure all the wrinkles disappear. Then you lessen the pressure and shape it into its final form.
- if you are trying to save money and color your own clay, use Gel Food Colors. I find that acrylic colors will mess up the clay’s consistency and dry it out, which makes it difficult to work with.
If you are brand new to foam clay watch my beginner playlist on youtube that will go more into detail and teach you everything you need to know about foam clay.
WATCH ME MAKE THE CATS STEP-BY-STEP
Materials you will need:
Foam Clay (pre-colored): I can mix you exactly what you need for this kit. Just contact me on Etsy
Foam Clay: black, orange, pink, yellow, purple, white, red
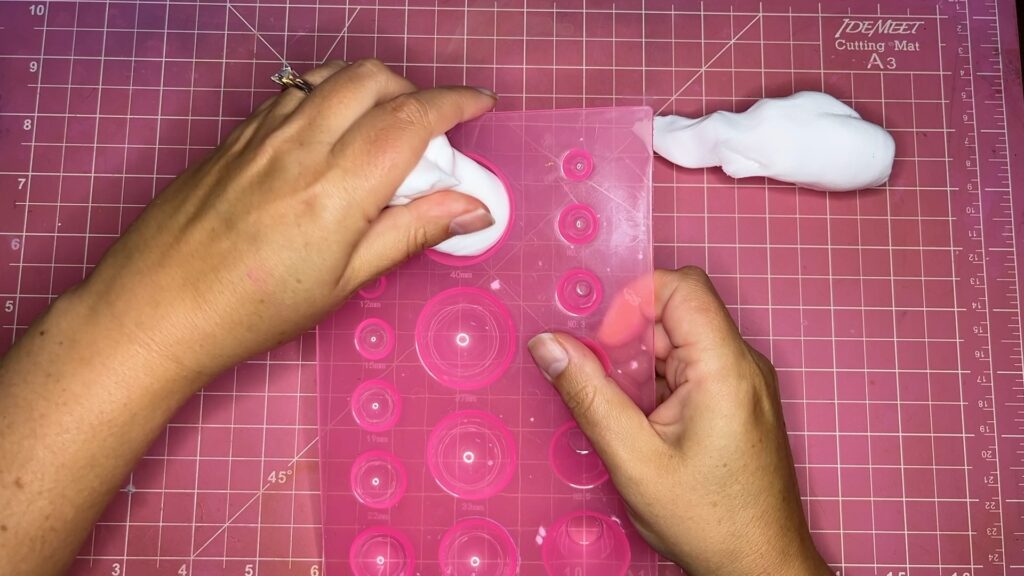
Sizing Guide tool
or scale
STEP 1: Make the Cat
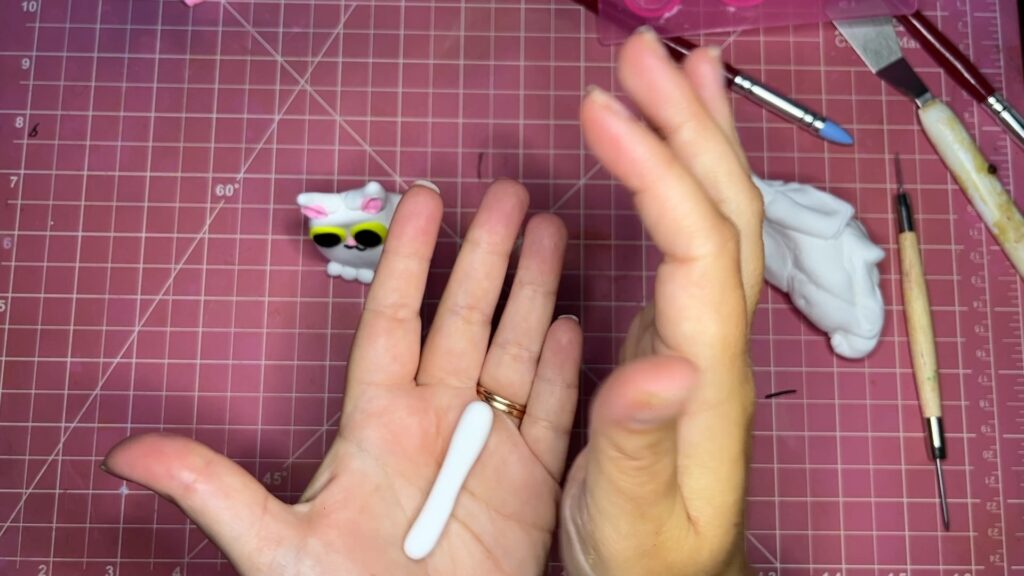
Mix your white clay just enough to get the air bubbles out and to get it smooth. Refer to the measurements (Download the measurements when you sign up for my newsletter here) and take the necessary amount of clay for the cat’s body.
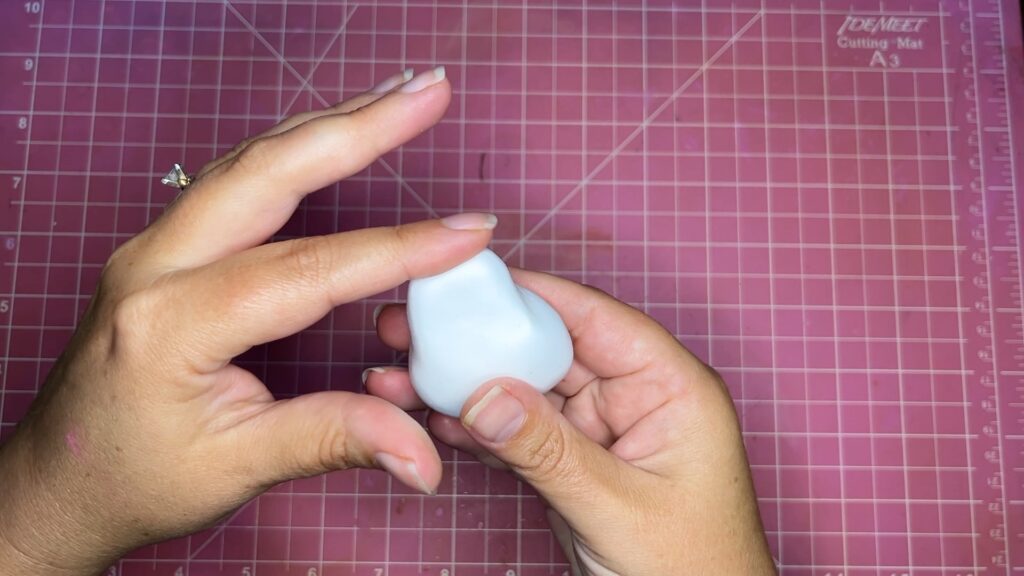

Shape it into a sort of boot with a round back and a flat top of the head to make it easy for adding the hat later on.
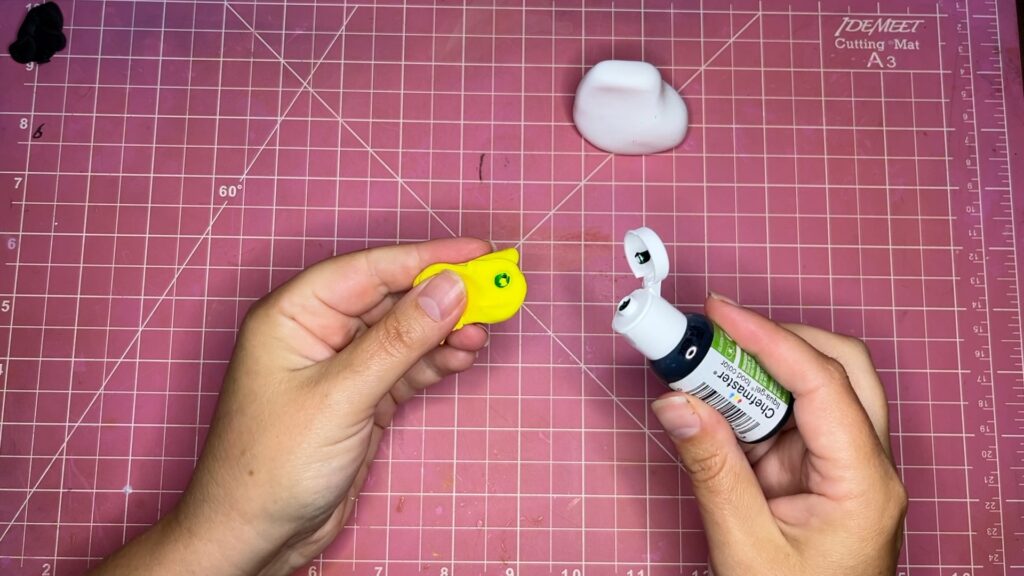
Take some bright yellow clay (I Use Bohs Clay) and add a tiny amount of leaf green to get a neon green look for the cats eyes. [it looks more green in person than on camera but add as much as you like your green to be]
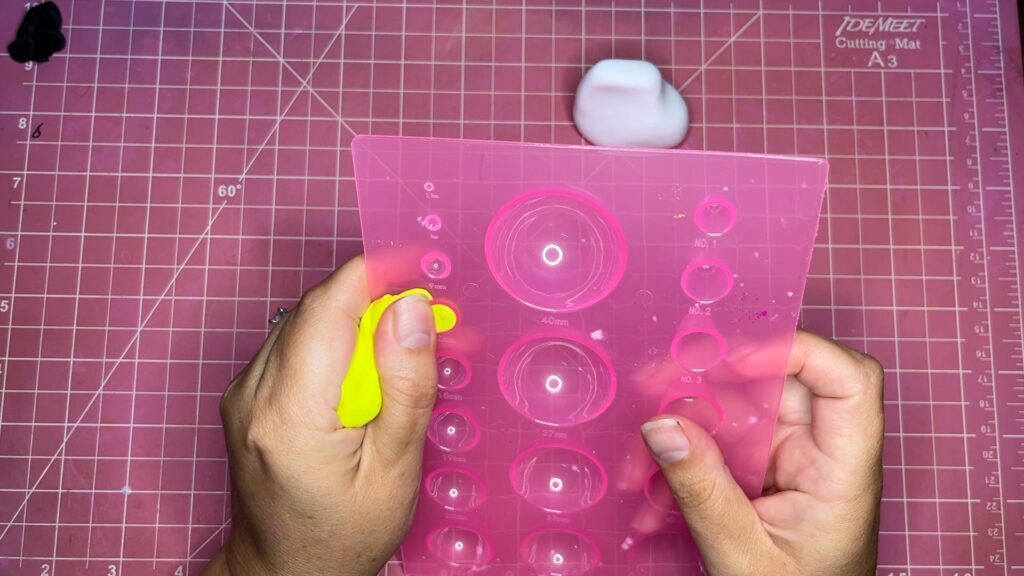
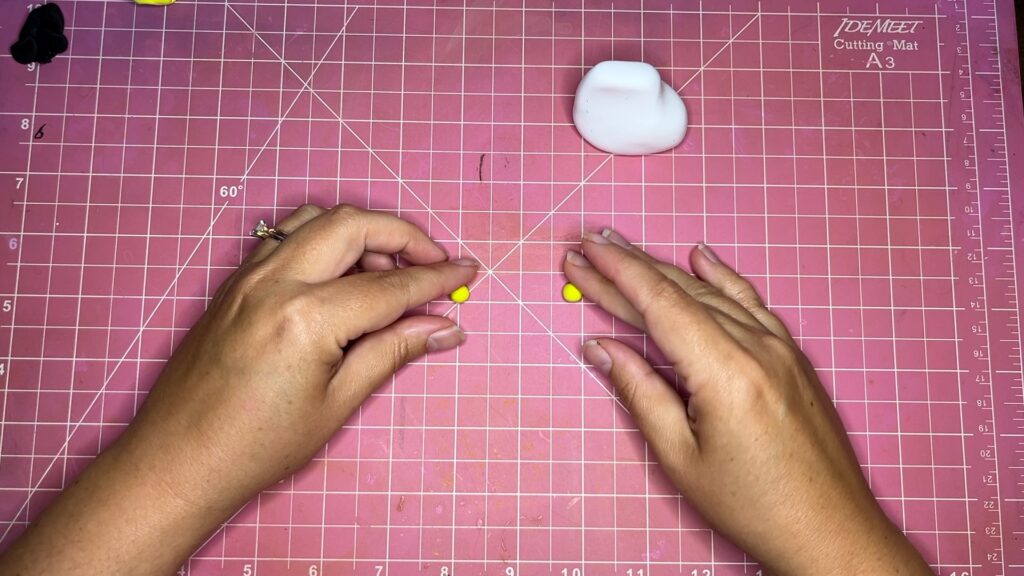
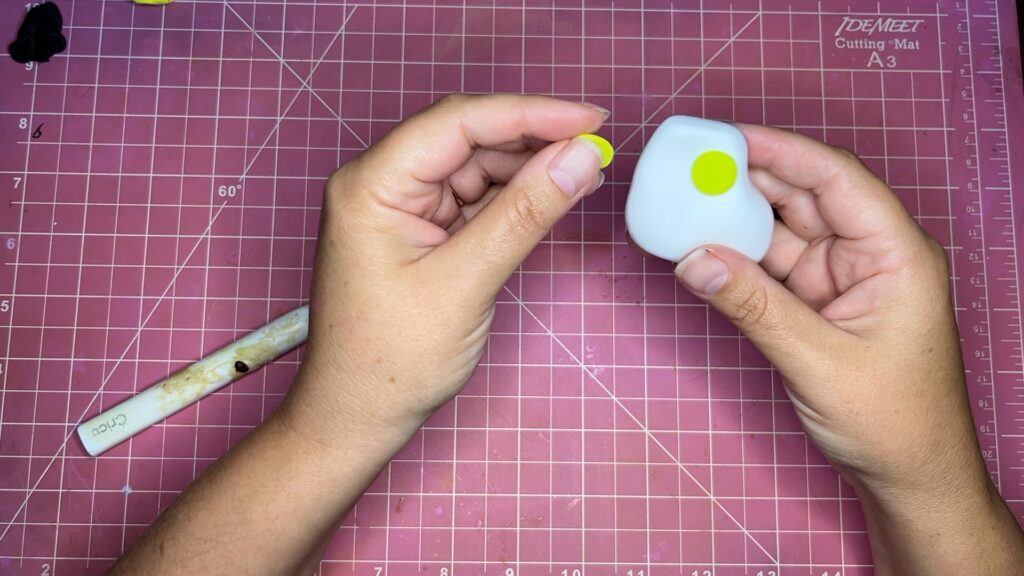
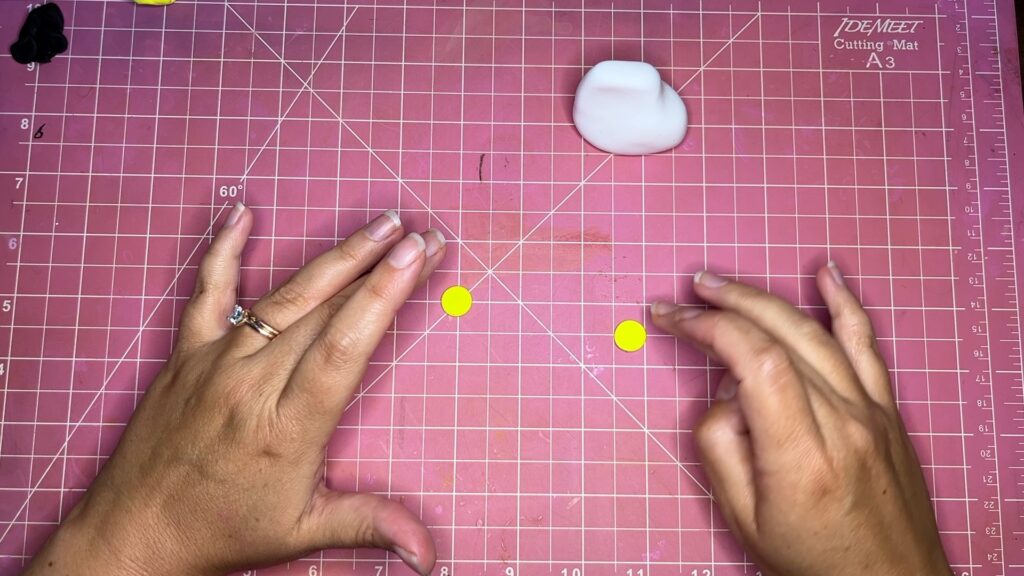
Use your sizing guide to measure the eyeballs. Roll them into balls then flatten them and attach to the face.
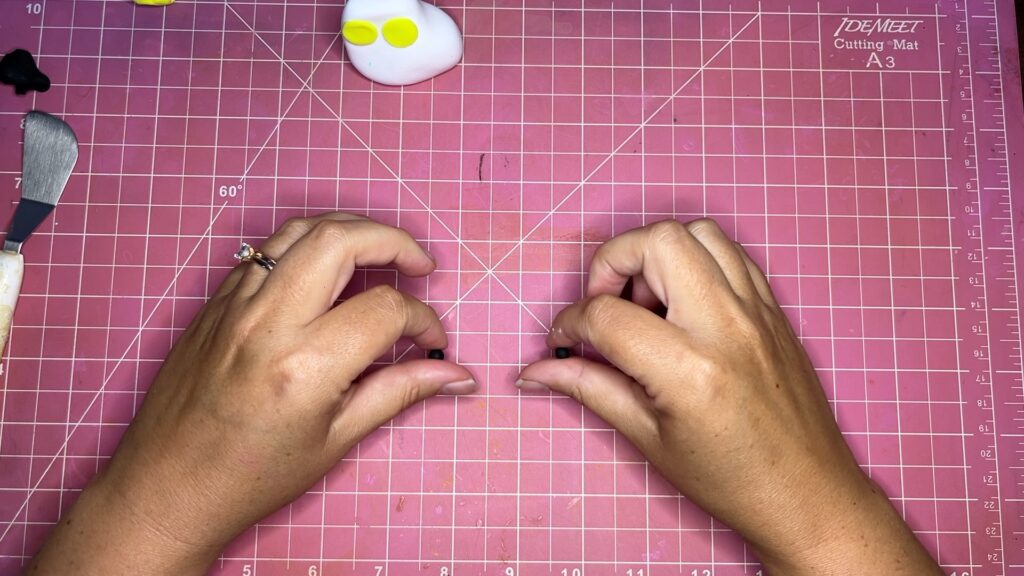
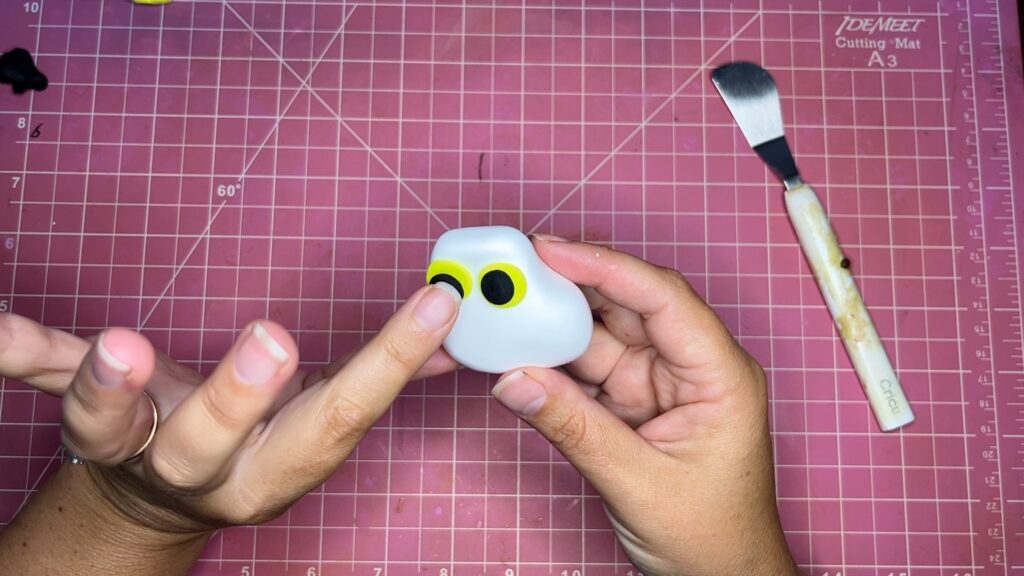
use the sizing guide to measure the pupils and take some black clay to shape balls and flatten them, then attach to the eyeballs.
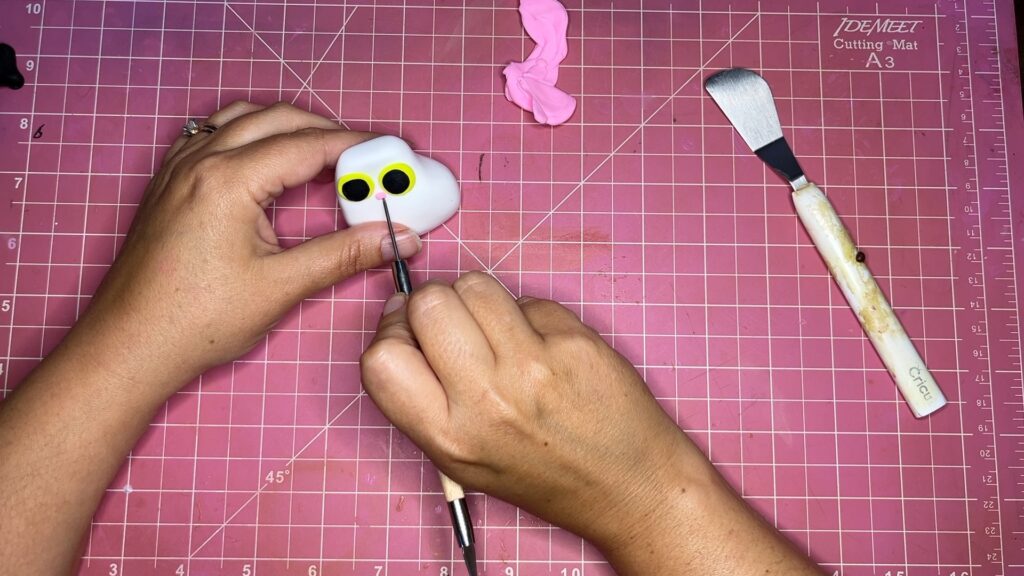
For the nose, make a super small ball and attach it between the eyes. Poke tiny nose holes with a needle tool.
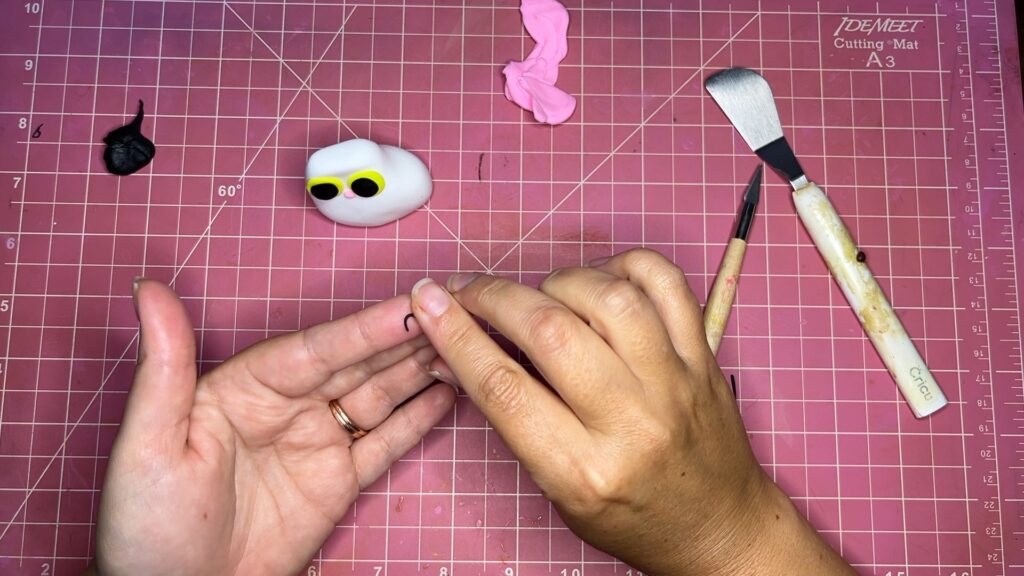
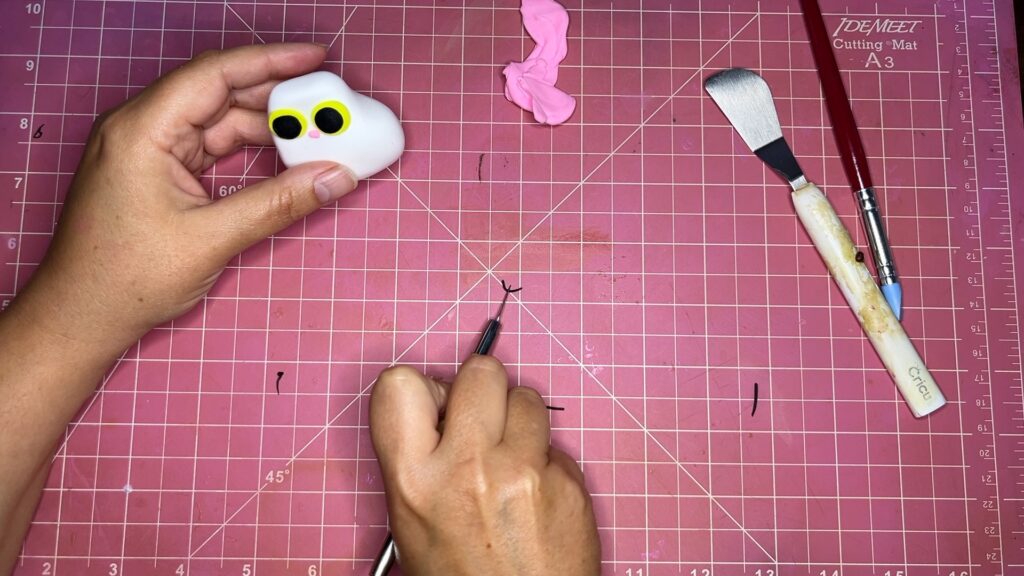
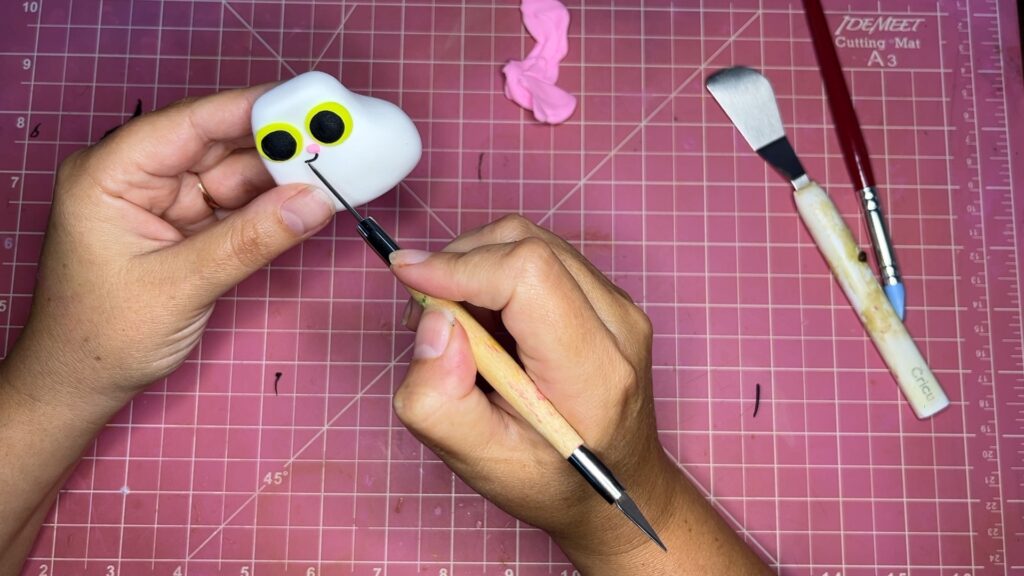
For the mouth, take a tiny amount of black clay and roll into a very thin string. Cut into two small pieces and bend them then attach under the nose.
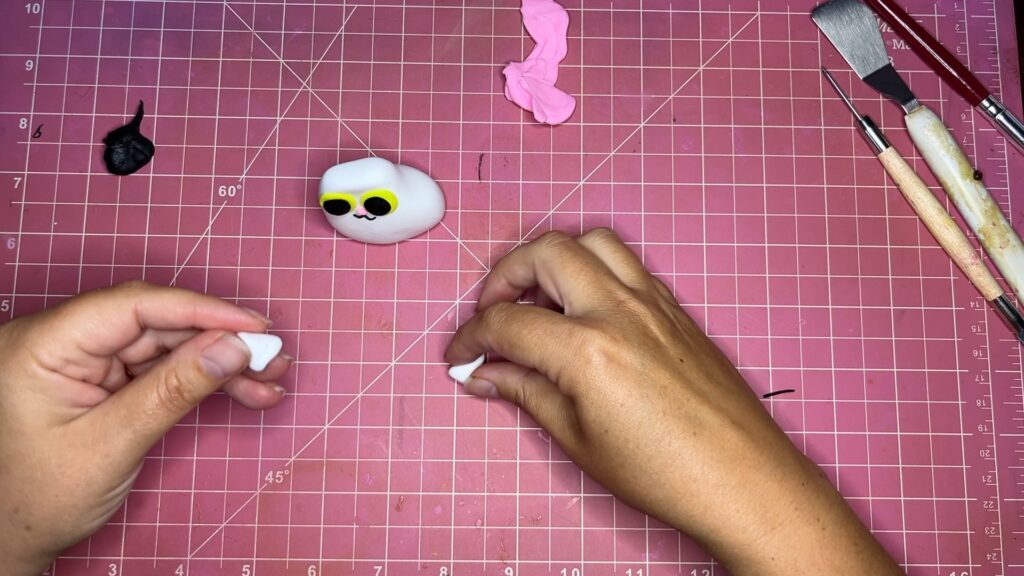
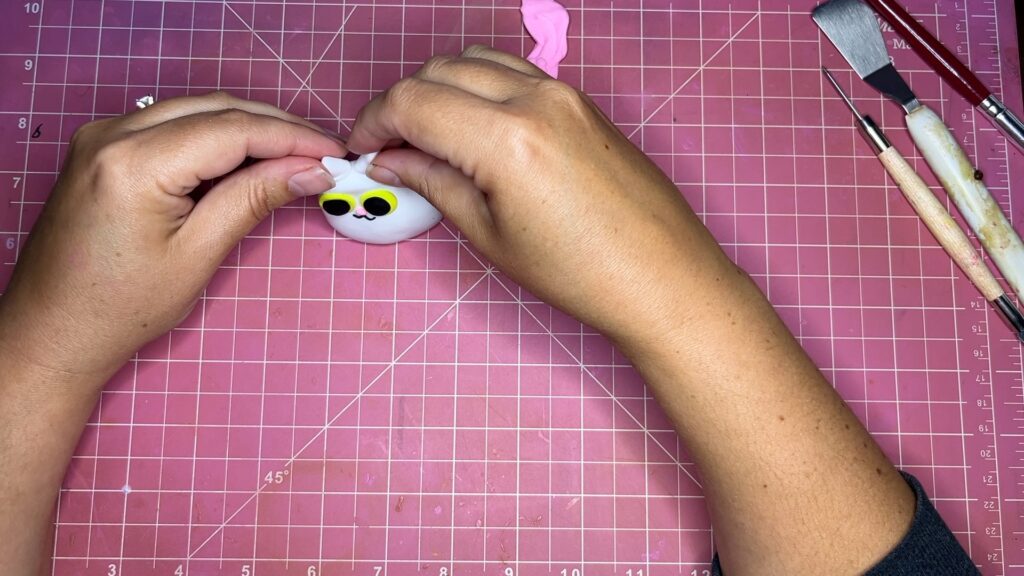
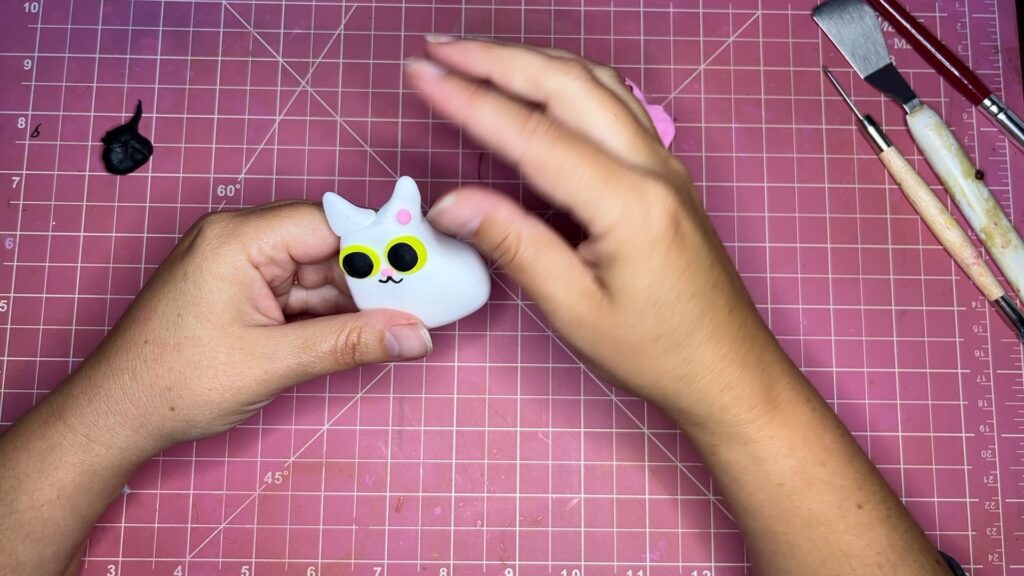
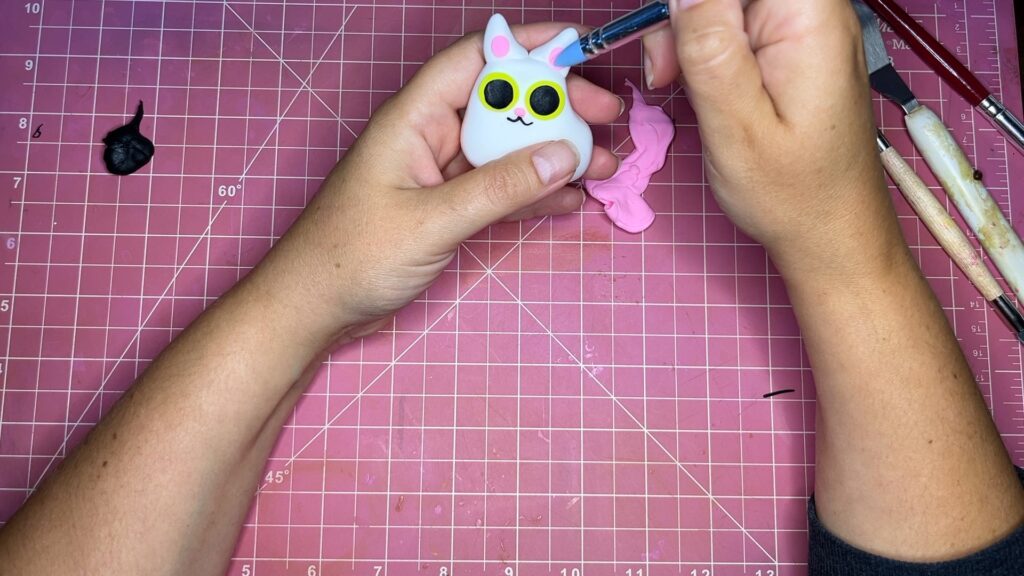
To make the ears measure out the white clay and shape into triangles, take the inner ear amount and cut it in half to form two inner ear and use your tool to attach them.

Press the ears down to make room for the hat.
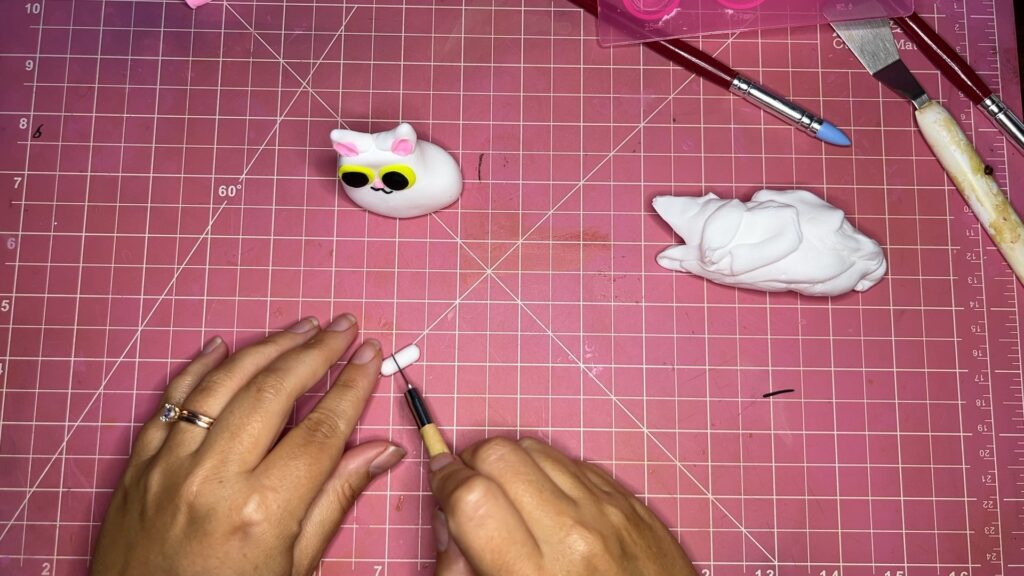
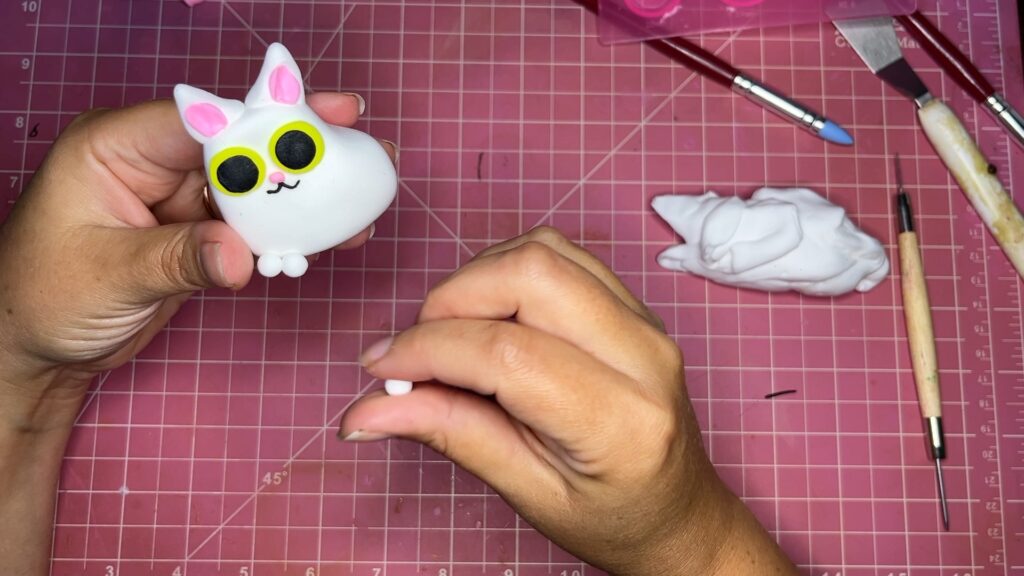
Make some tiny toes with white clay. Measure out the amount needed then cut into 3 equal parts.
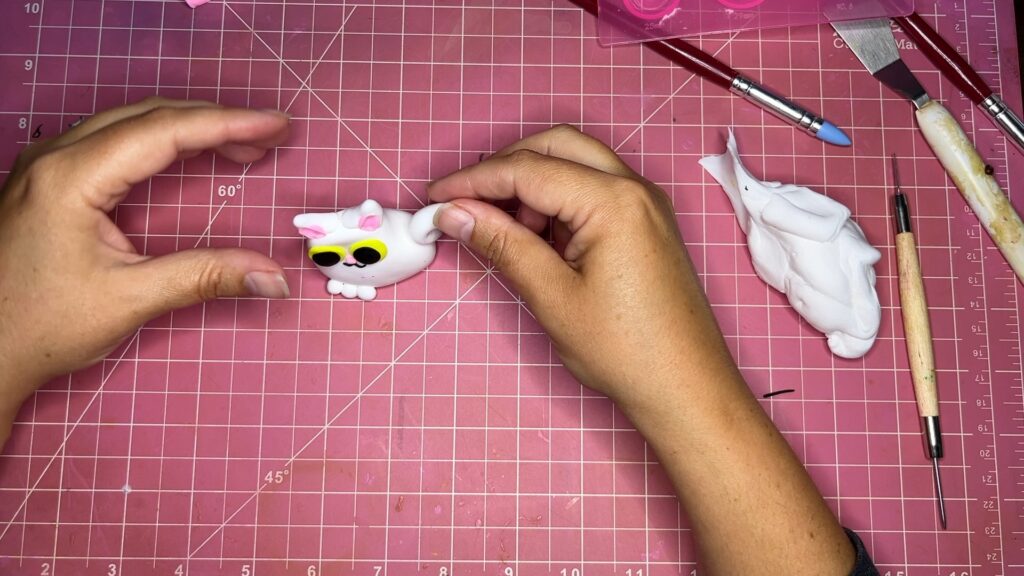
Take the amount for the tail and shape a log, then attach to the cats back in a “S” curve.
STEP 2: Make the hat
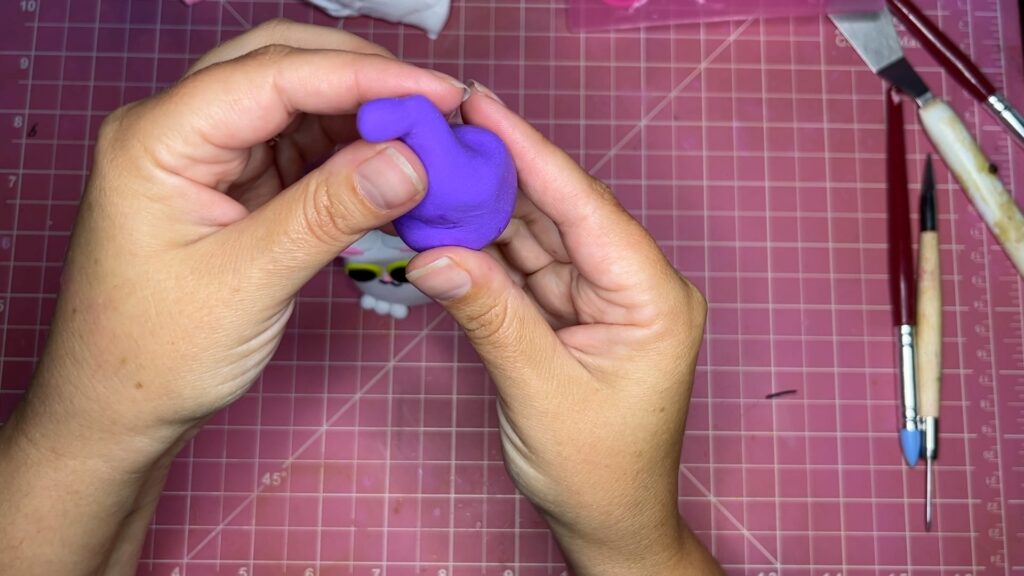

For the hat top measure out purple clay and shape into a cone then bend the tip. Roll out the amount for the hat bottom into an uneven circle.
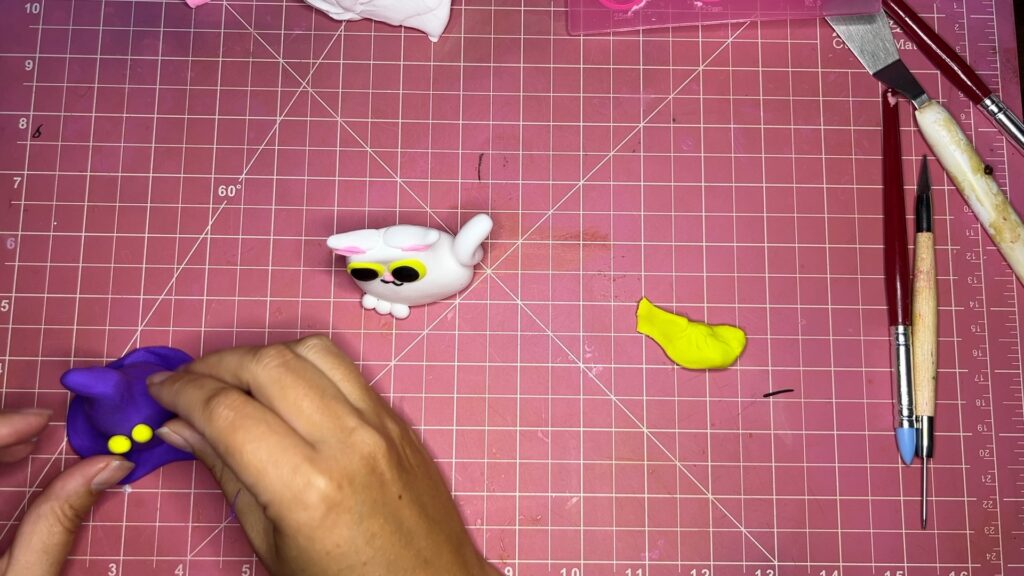
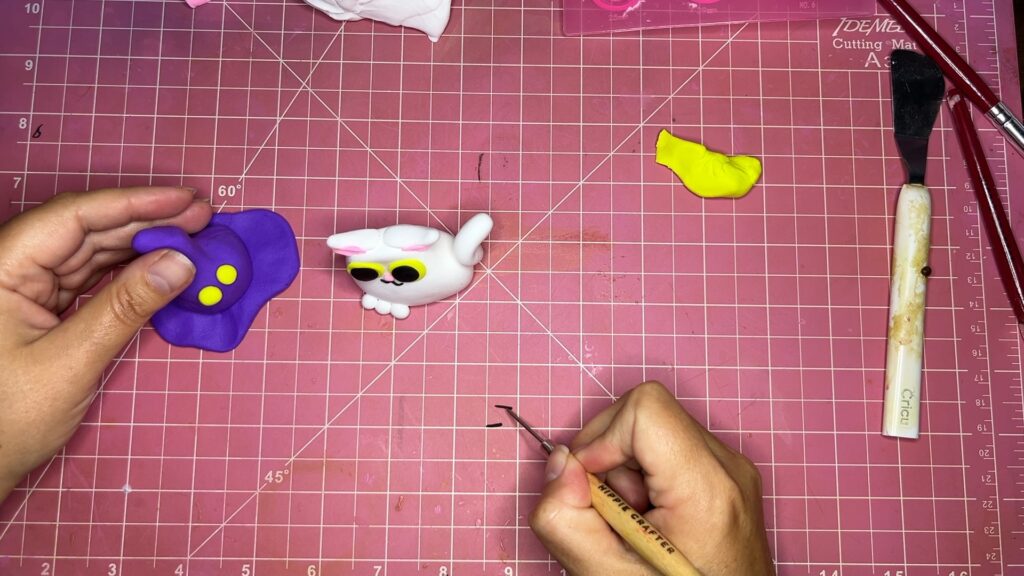
For the hat’s eyeballs measure out neon green and shape into small balls. Attach to the hat. Make the eyebrows with black clay, rolling out into a thin string then cut a small piece and attach above the eyeballs. Add some tiny pupils.

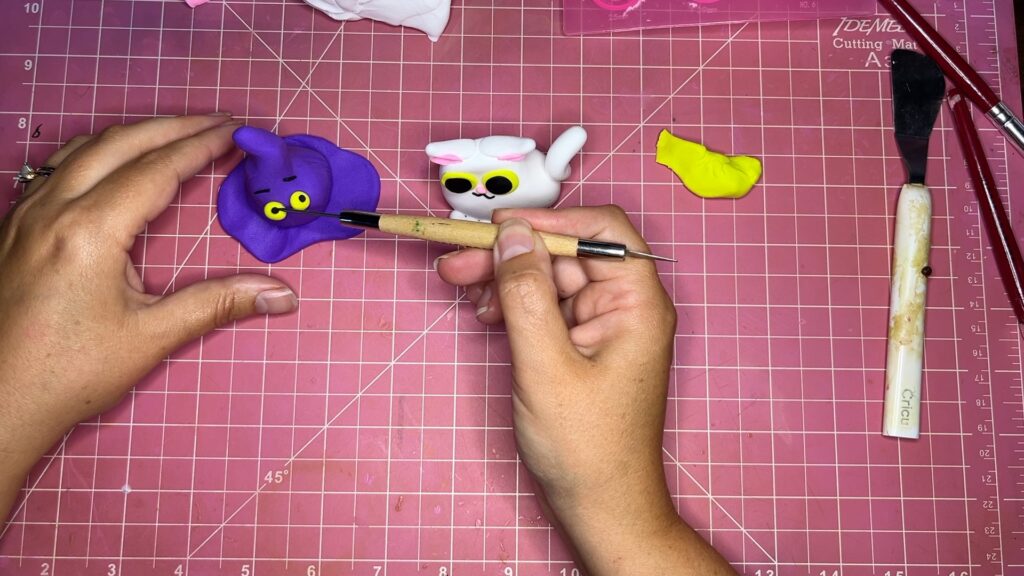
For the hat’s mouth roll out a piece of black clay and attach to the hat. Then roll out white clay into a thin sausage and cut into small pieces for the teeth.
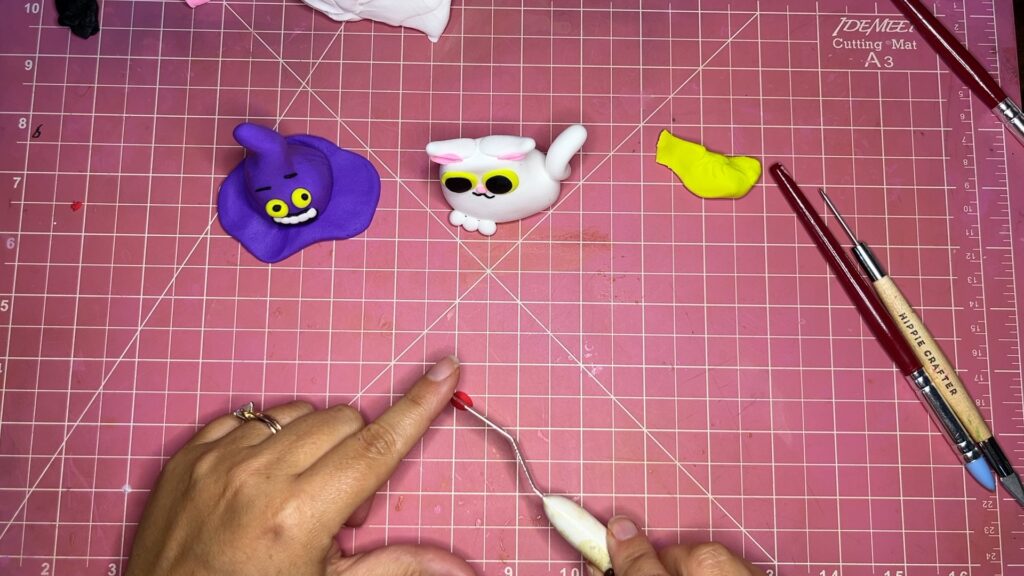
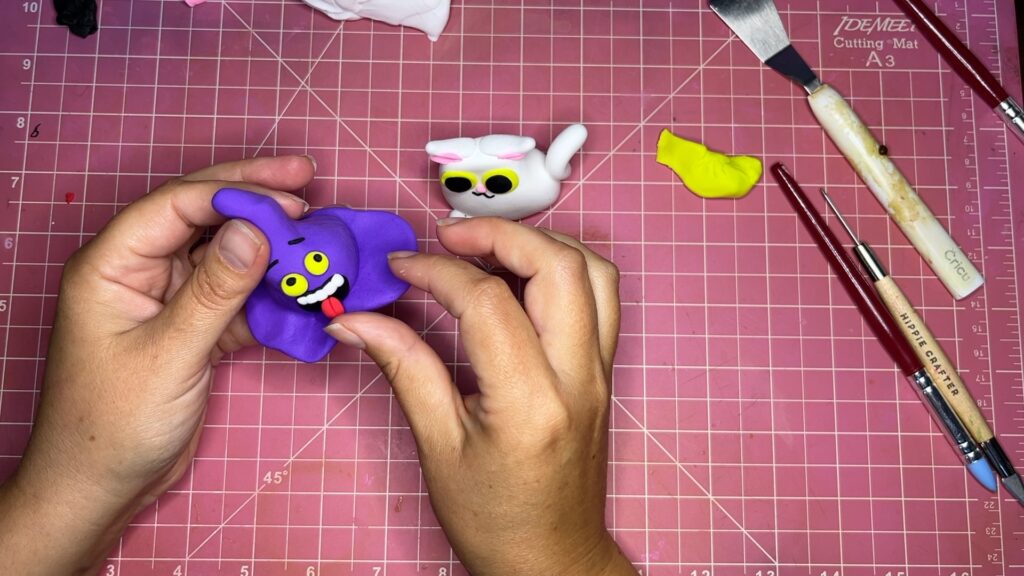
Make the tongue from a small amount of red clay, shaping an oval and indenting the middle with a flat tool.
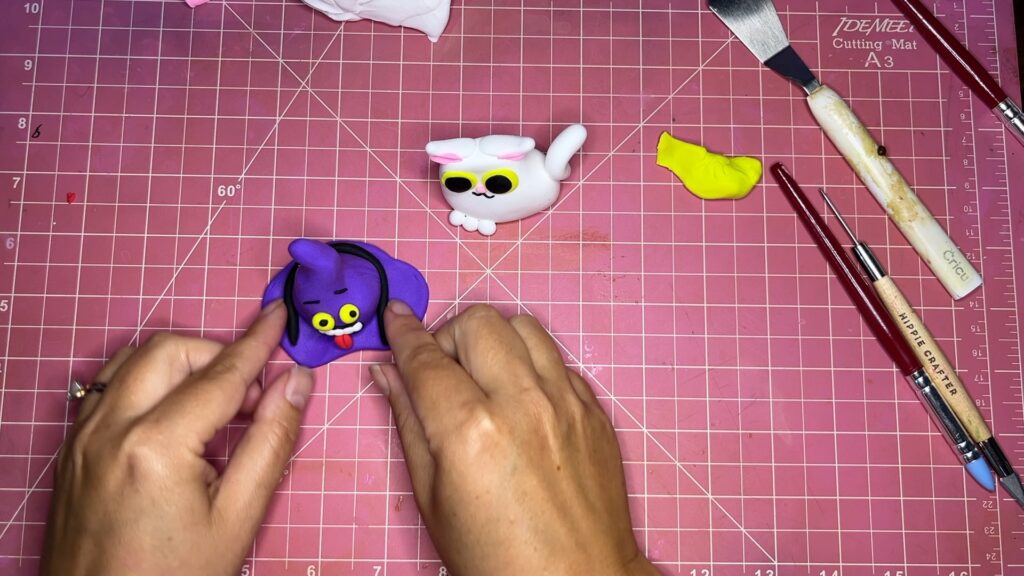
Attach some black clay to finish up the details of the hat.
TIP: to avoid squishing of the cat under the weight of the hat let them both dry independently before you attach them. you can add some glue to join them securely.
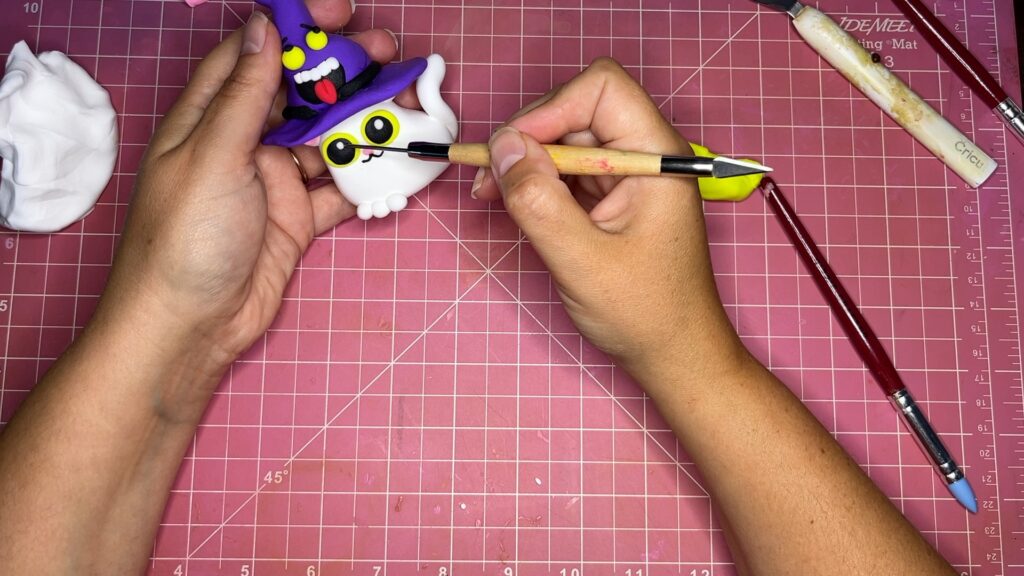
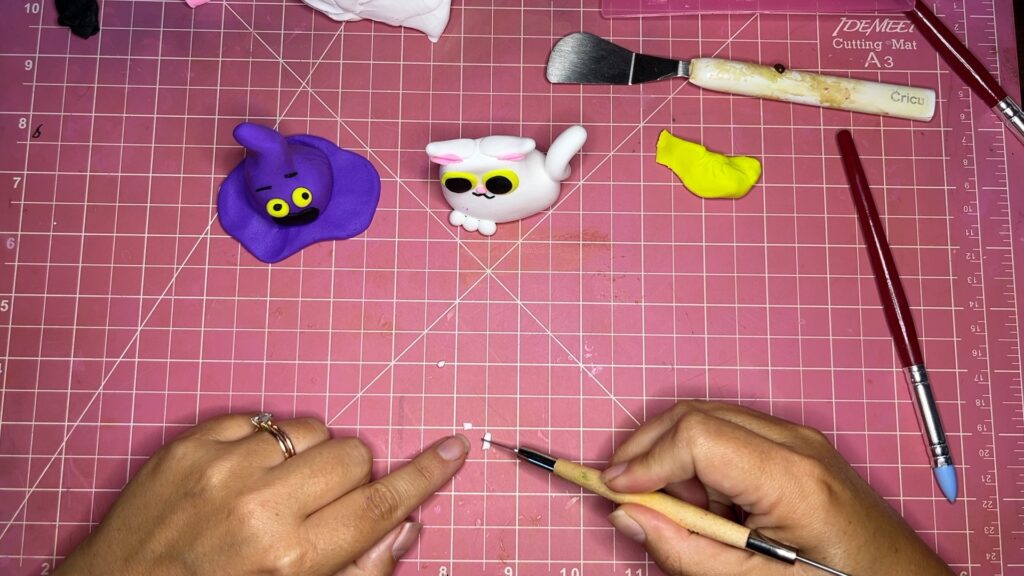
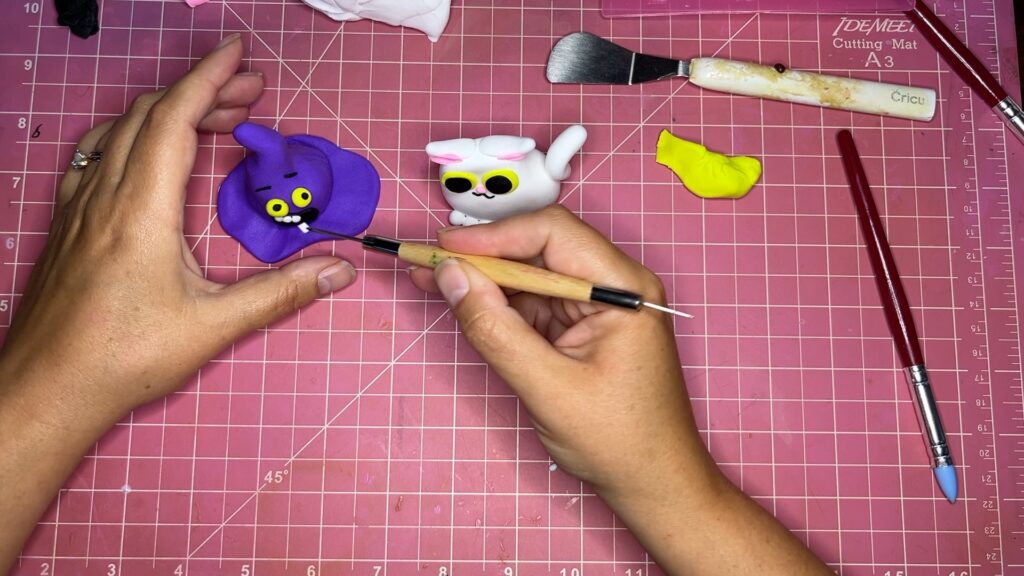
cut 2 tiny and 2 super tiny pieces of white clay for the sparkle in the eyes and attach to the eyes using a needle tool.
TIP: cut a small piece in half to achieve symmetrical sizes at the small scale
STEP 3: Repeat and combine
now repeat the same for the black cat just as a mirror image with different colors.
You did it! share your cute cats with us on social media and let me know if you have any questions!!!
Looking for more foam clay tutorials? Visit the Learning Hub to explore beginner to advanced projects and techniques.
Leave a Reply