
This project is part of my earlier foam clay collection. Some details may use older techniques, older measurements (including grams), or early versions of my size-based system.
I’m keeping it here because many people still enjoy it, but it isn’t updated for the Learning Hub yet. I will make an updated version using the new size system soon!
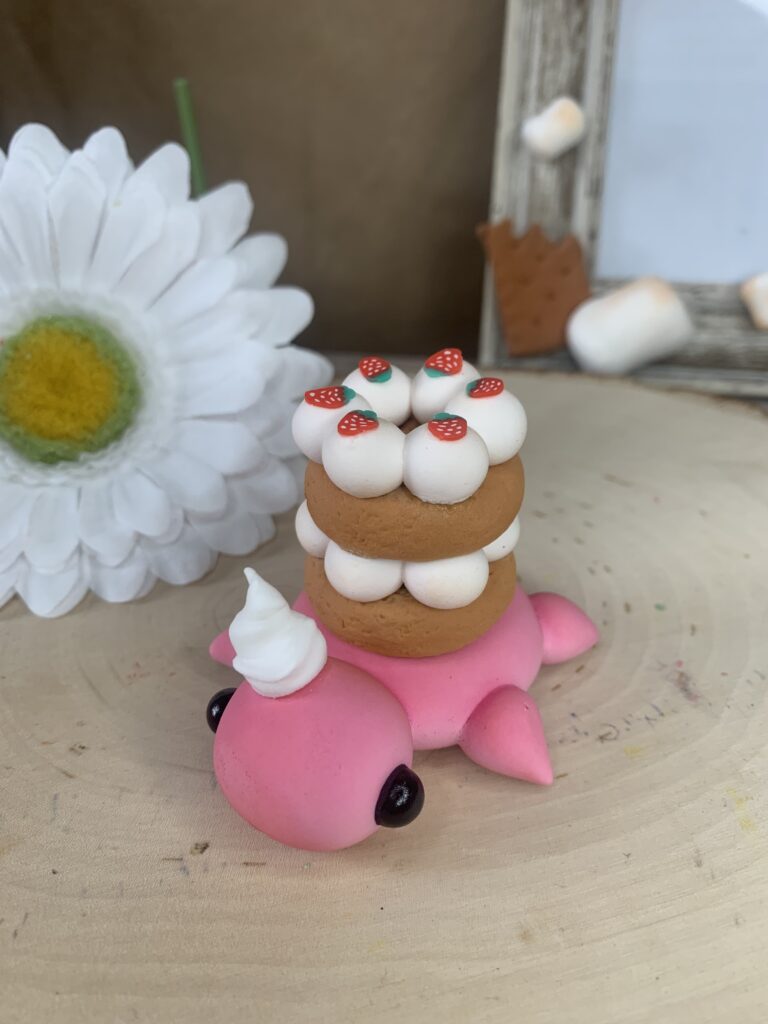
Learn one of the absolute favorite creations I have ever made! My Strawberry Shortcake Dessertle. Loved by many of my fellow crafters. She’s delicately sweet and makes for a great gift or as part of your craft project. You can use her as a centerpiece for a cake table at your next summer backyard cookout.

This post contains affiliate links, which means I make a small commission at no extra cost to you. See my full disclosure here
Why Foam Clay is So AMAZING!
Crafting with foam clay is not just about creating cute figures; it's like a therapy session that's all about relaxation and pure enjoyment. Imagine the joy of squishing, molding, and creating without any mess – that's the beauty of foam clay! It's not just for the kids; adults can totally get in on the fun too. So, if you're looking for a creative outlet that's soothing and brings out your inner artist, foam clay is the way to go!
It's a fantastic indoor activity for the whole fam! It's the perfect medium to improve your sculpting skills. If you are looking to quickly learn new skills to master your other mediums such as polymer clay or ceramics you are at the right place! Foam clay is so quick and easy to work with that you can practice many projects in a short amount of time improving your skills along the way. What are you waiting for? let's get those creative vibes flowing together! 🌈✨
This particular project is fantastic for crafters who are dipping their toes into fake baking. It uses elements and techniques for fake whipped cream swirls and how to create the realistic look of baked cake. And it uses super fun sprinkles which I will share with you where to best get them.
Materials you will need:
- Foam Clay
- Food Colors to color the clay yourself
- Glue
- Soft Pastels
- Clay Toll Set
- Cookie Mold
- Strawberry Sprinkles
- Toothpicks
- Makers Magic
- Scale
Leave a Reply