
Welcome to Lesson 02 of the Foam Clay 101 mini Class. Today you will learn all about the most used tools that can be used with foam clay and how to use them. This is totally open to creativity and preference but as a beginner it can get overwhelming not knowing what tools to use for what task. This lesson is here to guide you and get you to master any shape or texture you want to you achive.
This post contains affiliate links, which means I make a small commission at no extra cost to you. See my full disclosure here
The Most Important Clay Tools
Flexible Clay Blade
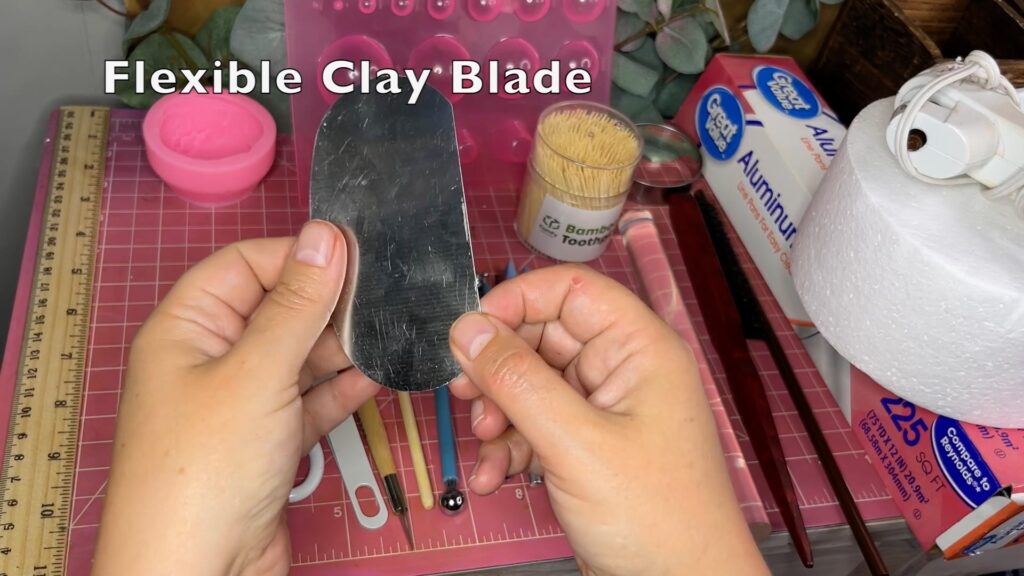
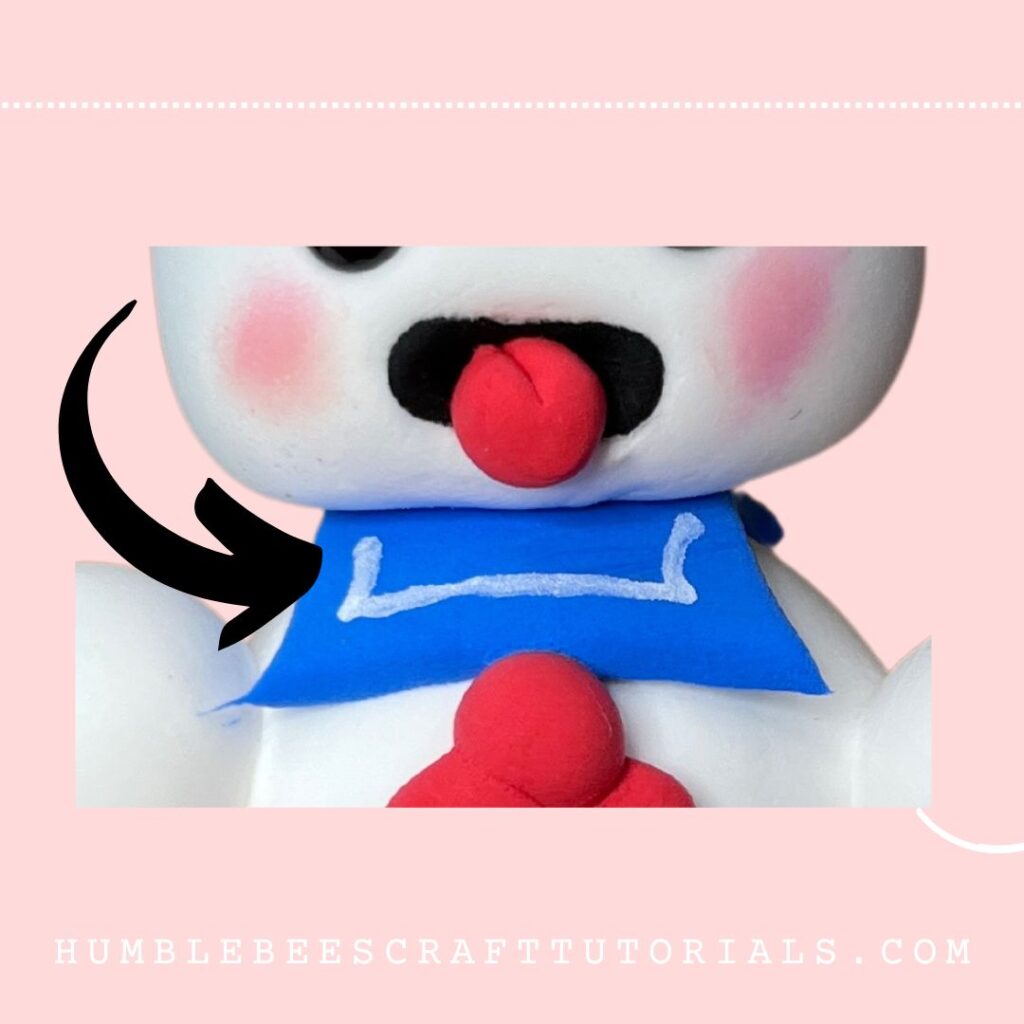
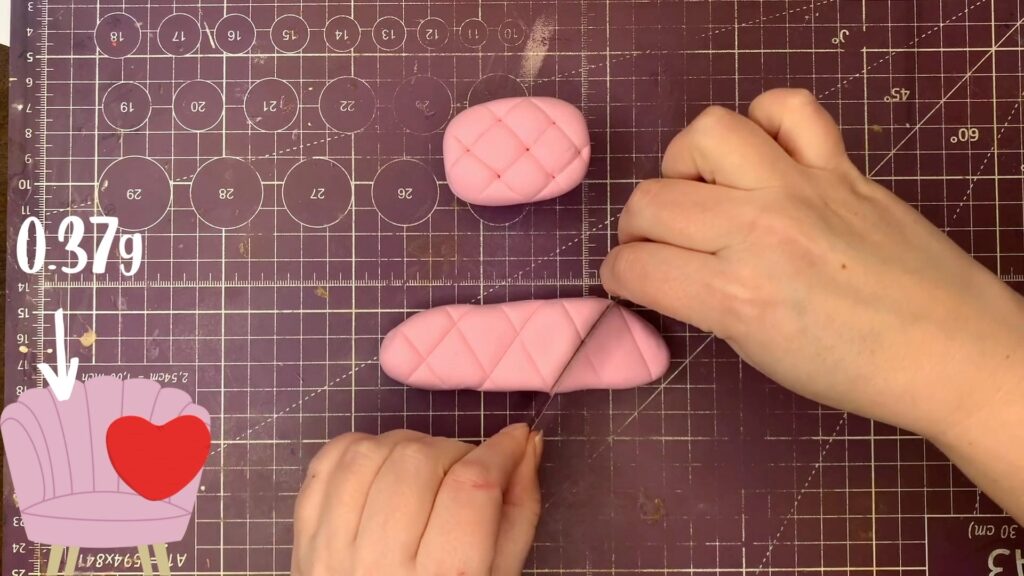
This is a flexible clay blade. It’s great to just make straight cuts, but it can also help with curved cuts. For example, I created the bandana for the Stay Puft using this blade.
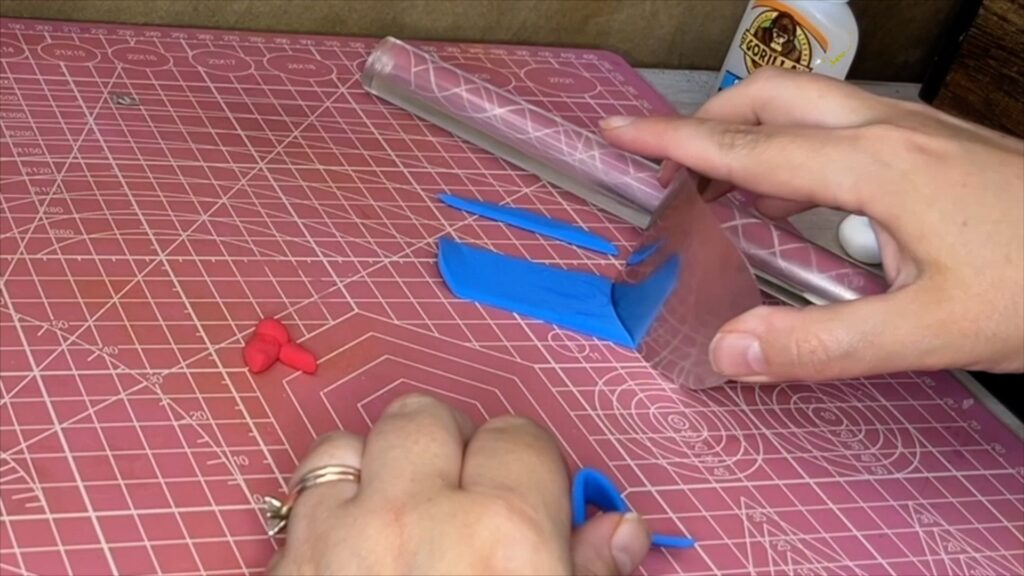
You can also just carve patterns to create pillows or other textures,
and you can use it to lift up your projects when they’re still wet. There are other types of knives that you can use with clay including x acto knives and waved blades.
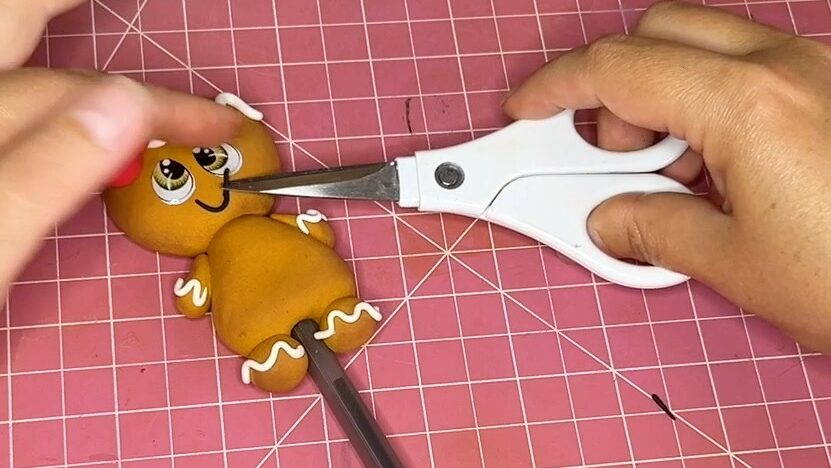
Scissors
I use them to cut overhang all the time. Clay cutting is pretty satisfying ASMR. You just have to be quick and hold it just right or else it fuses right back together.
Tweezers
The tweezers I use mostly to add sprinkles to my projects or pick up small pieces that are hard to pick up with your fingers. There are different types of tweezers out there, but really any one works. So use what you prefer or have on hand.
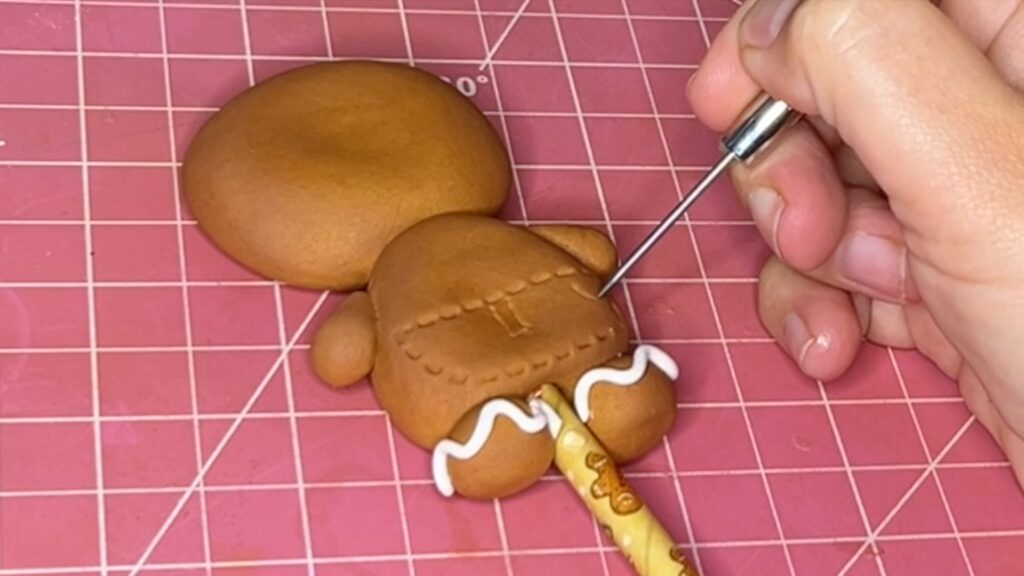
Pointy tool or Needle tool
The pointy tool I use very often. You can scratch in patterns into the foam clay,
or you can pick up small details and place them where they should go. You can also use a pointy tool to make very small dots or eyes, applying acrylic paint.
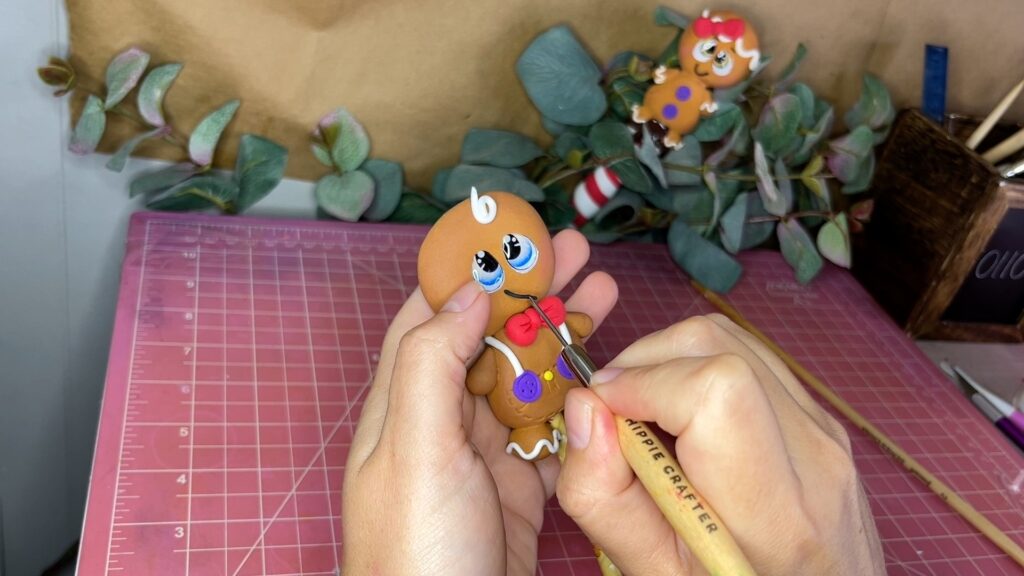
Ball tool
A ball tool comes in different sizes, and it’s perfect to make eye sockets, but you can also use it to apply paint and create perfectly round eyes. Just dip it in the paint and dot it onto your figure. You can create any sort of round indentations and with all the different sizes you will find just the right one for your needs.

Acrylic pen
I have two sizes of black pens, one very fine and one a little bit thicker. I mostly use black but I do have other colors on hand too. It’s great for adding details and eliminates having to use a paintbrush that needs to be washed afterwards. I do find that white is not as strong as using actual acrylic paint from the bottle. For that reason I don’t use the white pen often.
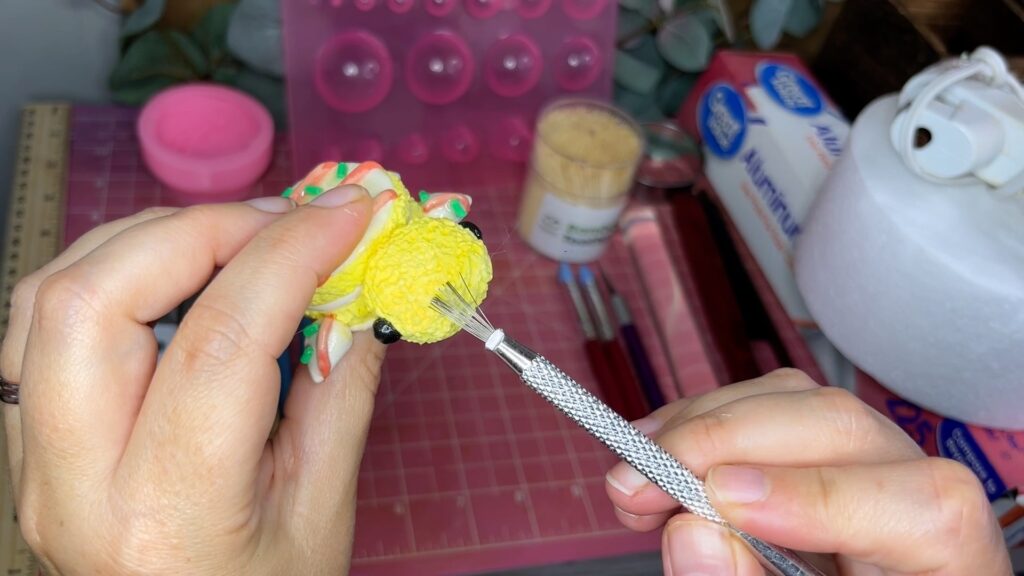
Texture tool
This is a texture tool to create rough surfaces. This is what I use to imitate cake texture. You could also just use a needle tool but with this multiple wire design it speeds up the texturizing process significantly and it’s definitely worth to have in your stash if you like to create the look of cakes and other baked goods.
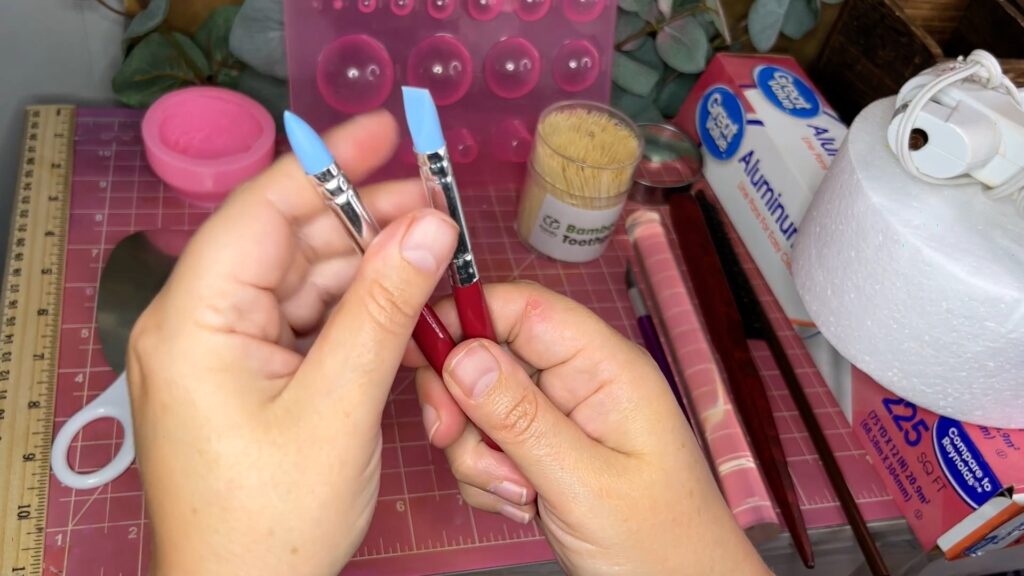
Silicone tip tools
Those tools are perfect for shaping and sculpting. They are soft and slick so they can slide over the surface and smooth out any bumps. I also use those often to get into gaps that I cannot reach with my finger. They come in super handy to fix any gaps that may appear after the figure has dried. Just add some fresh clay of the same color into the gap and smooth out with the silicone tool. If you add a little bit of bag balm or petroleum jelly, you can slide over the surface without causing stretch marks. Watch me fix my axolotl that started having a gap here.
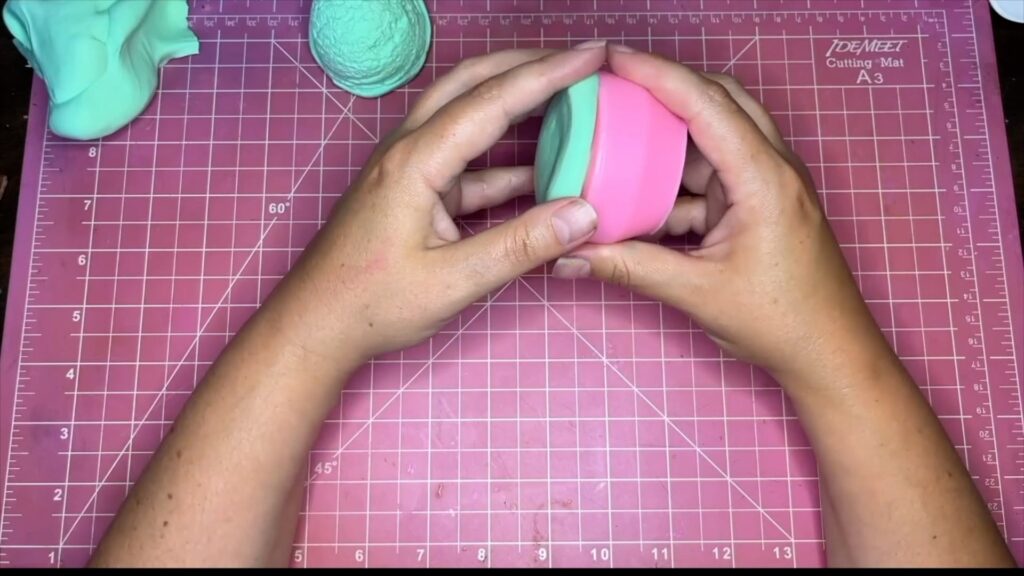
Silicone molds and cookie cutters
I have tons of cookie cutters of all shapes and sizes, metal or plastic work fine. I have flexible silicone molds, those are really fun to use. There is a little bit of a learning curve on how to use them, especially with deeper mold. Read this quick post find some valuable tips for working with them.
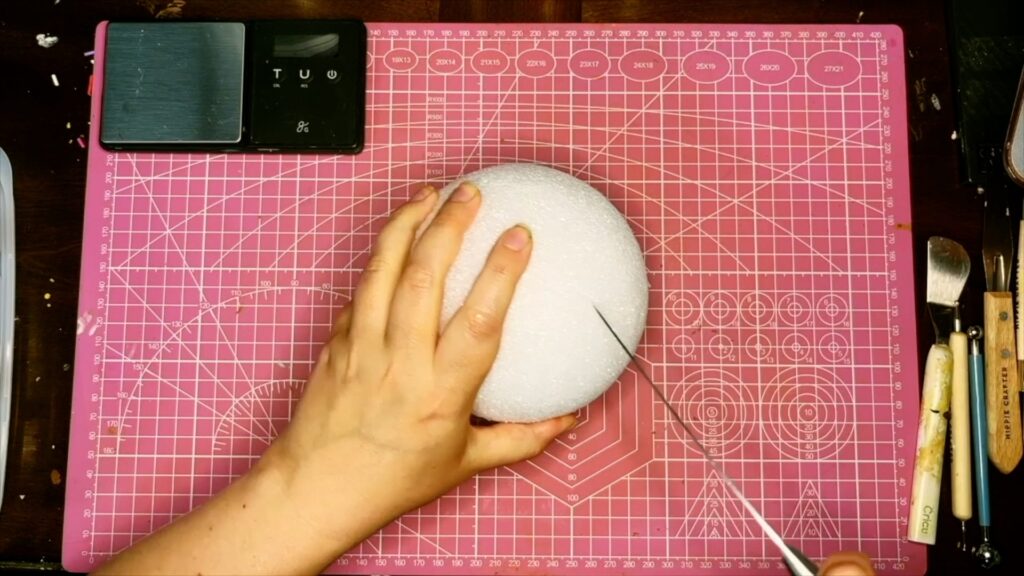
Building an armature
At a certain size, really anything over 2 inches, you will need to give your figure some sort of armature. you can get creative here but the most common ways to build a structure for foam clay is using styrofoam, aluminum foil or wire. I sometimes I use old clay and shape fresh clay around it. You really can’t tell once it’s all covered up. So be resourceful and use what works best for you. If you need some help with building armature I talk about it in more detail here. An example of covering a styrofoam ball is the Zombie Bee and to see how I use aluminum foil you can watch the ghost walking a dog tutorial
Rolling pin
I almost don’t wanna mention it because it seems so clear to me, we clayers can not live without a some type of rolling pin. They make clear acrylic ones that look nice. But any non porous material will work.
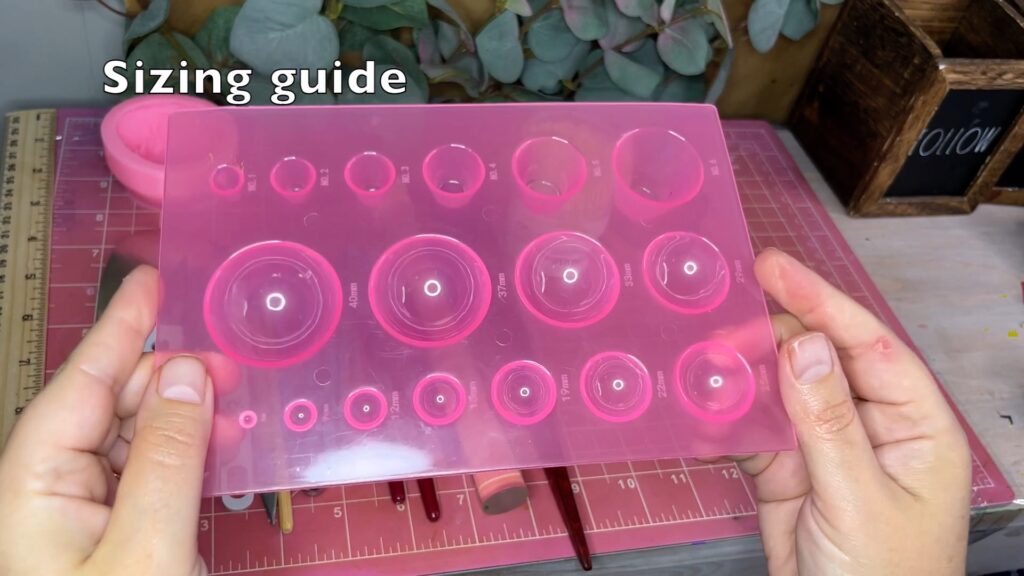
Sizing guide
The sizing guide is the heart of all my tutorials. I use this to give you the exact sizes, so you can recreate everything without any hassle. It will help you to keep the proportions just right and ensure that you end up with amazing results, every. single. time.
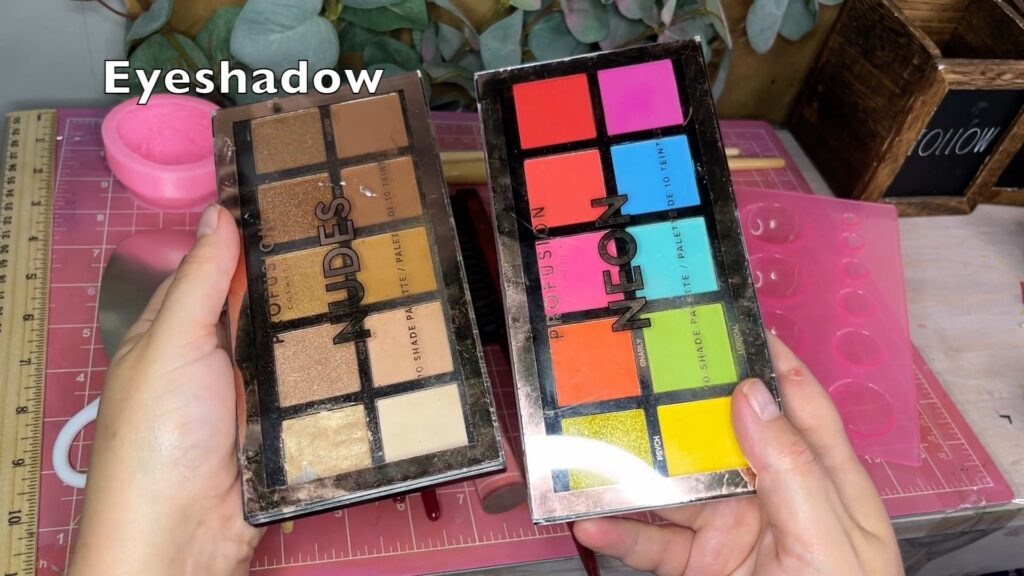
Eyeshadow or Soft Pastels for Shading
To enhance the clay colors and to give your figures that realistic, baked look, I use eyeshadow applied with soft bristle brushes. You can use soft pastels as well but you have to shave it and then apply. I don’t see a difference between eyeshadow and soft pastel. Eyeshadows are just much more cost effective. You do have to apply it right after you are done shaping. Don’t wait until your figure is dried. That way, the slightly moist surface grabs the pigments better and sort of locks it in during the drying process. It’s not 100% protected from rubbing off but it it very minimal compared to if you would apply it to a fully dries figure. Watch this video, where I show you how to shade with eyeshadow.
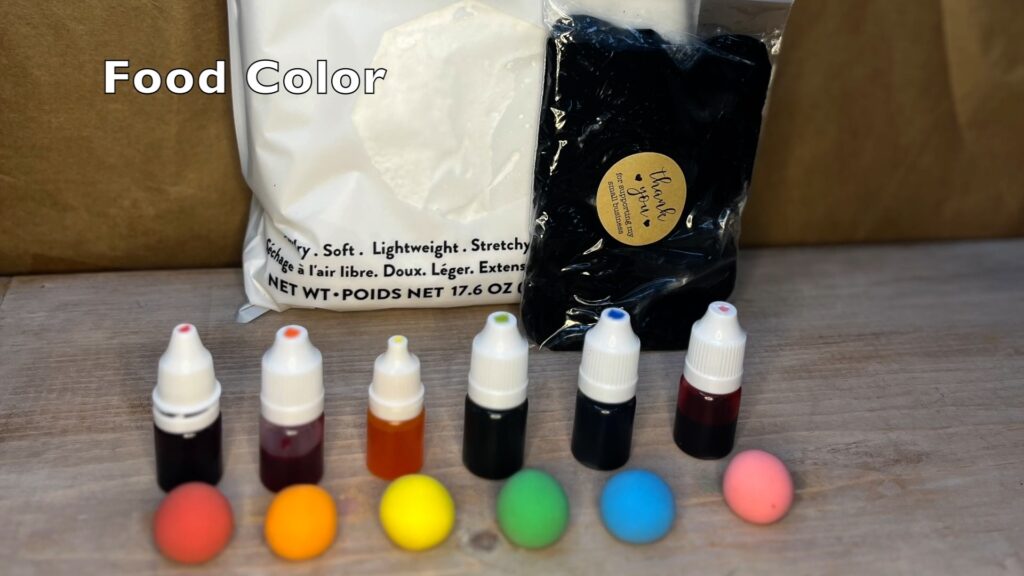
Food Colors to mix into Clay
You can mix your clay with food color to achieve unique shades. You only need very small amounts to get a paler version of your final end result because you will then increase the intensity with the eyeshadows and make the color pop. If you want to get a small amount of food color to try it out you can pick some up in my shop. Or go all out and buy the full size on amazon.
Coloring your own clay helps to keep the number of opened bags low. An open bag is always prone to dry out. Just color what you need for your project and store it in an airtight container. Make sure it’s truly airtight, or else your clay will dry out.
Storage containers
I have a bunch of those 16 oz food containers on hand to store my leftover clay. They also are great for mixing cream glue or pouring silicone molds. They’re really cost effective and keep the clay fresh.

Whats next?
I hope this gave you a great overview of tools to have on hand. Next, we will talk about drying your foam clay as this seems to be a topic with lots of questions. Thank you for reading, I hope this was helpful to you. Please let me know if you have any questions. You can comment here, or message me on Facebook.
Looking for more foam clay tutorials? Visit the Learning Hub to explore beginner to advanced projects and techniques.
I`m glad I found your article! My kids love foam clay, but I have no idea how to use these tools from the clay box. Thank you for great tips.